
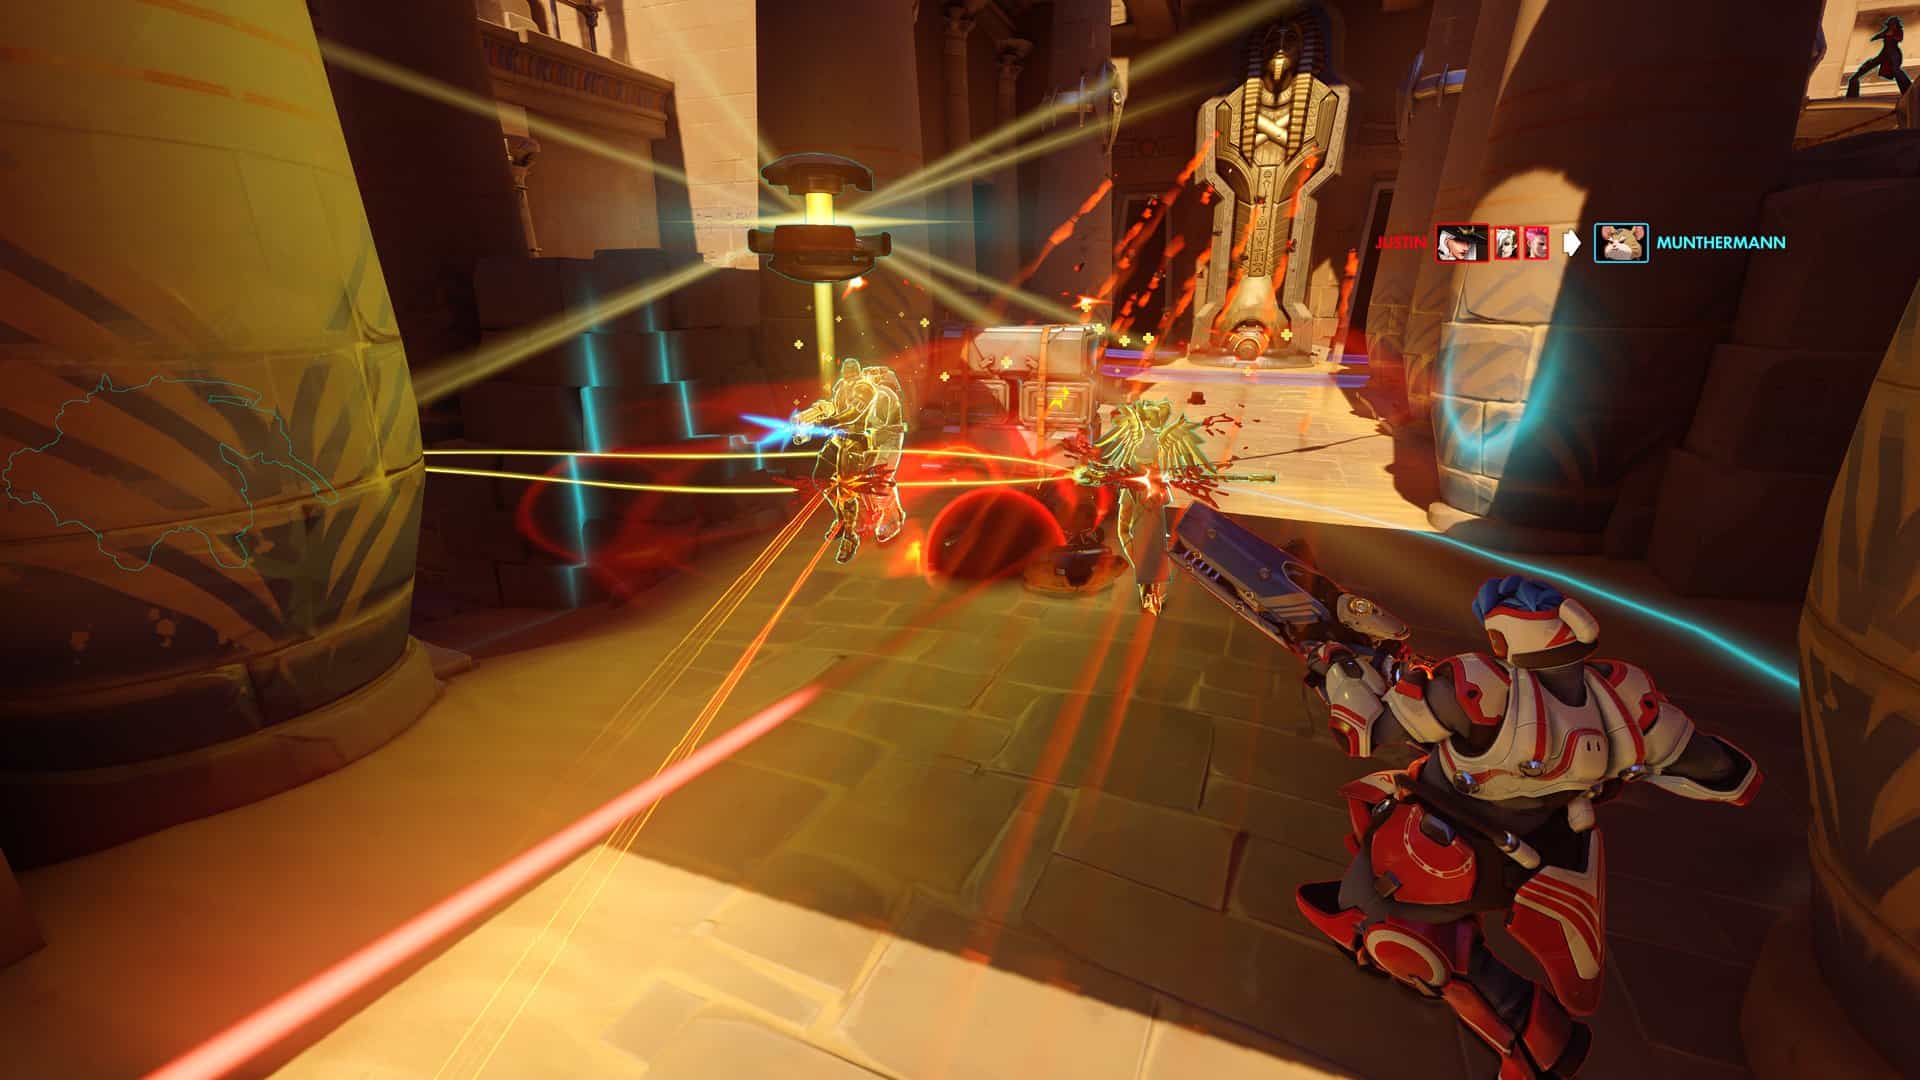
 With thirty-two playable heroes and another one on the way, each with two achievements to their names, it’s little wonder that most players won’t reach 100% completion in Overwatch. Unlocking the sixty-four hero achievements is no mean feat; some of them sound impossible just reading them.
However, there are some tricks you can use to make things easier on yourself and get that sweet Gamerscore – and the all-important character sprays. In this list, we’re going to be running through the six rarest hero achievements available in Overwatch. We’ll explain what you need to do to unlock them and techniques you can try out to make getting them easier.
The Floor Is Lava
First on our list, we have Lúcio’s The Floor Is Lava achievement. As with many of the achievements we’ll see here, this one sounds deceptively simple: get three killing blows while wall-riding without dying in Quick or Competitive play. However, for console players in particular this can prove a substantial challenge. So much so, in fact, that it’s only been unlocked by 1.25% of all players, making it the sixth rarest character achievement in the game.
That said, there are a couple of techniques you can use to make things easier on yourself.
Getting Control
If you attempt this achievement, one of the first things you’re going to notice is that it is very hard to aim while wall-riding. This is because on a standard controller, the button for wall-riding is governed by the same thumb that you’ll need to move the right thumbstick for aiming. As a result, any time you’re on the wall, you’re not going to be able to shoot at the enemy team.
Completing The Floor Is Lava unlocks Lucio’s pixel spray
The immediate solution to this is to remap your controls so you can do both at the same time. In this regard, Lúcio is quite a lot trickier than Pharah, who suffers from a similar problem. As you’ll see, for Lúcio, all of the triggers and bumper buttons are already taken up by default inputs. Remapping Jump to your bumpers will mean changing the keybind of another ability. If you’re already used to playing the character, this can require relearning a lot of muscle memory.
However, for the sake of this achievement, it can be well worth it. One reconfiguration with the smallest amount of disruption is to remap Lúcio’s Crossfade ability to the A button and using the now-free left bumper for Jump/Wall Ride. It’s fiddly to get used to, but with a bit of practice, you’ll be able to wall-ride and aim simultaneously.
Let Gravity Decide This
One important factor to note for this achievement is that a killing blow only counts at the moment the enemy dies, not when you take your shot. In most cases, these two things are simultaneous, but Lúcio’s Soundwave ability gives you a bit of a grace period. If you knock an enemy over a cliff, the kill won’t register until they fall beneath the bottom of the map. This gives you a second or so between firing the Soundwave and the death registering. If you time it right, you can knock someone over an edge, start wall-riding, and then register the killing blow once you’re on the wall.
This way you can rack up kills while wall-riding without ever having to deal with the fiddly control system. Of course, this only works with heroes that can’t fly, wall climb, or otherwise pull themselves back up, but that still leaves a substantial pool of potential marks.

With your controls remapped, aiming while wall-riding is much easier
For this strategy to work, you’ll need to be playing on a map with easily accessible long drops. Ilios Lighthouse and Well are great examples, as is Nepal Sanctum. All three Lijang Tower maps can also work.
Survive At All Costs
After a little practice, getting kills while you’re on a wall should become relatively easy. Getting three in a row without dying, however, can be a nightmare. This is particularly true if you’re using the gravity method, as it can take a long time for enemies to position themselves just right to be knocked off.
This is where you have to get a little selfish. If you’ve already got two wall-ride kills, then you need to stay alive no matter what. Doing so might mean having to abandon your team if you’re in a firefight you’re not going to win. As a result, you might not want to aim for this achievement while in a Competitive match; not only could you lose the match and therefore your SR, you’ll also likely anger your teammates. If you can stay alive long enough, however, then you’ll unlock the achievement in no time.
Air Strike
Only 0.92% of players have unlocked Doomfist’s Air Strike achievement, making it the fifth rarest in the game. To unlock it, you have to get a killing blow with a full-powered Seismic Slam in Quick or Competitive play. Before you do that, however, you have to know what this ability actually does.
Completing Air Strike unlocks Doomfist’s pixel spray
Learning How The Ability Works
Most hero abilities in Overwatch are fairly self-explanatory, but Seismic Slam is a little obscure. To unlock Air Strike, it’s critical to have a clear idea of what you’re aiming to do. To do so, start with understanding the ability itself.
The attack’s damage ranges from 25 to 125. The exact figure is determined by the ability’s ‘charge’, which is dictated by how long you spend in the air before you land the attack. You’ll know what damage you’ve reached by the number that appears below your crosshair when you activate the ability. To achieve maximum damage – as required by the achievement – you’re going to need to be in the air for 1.5 seconds.
It’s also vital to note that combining it with Doomfist’s Rising Uppercut ability changes the way Seismic Slam works. If you use the uppercut to launch yourself into the air first, the subsequent slam will propel you in a straight line from where you are to the point you’re aiming for. Alternatively, if you start the slam from standing or during a normal jump, you will leap forwards in an arc. The shortened distance of the combo move means that, even though Rising Uppercut starts you higher in the air, you’ll actually get less airtime. Because of this, you should absolutely avoid it for unlocking this achievement.

When using Seismic Slam, the number below your crosshair will indicate your damage
One way to get a better feel for using this ability is to play in Low Gravity matches. You can’t unlock the achievement in them as they’re classed as an Arcade mode, but the slowed falling gives you a little more time to figure out what to do and get you used to the ability. If you’re really struggling with Doomfist, then spend some time in Low Gravity to build up your muscle memory.
Strike From Above
1.5 seconds doesn’t sound like a lot of time in principle, but Seismic Slam moves very quickly. To achieve that kind of air time, you’re going to need to start somewhere high.
This is surprisingly difficult; there are some maps that don’t have any vantage points high enough for this achievement at all. Numbani, for example, has no spots high enough to reach maximum damage that Doomfist can reach unaided. If you want to see the list of specific locations you can use on each map, then you can find several versions online.

Once you’ve picked out your spot, get to work on choosing a target.
Target The Wounded
Even at full charge, the Seismic Slam attack is only capable of dealing 125 damage. The lowest health hero of the game, Tracer, currently has 150 health when uninjured. This means that even if you pull off a perfect Seismic Slam with full power, you’re not going to stand a chance of getting the achievement unless your target is already injured.
Instead, you’ll need to wait for the first exchanges of the fight to happen. You might want to avoid shooting enemies yourself so you don’t draw attention; Doomfist’s primary fire is ineffective at a distance, so you won’t do much damage from your vantage point anyway. Your teammates, on the other hand, will likely be shooting at the same targets. If you wait for a few seconds, they’ll whittle down enemy health enough for you to jump in. Once they have, take your shot and, hopefully, unlock that achievement.
Stand By Me
As one of the more recent heroes to be released, it’s not surprising that Baptiste’s achievements are rarer than most. That said, with only 0.87% of players unlocking Stand By Me, it’s also fair to say this achievement isn’t easy. To unlock it, you’re going to have to prevent four deaths with a single use of the hero’s Immortality Field in Quick or Competitive play.
Completing Stand By Me unlocks Baptiste’s pixel spray
One of the reasons this achievement is so rare is that, unlike the last two on this list, Stand By Me is very situational. There’s not really a good way of actively setting it up. Instead, you just have to be in the right place at the right time. Even for the most talented players, this can take a while. Ultimately, the best tactic you can use when hunting this achievement is to play Baptiste as much as possible.
However, there are a couple of tricks to look out for that can speed things along.
Taking Advantage Of Ultimates
Baptiste’s Immortality Field only lasts for five seconds. That’s a very narrow window for four members of your team to get killed in. For this achievement to work, then, you need to choose a moment where your team is about to take a huge amount of damage in one go. In other words, you want to be waiting for an enemy ultimate. Specifically, it needs to be an ultimate that can hit a lot of heroes simultaneously, like D.Va’s Self-Destruct or Cassidy’s Deadeye.
However, bear in mind that the Immortality Field only has a radius of 5m. If you’re not coordinating with your team to tell them where the Field is going to be, then they’re not likely to be able to use it in the time available. Working together can resolve this issue; alternatively, you might want to wait for an enemy Zarya to use Graviton Surge. Her ultimate holds your teammates very conveniently in one spot and is often used in combination with another ultimate, such as Hanzo’s Dragonstrike.
If four people are caught in Graviton Surge, make sure you get your Field down
Throw your Immortality Field at a 4-man grav and you should have no trouble unlocking this achievement.
One ultimate that you really want to avoid, however, is Genji’s Dragonblade. With a wide arc of attack and 120 damage per hit, an ulting Genji can take out the Immortality Field very quickly. Baptiste’s drone has 150 HP so it’s not too fragile, but against Dragonblade it’s almost useless. Getting this achievement is hard enough as it is, but it can become impossible if the Field doesn’t last more than a second or two.
Sacrificial Lamb
It’s important to remember that one of the four heroes saved can be yourself. This sounds obvious to say, but it’s very easy to forget in the middle of a battle. If you find yourself in a position where three of your teammates are grouped up and in danger, put your Immortality Field on them and move into it.
In standard team compositions, you’re going to have two tanks with large health pools and four DPS or support heroes with much lower HP. As the tanks have such high HP, they’re much less likely to be killed in the five seconds the Immortality Field will stay active. Instead, you should try to focus on the four lower health heroes. On that basis, you will likely need to be one of the people saved for the achievement.
Rapid Discord
For the fourth spot on our list, we have another healer. Zenyatta’s Rapid Discord is just slightly rarer than Stand By Me, with 0.82% of Xbox players unlocking it to date. However, given that Zenyatta has been in the game nearly three years longer than Baptiste, this says a lot about how tricky this achievement can be. To unlock it, you’ll need to get four kills or assists using the Orb of Discord within six seconds in Quick or Competitive play.
Completing Rapid Discord unlocks Zenyatta’s pixel spray
Like Stand By Me, this achievement is heavily situational so even with the best strategy in the world, it might take a while. Alternatively, you might unlock it at some point without even trying. As before, far and away the best thing for you to do to get this achievement is just to play as Zenyatta as often as possible.
Keep Your Orb Active
The most important factor in getting this achievement is keeping your Orb on an enemy. As soon as it has bounced back to you, you need to be firing it again. The ability has no cooldown, so you can spam it as often as you need to. Get into the habit of constantly hitting left bumper to ensure your Orb is bound to a target.
If you’re having trouble getting your Orb on enemies, you might want to check your settings. Both of Zenyatta’s Orbs have sensitivity sliders and if they’re on low, you will need to be much more accurate with your aim. They should default to 100 – which requires the least accuracy – but it’s worth checking to be sure.
Time Your Moment
Six seconds is not a lot of time. When you only have 1.5 seconds to get each kill, you can’t be worrying about identifying enemies and taking aim; you’re going to want to have everyone lined up before you start. This might just be having a lot of low-health enemies in one place, but you might also want to wait for Zarya’s Graviton Surge or Reinhardt’s Earthshatter to pin enemies down. Conveniently, doing so also eliminates almost all need to aim.

While Zenyatta can work at range, getting this achievement is much easier when close to your targets
Communicating with your team is, as always, likely to help here. You can make calls on who to target, although the timeframe substantially limits that strategy. However, you aren’t going to want to coordinate with splash-damage ultimates like D.Va’s Self-Destruct. You don’t have to be the one getting the killing blows to unlock the achievement, but ultimates like these kill enemies simultaneously and you won’t have an opportunity to get your orb on more than one of them.
At the same time, you’ll want to be wary of enemy abilities. Shields will stop you from getting your Orb on anyone, so flanking can be a useful strategy. Enemy support ultimates like Lúcio’s Sound Barrier or Zenyatta’s Transcendence can completely kill the attempt. Unless you come across a particularly obliging enemy team, it’s impossible to overcome the risk of this happening. Instead, you’re just going to have to try again when you get another opportunity.
More than any other achievement on this list, this one is often a matter of luck. The best advice is simply this: keep playing Zenyatta as much as possible.
Cratered
Back with Doomfist again, this time looking at his ultimate achievement. Cratered asks players to hit all six enemies with a single Meteor Strike in Quick or Competitive play. There are a lot of factors that can disrupt your attempts at this, so it’s unsurprisingly only 0.20% of Xbox players have unlocked it.
Collaborate With Your Team
Meteor Strike deals damage to enemies within a circle with a 7.5m radius. For this achievement to work, the entire enemy team will need to be within a very small space. Given that as soon as they hear Doomfist’s ultimate voice line they’re likely to scatter, this can be impossible without help. It can sometimes be done on maps with small capture points – Lighthouse on Ilios is a good example – but that can be difficult to rely on. Likewise, Escort or Hybrid maps can sometimes see the entire enemy team grouped around the payload, but it’s rare.

Completing Cratered unlocks Doomfist’s cute spray
Instead, you’re better off coordinating with your team. As with most achievements that require you to hit a lot of people simultaneously, Graviton Surge is incredibly useful. Six-man gravs aren’t common, but they’re not impossible. Getting on voice chat with your Zarya is a big help; not only can you communicate what you’re trying to do, you’ll also be able to coordinate when you’re going to use your ultimates. Once all six enemies are caught in the grav, make sure to land your ultimate before your team can kill any of them.
An allied Sombra is also of tremendous use. A single shield can ruin an attempt at this achievement. That means that any enemy Orisa, Reinhardt, Sigma, Brigitte, Winston, or Mei could prevent the Strike from hitting someone. If you can coordinate with your teammate’s EMP then you can knock out any shields beforehand and have a far higher chance of getting your hits in unimpeded.
Watch Out For The Enemy Team Composition
The saving grace of this achievement is that you only have to hit all six enemies, not kill them. This means that you don’t have to worry about tank health or enemy support ultimates; the outcome of the overall fight is irrelevant. However, the makeup of the enemy team is a good early indication of your chances.

On Escort and Hybrid maps, teams tend to spread out more, so try to focus on Control maps
As mentioned, any shield users are a potential problem. An allied Sombra can fix that, but it can be hard to guarantee what heroes your teammates play unless you’re already friends with them.
Worse is the presence of any long-range hero. Widowmaker and Ana in particular are very unlikely to be bunched up with their team. Similarly, Pharah, even if she is nearby, will usually be in the air and out of range. If you find yourself facing off against a team with any of them, you’re probably not going to be able to snag the achievement that round.
Window Of Opportunity
At the time of writing, the rarest Xbox achievement in Overwatch is Baptiste’s Window of Opportunity. This is so difficult to get that a resounding 0.01% of players have managed it. It asks you to amplify a combined total of 2500 damage and health using the Amplification Matrix without dying.
Stay Alive
The key detail here is that you can’t die at any point during the attempt. This is important because you’re going to need to use at least three different ultimates, with four or five being more likely. The achievement requires you to amplify 2500 damage (meaning a damage output of 5000, as the Matrix doubles anything that goes through it), but an average team is only going to have around 1800-1900 collective hit points; trying to do this in a single shot is impossible.

Completing Window of Opportunity unlocks Baptiste’s cute spray
It’s imperative, therefore, that you can stay alive long enough to build up enough ult charge for at least three Amplification Matrices. As with The Floor Is Lava, this takes some selfish play. Baptiste has the slight advantage that he can heal from a distance, so backing off isn’t entirely abandoning your team, but if you need to hide, then do it. In particular, keep an ear out for any enemy ultimate abilities that can take you out quickly, or someone flanking you.
Finding the Right Opportunity
You’re going to need a long match to do this. Achievement streaks don’t carry over between rounds, so you’ll need to do it all in one. As a result, this achievement is nearly impossible on Control maps; instead, you’re going to want to focus on Escort or Hybrid matches as you’ll have more time to work with. You’ll also need to bear in mind the number and position of flanking routes on a given map; as a healer, you’ll be a prime target for anyone sneaking behind you and any death will reset your counter. In this regard, Rialto and Eichenwalde are good choices.
You also need to consider the enemy team composition. In particular, you’re going to need to watch out for Sombra. Her EMP can deactivate the Matrix, leading to a wasted ultimate on your part. If you are facing her, you’ll want to wait to use your ultimate until after she’s used hers.
Further, make a note of any enemies who can take you out in a single hit. Baptiste has 200 HP, so it doesn’t take a lot to bring him down. If the enemy team has a Widowmaker or Hanzo, then you’ll need to do what you can to stay out of any possible sightlines. If they have a Doomfist, try to be vigilant of any possible flanking routes that would be inaccessible to less mobile heroes.

Choke points are usually good places to put your matrix
Lastly, take note of any shield users. Damage against shields will not count for the achievement, so you’ll want to take them out before putting down the Matrix.
Organise Your Team
Unlike many of the other entries on this list, Window of Opportunity doesn’t really require a specific team composition of your own. However, certain heroes can be of assistance.
As with any target-based problem, Graviton Surge can be handy for keeping enemies in front of the Matrix. Similarly, Orisa’s Halt! ability can be used to pull enemies out of cover and into the frame. Otherwise, you’ll want teammates who can do a lot of heavy damage from range. There’s no particular framework to follow here; the Matrix will work for both hitscan and projectile weapons, but won’t charge up Roadhog’s Chain Hook or Brigitte’s Whip Shot. In general, you’ll want allies with high damage output, such as Orisa, Junkrat, and Zenyatta.
Having Zenyatta on your team is doubly useful. Not only does he hit hard, meaning he can add a lot of amplified damage, he has relatively low healing abilities. This leaves more healing for you to do, letting you build up your ultimate more quickly.
Most importantly, speak with your team. Tell them when and where you’re going to place the Matrix so they can actually use it. Baptiste can do a few hundred damage on his own, but it’ll be a much harder job if you don’t have anyone helping you.
Note that while any damage BOB does will count towards the achievement, any healing done to him will not.


