
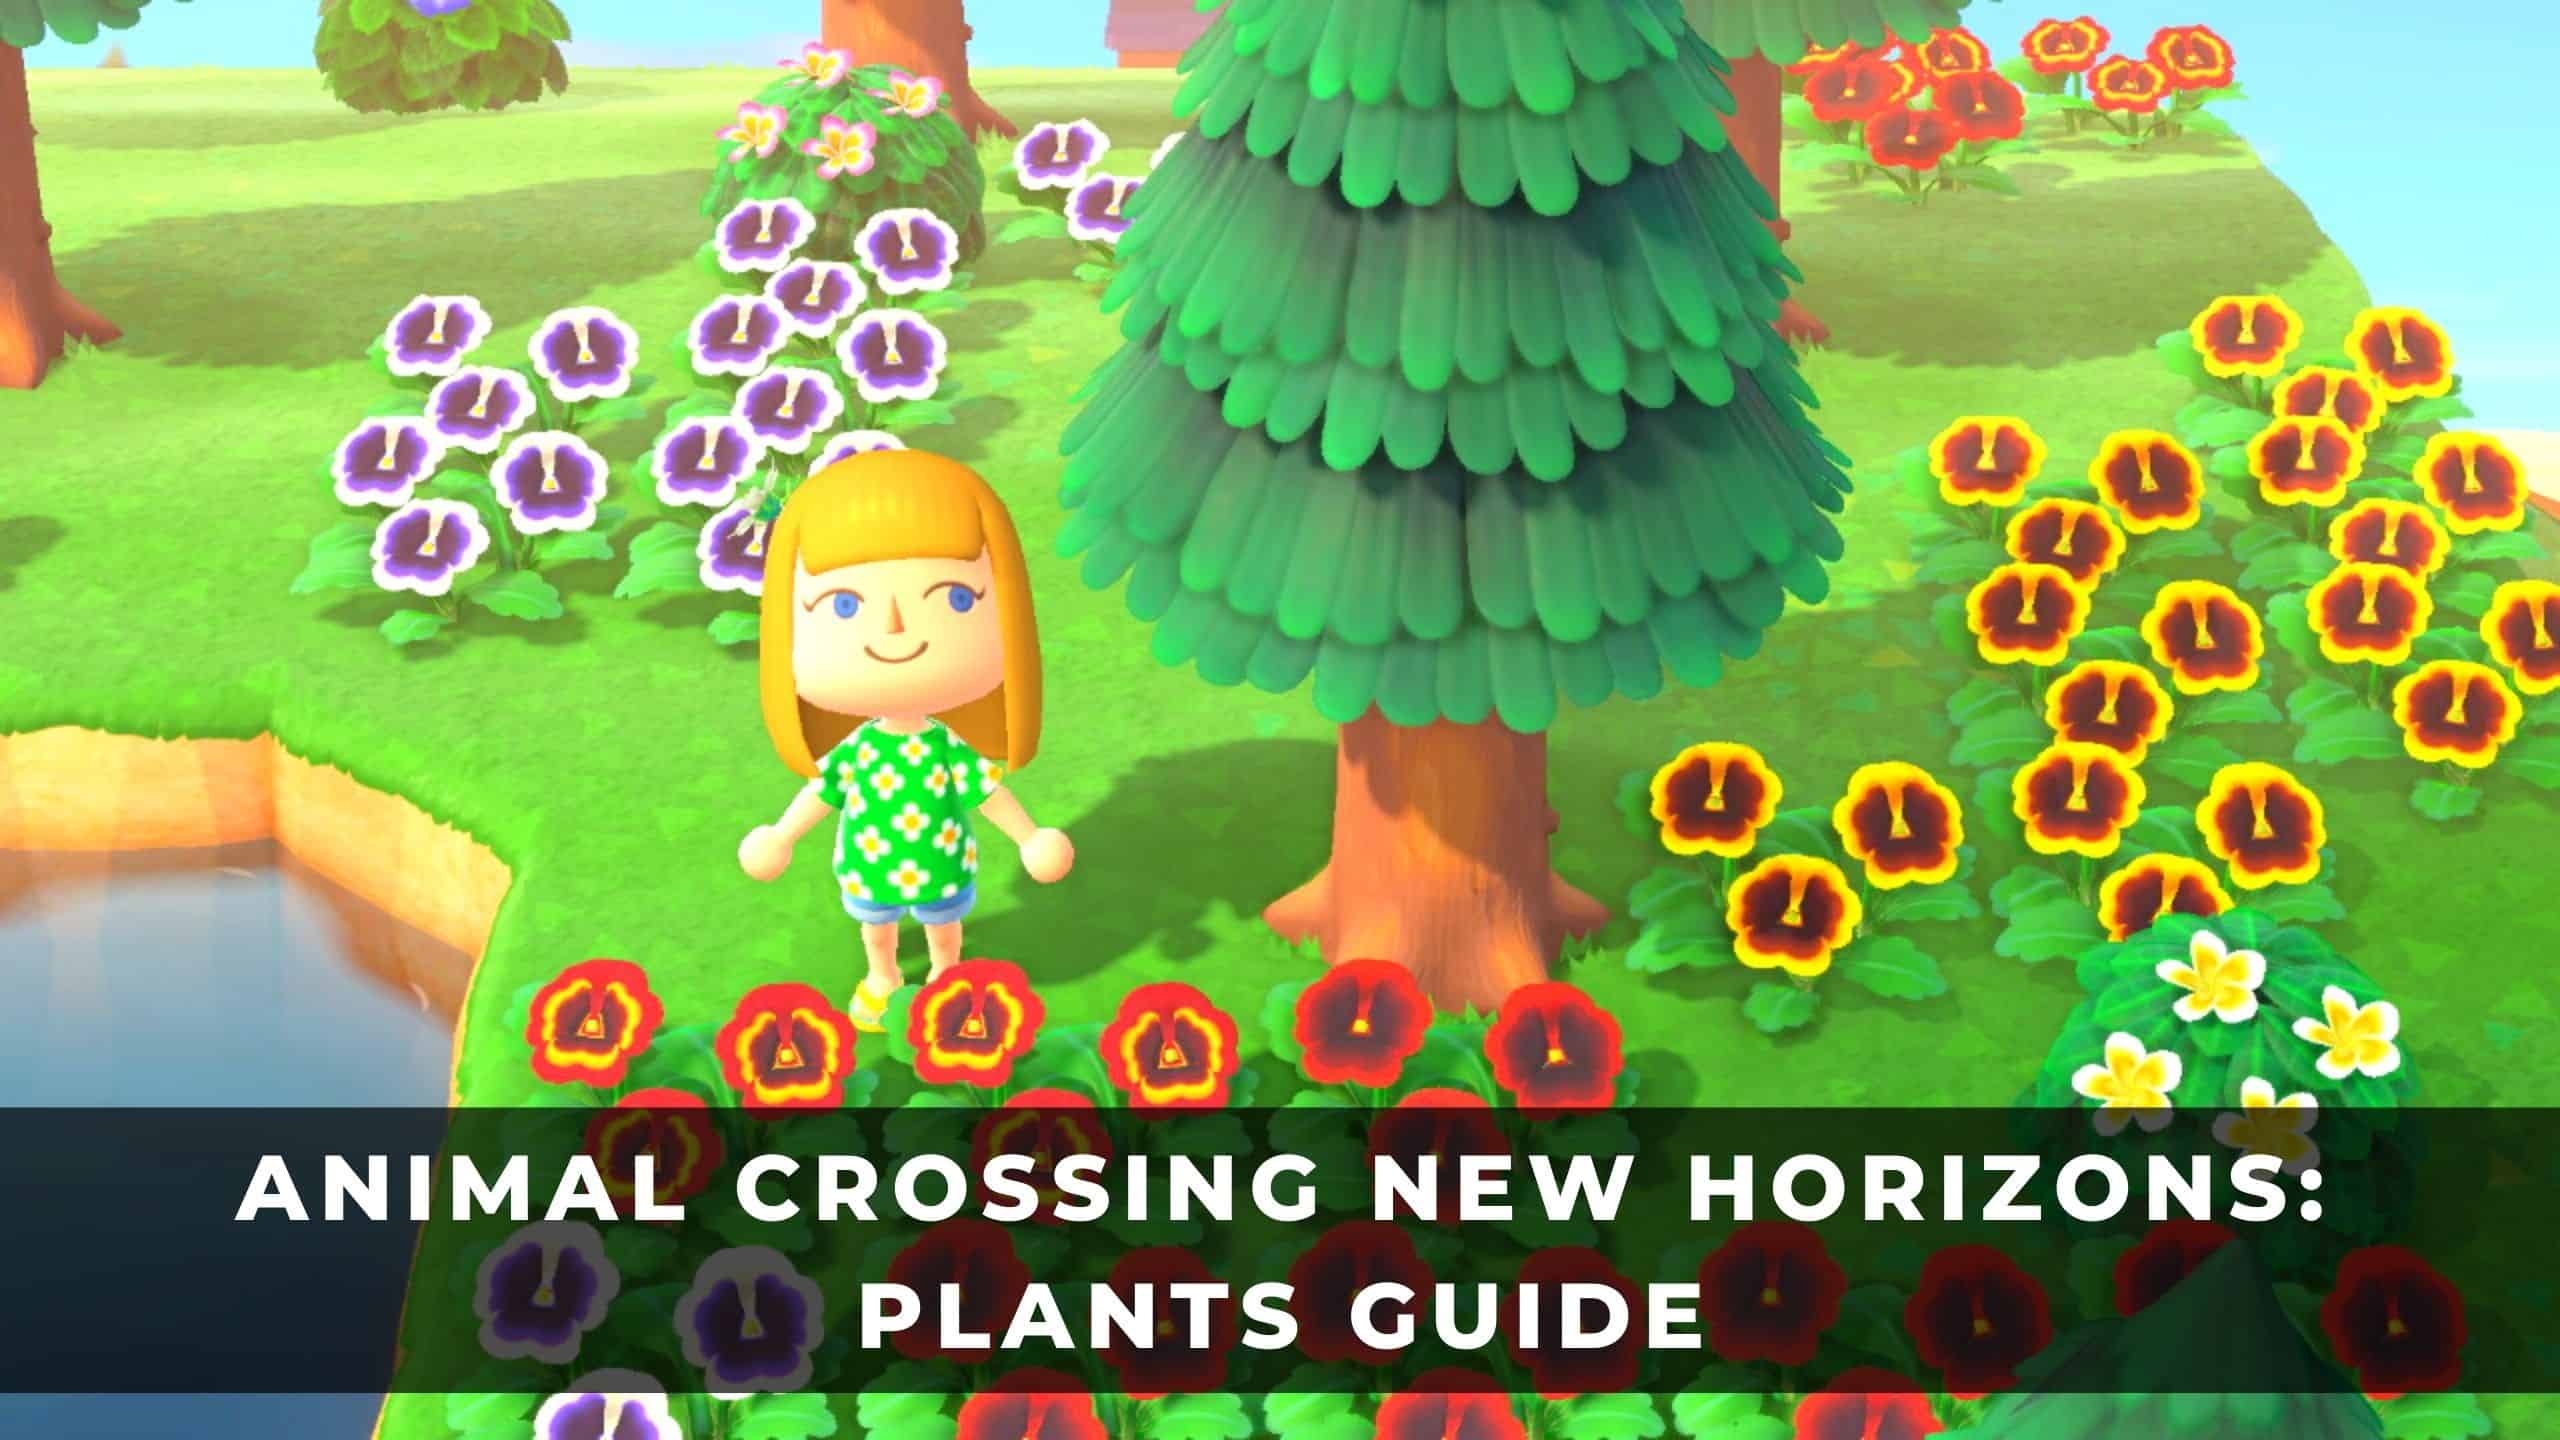
Plants have been prevalent across all Animal Crossing games, and they’ve played an important role. In the latest title in the series, Animal Crossing: New Horizons, plants are probably more important, not to mention more useful, than ever. With your island, there are plenty of ways to populate it with beautiful flora. You can get creative, designing stunning gardens and landscapes with trees, bushes, flowers and more. This guide will cover everything you need to know about plants in New Horizons. You’ll discover what you can find and the purpose of every plant.
Animal Crossing: New Horizons is available now on Nintendo Switch.
For further help with Animal Crossing: New Horizons, check out our other guides.

Trees
Trees are probably the most prevalent plant in Animal Crossing: New Horizons. Trees have a lot of uses. Fruit can grow on them (and money!), certain bugs appear on them, you can chop them for wood (or down completely), and you can even shake them to get items out of them. You also need trees if you want to find mushrooms during the fall. Mushrooms will only spawn around trees, including a particular mushroom that only appears near tree stumps.
TIP: Whole trees can be placed in your inventory by digging them up, but you’ll need energy points to do that. This method is handy if you want to relocate a tree without chopping it down and planting a new tree sapling.

Eat fruit or other food to gain energy points to dig up entire trees.
Interactions
There are quite a few things you can do with trees, in order to gather resources, find bugs, and more. The main interactions are:
Shaking
All types of trees can be shaken in order to drop items. Shaking a tree is very simple. You just walk right up to it and press the A button, and the items will drop to the ground. Then you need to pick the item off the ground by walking up to it and pressing the Y button, then it’ll appear in your inventory.
You mainly shake trees to get fruit off them, but you can also shake non-fruit bearing trees to get other items. Trees can drop coins, random furniture, and branches (used in DIY recipes).
TIP: If you want to shake items from your trees such as fruit and other resources, it’s a good idea to keep the space around it free. If there’s no space, the item will drop and disappear and be lost for good.

Shake trees to drop items – but watch out for wasp nests!
Wasp Nests
You need to be aware that when you shake trees, there’s a danger of it dropping a wasp nest. If it does, you’ve got two choices: have your net ready to catch the wasps, or run and enter the nearest building. When a wasp nest drops, you will pull a panicked face and intense music will play as the angry disturbed wasps chase after you. If the wasps catch up to you, they’ll swarm your face and give you a nasty sting.
NOTE: If you get stung by wasps a second time and haven’t cured your first sting, you will pass out and respawn outside your house, just as you would when you get attacked by a scorpion or tarantula.
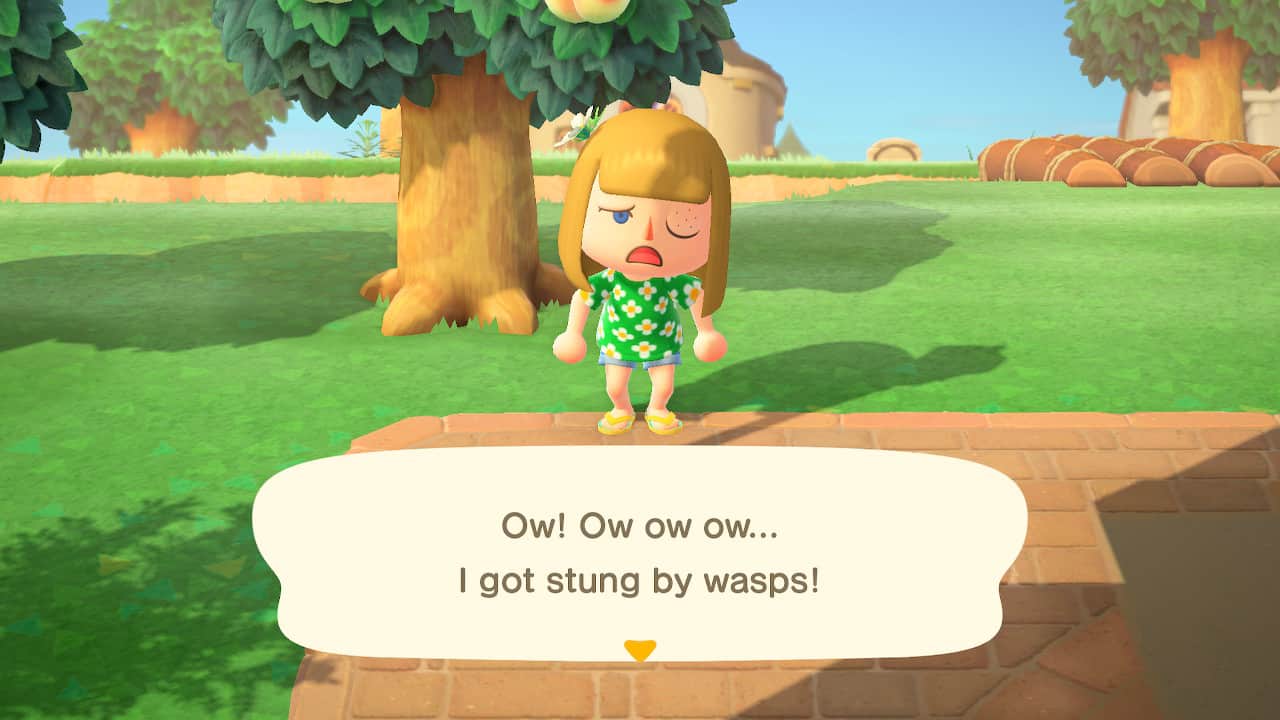
Being stung by a swarm of wasps isn’t nice.
To cure a wasp sting, you can buy medicine from Nook’s Cranny, or you can make your own. To craft your own medicine, you need 4 clumps of weed and one wasp nest. With the medicine, you just need to take it from the inventory by selecting it and the sting will be cured. If you can’t get medicine, the sting will disappear on its own the next day.
While wasps are generally bad news, they do have their uses. Wasps are one of the bugs you need to complete your Critterpedia and fill up your museum. Whether or not you get stung, you can collect the wasp nest after it’s dropped. Apart from crafting medicine, you can use wasp nests in certain DIY recipes. They also sell for a decent price, so they’re worth picking up after a wasp encounter.

Wasp nests can be used to craft medicine to cure wasp stings, among other DIY recipes.
You can catch wasps, but it’s not easy. The only way to get them is by shaking a nest out of a tree, but you have to be prepared. Wasps are fast and ruthless. Ideally, you want to have your net equipped. Once the wasp nest drops, be ready. They’ll move quick, so position yourself. Just before the swarm reaches you, swing your net at them. Make sure there’s nothing obstructing your way, such as any trees, buildings, objects, or characters.
Every day, 5 random trees on your island will be concealing a wasp nest, so take care when you go about shaking trees.

Be on your guard when shaking trees, otherwise wasps will give you a nasty surprise.
Chopping
As well as shaking trees, you can also chop them. There are two reasons to chop trees: to get wood, and to cut them down. In order to chop a tree, you need an axe. You must have a regular or golden axe in order to chop down trees. The flimsy and stone axes will only let you obtain wood but are not strong enough to cut a tree down.
Chopping trees is easy. You simply face a tree with an axe equipped and press the A button. Press the button every time you want to swing at the tree. To completely cut a tree down, use a regular or golden axe on it 3 times and it will come tumbling down. A tree cut down will leave a stump behind.
TIP: If you want to chop at a tree for wood but don’t want to cut it down, watch how many times you use the axe on it. If you want to chop at a tree to get wood, consider getting a separate flimsy or stone axe for this purpose, then get a regular or golden axe for chopping trees down.

Want to get wood but don’t want to accidentally chop down a tree? Use a weaker axe.
Every time you chop at a tree, it will randomly drop wood. You can get 3 types of wood: hardwood (dark), regular wood (medium), and softwood (light). The different types of wood are used in many DIY recipes. If you’re after a particular type of wood, you may have to chop at several trees to get it, since they drop randomly.
NOTE: Be careful when chopping at trees, because it’ll also drop any items in the tree, such as fruit and wasp nests.

You can get 3 types of wood from chopping at trees, which are used in many DIY recipes.
Tree Stumps
Tree stumps are the result of a tree being chopped down. Trees do not fall by themselves, so the only way to get a stump is by using an axe to cut a tree down. It’s a good idea to have at least one tree stump on your island. Certain bugs will only appear on them. Also, you can sit on them.
If you want to get rid of a tree stump, dig it up with a shovel. You don’t need any energy points to do this.

It’s nice to sit on a tree stump and relax for a bit.
Types of Trees
There are a few types of trees: the hardwood tree, fruit tree, cedar tree, palm tree, and money tree. Each of these trees offers something different.
Hardwood Tree
This is the most common tree in New Horizons. It looks almost identical to the fruit tree, but there are some subtle differences.
Their colors are slightly different, for one. This is especially noticeable in the fall season, when the leaves start changing color. Hardwood trees will change color later than fruit trees. This is a good way of identifying a hardwood tree if you’ve shaken all the fruit off the fruit trees.
For a short period of time in the spring, New Horizons experiences the cherry blossom season. This is when the leaves on the hardwood tree are transformed into pink flowers. Only the hardwood tree produces cherry blossoms, so if you want to marvel in this spectacular sight, plant plenty of them.

Hardwood trees have cherry blossom in mid-spring, while fruit trees don’t.
You also need hardwood trees if you want to find acorns (fall season only). You can get these by shaking your trees.
If you want to plant more hardwood trees, then you need to buy the saplings from Nook’s Cranny or Leif’s garden stall (they cost 640 Bells per sapling). Also, money trees you plant and then harvest (shake the money bags off) became regular hardwood trees. Hardwood saplings sometimes turn up in the recycling box at Resident Services.
Fruit Tree
These look similar to hardwood trees, but with one obvious difference: they produce fruit!
In New Horizons, you can get 5 different types of fruit trees: apple, cherry, orange, peach, and pear. When you start a new game, your island is assigned a fruit randomly. This is the fruit that is native to your island and is already populated. If you want to get different types of fruit on your island, you’ll have to go out and find them.
Unfortunately, obtaining non-native fruit is not as easy in New Horizons than previous games. You may have to travel to other players’ islands to get them all. You can also get different fruit as random gifts from villagers, as well as going on Mystery Island Tours.

To get different fruit trees, you may have to visit other players’ islands.
Every fruit tree spawns 3 of the same fruit. To get them, you need to shake the tree, so they’ll drop onto the ground. When you collect the fruit, they’ll stack in your inventory.
To plant a fruit tree, you need to dig a hole using a Shovel and then bury the fruit. If done right, within days it’ll grow into a tree bearing that fruit.
Fruit trees are very useful. You can eat fruit for energy points, which allows you to smash rocks and dig up entire trees. You can gift fruit to villagers and other players (very useful if you’re after a type of fruit not currently available on your island). Fruit is also used in DIY recipes and cooking.

When you create a new game, your island will be randomly assigned a native fruit.
It’s a good idea to try and have at least one of every kind of fruit tree on your island. If you want to get all 5 types of tree, you may have to pay another player’s island a visit.
Cedar Tree
This tree is quite different to the other types of trees. Cedar trees never change color throughout the season and never lose their leaves, as they are evergreen.
Like hardwood trees, the only way to plant more is by purchasing cedar saplings at Nook’s Cranny and Leif’s garden stall (640 Bells each). The recycling box at Resident Services also sometimes spawns this sapling.
During the festive winter season, cedar trees receive a bit of a makeover. They’ll have colorful string lights hanging on them, which look particularly stunning at night when you see the lights glowing in the dark. At this time, you can shake cedar trees to get ornaments, used in festive time-limited DIY recipes.
Additionally, in the fall, cedar trees are the only trees that drop pine cones. Pine cones are a collectible used in seasonal DIY recipes.
NOTE: If you’ve played previous Animal Crossing games, you may be aware that cedar trees could only grow on higher ground. In New Horizons, you can grow cedar trees anywhere, except on the beach.

Cedar trees are decorated for the festive season for part of winter.
Palm Tree
Like cedar trees, palm trees are evergreen and never change color, but there are more differences than that.
Palm trees will only grow on beaches, nowhere else. The only place you can get palm trees is by going on Mystery Island Tours or Kapp’n’s Boat Tours (or visiting other players’ islands) and either digging up whole palm trees with a shovel or taking home the coconuts that grow on them and burying them in the sand.
Palm trees are similar to fruit trees in that they produce an edible resource: coconuts. These sell for 250 Bells each.
Certain bugs also exclusively appear on palm trees, so if you want to fill up the museum and the Critterpedia, plant at least one on your island.

Palm trees look great on your beaches.
Money Tree
Money trees are a very special kind of tree in Animal Crossing. They look similar to hardwood and fruit trees, except they produce money.
Every day on your island, there will be a random glowing spot on the ground. Dig this up with a shovel and you’ll get 1,000 Bells. If you want to grow a money tree, you need to bury some money (or lots of it) in the same spot. In a few days, the tree will grow and produce money. You’ll only be able to pick the money bags once; they do not reproduce money, unlike fruit and palm trees. After you’ve shaken the money down, the tree will become a regular hardwood tree.
For more information on money trees, check out this guide.
Bugs
Trees serve lots of useful purposes, but they also attract bugs. These bugs only appear on the trunk of trees. It’s a good idea to have at least one hardwood tree, cedar tree, and palm tree on your island. Bugs generally appear on trees during the summer seasons. Bugs on trees must be approached cautiously, otherwise they’ll get spooked and fly away. Some bugs also appear by shaking trees, and then there are wasps.

Lots of bugs can be found exclusively on trees.
Here is a complete list of bugs found on or in trees:
| Name | Selling Price | Location | Time of Day | Month |
| Atlas Moth | 3,000 | All Trees | 7pm – 4am | NH: April – September SH: October – March |
| Bagworm | 600 | Shaking Trees | All Day | Both Hemispheres: All Year |
| Blue Weevil Beetle | 800 | Palm Trees | All Day | NH: July – August SH: January – February |
| Brown Cicada | 250 | All Trees | 8am – 5pm | NH: July – August SH: January – February |
| Cicada Shell | 10 | All Trees | All Day | NH: July – August SH: January – February |
| Citrus Long-Horned Beetle | 350 | Tree Stumps | All Day | Both Hemispheres: All Year |
| Cyclommatus Stag | 8,000 | Palm Trees | 5pm – 8am | NH: July – August SH: January – February |
| Drone Beetle | 200 | All Trees | All Day | NH: June – August SH: December – February |
| Evening Cicada | 550 | All Trees | 4am – 8pm / 4pm – 7pm | NH: July – August SH: January – February |
| Giant Cicada | 500 | All Trees | 8am – 5pm | NH: July – August SH: January – February |
| Giant Stag | 10,000 | All Trees | 11pm – 8am | NH: July – August SH: January – February |
| Giraffe Stag | 12,000 | Palm Trees | 5pm – 8am | NH: July – August SH: January – February |
| Golden Stag | 12,000 | Palm Trees | 5pm – 8am | NH: July – August SH: January – February |
| Goliath Beetle | 8,000 | Palm Trees | 5pm – 8am | NH: June – September SH: December – March |
| Horned Atlas | 8,000 | Palm Trees | 5pm – 8am | NH: July – August SH: January – February |
| Horned Dynastid | 1,350 | Palm Trees | 5pm – 8am | NH: July – August SH: January – February |
| Horned Elephant | 8,000 | Palm Trees | 5pm – 8am | NH: July – August SH: January – February |
| Horned Hercules | 12,000 | Palm Trees | 5pm – 8am | NH: July – August SH: January – February |
| Jewel Beetle | 2,400 | Tree Stumps | All Day | NH: April – September SH: October – March |
| Miyama Stag | 1,000 | All Trees | All Day | NH: July – August SH: January – February |
| Rainbow Stag | 6,000 | All Trees | 7pm – 8am | NH: June – September SH: December – March |
| Robust Cicada | 300 | All Trees | 8am – 5pm | NH: July – August SH: January – February |
| Rosalia Batesi Beetle | 3,000 | Tree Stumps | All Day | NH: May – September SH: November – March (SH) |
| Saw Stag | 2,000 | All Trees | All Day | NH: July – August SH: January – February |
| Scarab Beetle | 10,000 | All Trees | 11pm – 8am | NH: July – August SH: January – February |
| Spider | 600 | Shaking Trees | 7pm – 8am | Both Hemispheres: All Year |
| Violin Beetle | 450 | Tree Stumps | All Day | NH: May – June / September – November SH: November – December / March – May |
| Walker Cicada | 400 | All Trees | 8am – 5pm | NH: August – September SH: February – March |
| Walking Leaf | 600 | Under Trees | All Day | NH: July – September SH: January – March |
| Walking Stick | 600 | All Trees | 4am – 8am / 5pm – 7pm | NH: July – November SH: January – May |
| Wasp | 2,500 | Shaking Trees (Wasp Nest) | All Day | Both Hemispheres: All Year |
Flowers
Flowers are a great way to spruce up any island. There are a variety of flowers to plant on your island and you can get really creative with them. With careful placement, you can produce flowers in unique colors.
It’s a good idea to have at least a few flowers on your island. They serve some useful purposes, beyond looking colorful and attractive. They can be used in some DIY recipes. They can even be worn as an accessory. Flowers also attract bugs. If you’re aiming to have a 5-star rated island, flowers are a must.

You can craft items with flowers, including wreaths.
There are some things you should know about flowers in New Horizons. They work a little differently than previous Animal Crossing games. They will never wilt and die, nor will they completely disappear in a puff of petals if you run through them.
If you pick a flower by pressing the Y button, instead of putting the whole plant in your pocket, you’ll just put the flower head in, leaving the plant minus the flower behind. The flower will respawn the next day (you don’t need to water it for this to happen, nor will it speed the process up).
You cannot replant a flower just by picking it’s head. If you select a flower’s head in the inventory, the only option is to Drop it on the ground.
In order to pick up a whole flower, you need a shovel to dig it up. To replant it, simply select it in your inventory and select Plant. You don’t need to dig a hole to plant a flower.
Types of Flowers
In Animal Crossing: New Horizons, there are 8 types of flowers altogether that you can plant. Some of these are new to New Horizons.
The flowers that you can get in New Horizons are:
- Cosmos
- Hyacinths
- Lilies
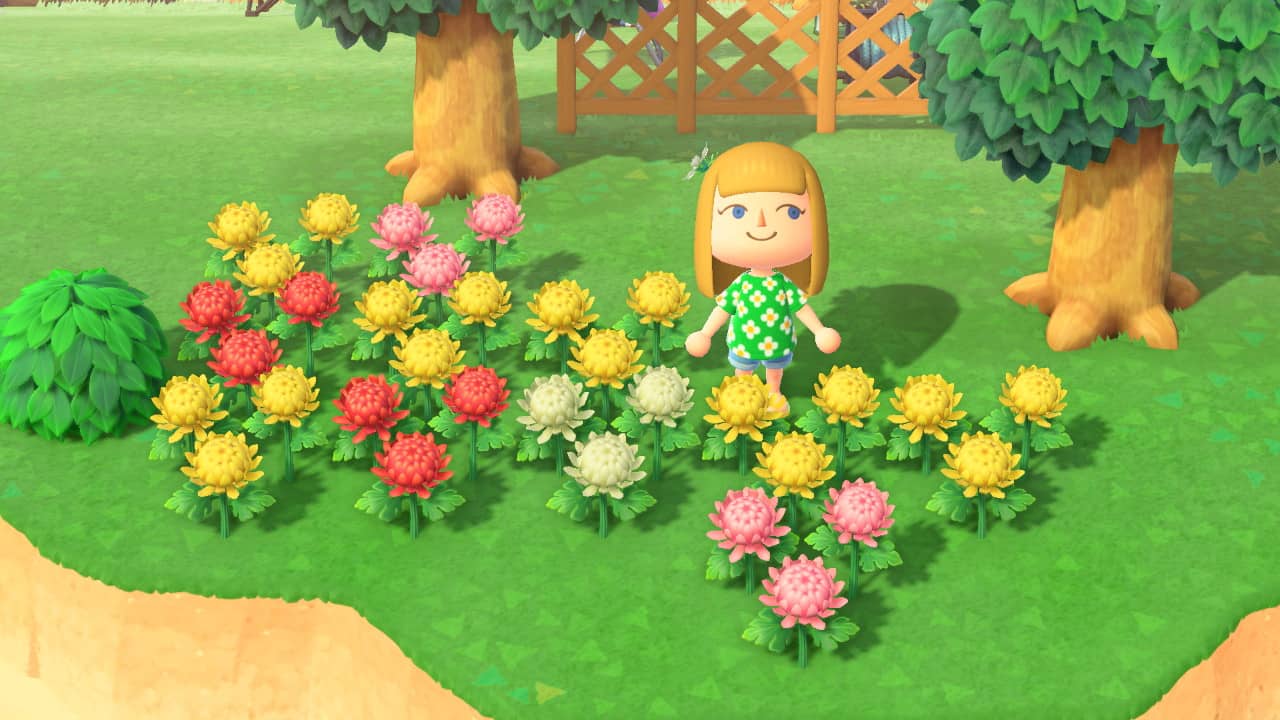
- Mums
- Pansies
- Roses
- Tulips
- Windflowers
Each of these flowers are distinctive in appearance to each other. However, they all function the same. No flower behaves in a unique way.
You can buy flowers from the cabinet at Nook’s Cranny or Leif’s garden stall for 240 Bells each, or 1,200 Bells for 5 flowers.
-

- Cosmos.

-
- Hyacinths.

-
- Lilies.

-
- Mums.
-
- Pansies.

-
- Roses.

-
- Tulips.

-
- Windflowers.

Flower Colors
All flowers, regardless of type, come in three default colors: red, yellow, and white. This may seem a bit limiting, but there’s a way to get more colors. However, it’s not a completely straightforward process. You can only buy the three default flower colors at Nook’s Cranny or Leif’s garden stall. To get more colors, you’ll need to breed flowers.
With breeding, you can get flowers in the following colors:
- Black
- Blue
- Orange
- Pink
- Purple
It’s quite easy to get colors such as pink and orange. For pink, you need to mix red and white flowers, while orange needs yellow and red. It’s more difficult with certain colors though, as they may need two of a rare-colored flower to produce.

There are lots of different types of flowers in different colors.
Flower Breeding
We already have a detailed guide on the mechanics of flower breeding and how to get certain colors. However, here’s a summary of how it works.
Flowers breed when you place flowers of the same type next to each other. So long as they’re in close proximity, they should breed.
TIP: You should ideally have a big enough space to let new flowers appear if you want to seriously breed them in big numbers. If you run out of space, new flowers won’t show up.

Breeding flowers takes work, time, patience… and space!
When flowers breed, a new flower will appear next to them. They’ll either be a spawn of one of the two flowers in the same color, or they’ll be a new color. Flowers won’t always spawn though, or you may not get the colored flower you want.
If you want to breed flowers, you should water them regularly by using the watering can tool. Rain also speeds up the breeding process.

If you want to speed up breeding, water your flowers daily.
There’s no guarantee that the desired color you want will spawn. It’s a matter of patience and technique.
TIP: If you’re having trouble spawning certain colors, try moving the whole plants around with the shovel and repositioning them. You can also try planting more of the colors you need to mix to get certain results for more success. For example, if you want to get a pink flower but are struggling, try planting more red and white flowers together.
Bugs
As with trees, certain bugs are attracted to flowers. If you’re after completing your Critterpedia or filling up the museum, you should have some flowers on your island to get these bugs. If you’re on the look-out for bugs, watch out as you walk past flowers. Even walking by can spook bugs and make them fly away.

Orchid mantis is a bug found only on white flowers.
The following bugs can be found exclusively around flowers:
| Name | Selling Price | Location | Time of Day | Time of Year |
| Ladybug | 200 | All Flowers | 8am – 5pm | NH: March – June / October SH: September – December / April |
| Man-Faced Stink Bug | 1,000 | All Flowers | 7pm – 8am | NH: March – October SH: September – April |
| Mantis | 430 | All Flowers | 8am – 5pm | NH: March – November SH: September – May |
| Orchid Mantis | 2,400 | White Flowers | 8am – 5pm | NH: March – November SH: September – May |
| Peacock Butterfly | 2,500 | Hybrid Flowers | 4am – 7pm | NH: March – June SH: September – December |
| Stinkbug | 120 | All Flowers | All Day | NH: March – October SH: September – April |
Wearing Flowers
Flowers can also be worn as a fashion accessory. All types of flowers can be worn in all colors. They can be worn in either your hair or in your mouth, depending on the flower.
TIP: If you want to have a variety of flowers to choose from for accessorizing, gather one of every type of flower in every color, then put them in your storage at your house. By accessing the wardrobe, the flowers will appear in the Accessories tab.

Flowers make for a fetching fashion accessory.
Shrubs
Shrubs serve as more of a decorative plant in New Horizons. They don’t really have much purpose or use, except for making your island look attractive and varying the plant life beyond flowers and trees. This isn’t to say that you shouldn’t plant a few around your island though. They are very attractive, and you can get creative with them when landscaping gardens.
Shrubs are not like trees or flowers. You can’t shake them to drop fruit or other items or bugs. You also can’t pick the flowers that grow from them. Shrubs also do not need watering.
Where To Get Shrubs
The only place you can get shrubs is from Leif’s garden stall, and only a few types are available at any one time. When you visit Leif, you’ll have a shrub that’s in season, plus one or two other out-of-season shrubs. All shrubs cost 280 Bells individually, or you can buy them in bulks of 5 for 1,400 Bells.
After purchasing shrub saplings, you can simply plant them in the ground on your island. You don’t need to dig a hole with a shovel to plant them. They will grow up in a few days.
TIP: If you plant a shrub and it’s not growing, it may be in the wrong place. You need to dig it up and plant it elsewhere. You don’t need energy points to dig up a shrub.

Leif sells shrubs that are both in and out of season.
Types of Shrubs
There are a variety of shrubs available that you can plant on your island. They all differ in the color and shape of leaves, as well as the flower they produce, but are all the same size.
Every shrub has flowers that come in 2 different colors, except for holly, which only has one.
The flowers on shrubs will bud and blossom depending on the time of year. When a shrub is not in season, it won’t have any flowers, just leaves. When a shrub is about to come into season, it will bud for a few days before the flowers come out.
-
- White azalea.

-
- Pink azalea.

-
- Red and pink camellias.

-
- Blue and pink hydrangeas.

-
- Pink and white plumerias.

-
- Hibiscus shrub currently not in season.

The shrubs you can get and their seasons are:
| Name | Colors | Flower Blooming Season |
| Azalea | Pink + White | NH: Mid April – Late May SH: Mid October – Late November |
| Camellia | Pink + Red | NH: Early January – Late March SH: Early July – Late September |
| Hibiscus | Yellow + Red | NH: Late July – Mid September SH: Late January – Mid March |
| Holly | Red | NH: Early November – Late December SH: Early May – Late June |
| Hydrangea | Pink + Blue | NH: Early June – Mid July SH: Early December – Mid January |
| Plumeria | Pink + White | NH: Early June – Mid September SH: Early December – Mid March |
| Tea-Olive | Yellow + Orange | NH: Late September – Late October SH: Late March – Late April |
Bamboo
Bamboo is a rather special type of plant, in more ways than one. Like shrubs, they are not initially present on your island when you first arrive there. Bamboo is also more difficult to come by. It is worth getting bamboo though, since the resources you can get from it is used in some DIY recipes, and you can sell bamboo for money.
How To Get Bamboo
Bamboo does not grow on your island naturally. You also cannot purchase bamboo shoots from places such as Nook’s Cranny or Resident Services. Even Leif doesn’t sell it.
There’s only one place you can get bamboo, and getting it isn’t that straightforward. One of the Mystery Island Tours you can do with a Nook Miles Ticket is an island that is populated with bamboo trees. You can dig up the bamboo shoots in the ground and take them home to plant and grow your own bamboo, or you can dig up an entire bamboo tree and take it back to your island and rehome it there.

Obtaining bamboo can be tricky but isn’t impossible. You just need patience and a lot of Nook Miles.
The only issue with this is that Mystery Island Tours are chosen at random. There’s no guarantee that you’ll be taken to the bamboo island. All you can do is keep purchasing Nook Miles Tickets from Resident Services (they cost 2,000 Nook Miles each) and keep taking the Mystery Island Tour until you finally get to the bamboo island. You might get lucky and travel there quickly, or it may take some time before you get there. Be patient, because you will get there eventually!
TIP #1: Since getting access to the bamboo island is quite difficult, it’s a good idea that when you go there for the first time, gather a bunch of bamboo shoots or even entire bamboo trees. Even if you don’t plan to have bamboo on your island at this stage, you never know when you’ll next be able to travel there.
TIP #2: If you don’t want your island to be overtaken by bamboo, consider having an area on your island just for growing bamboo.
TIP #3: You can also get bamboo shoots as a reward from Daisy Mae for buying her turnips.
Once you’ve got either bamboo shoots or bamboo trees in your pocket, take them back to your island and plant them. They grow pretty much anywhere, including on higher ground. When a bamboo tree is fully grown, bamboo shoots will appear in the ground around it, waiting to be dug up. You can either plant more bamboo trees, or you can sell them for some decent Bells (250 each).

Set aside a place on your island to exclusively grow bamboo, unless you want it growing everywhere.
Bamboo Resources and DIY Recipes
Does bamboo have a purpose? Yes, it does. Apart from being an attractive and distinctive plant, bamboo has some practical uses. You can get some unique resources from it, which can be used in bamboo DIY recipes.
You can chop at bamboo trees with an axe, just like you would with trees, to get bamboo pieces. In the spring season (February 25th to May 31st in the northern hemisphere, August 25th to November 30th in the southern hemisphere), you can get young spring bamboo. These can be used for bamboo DIY recipes and young spring bamboo DIY recipes.
TIP: As with trees, be careful when chopping at bamboo with axe. Do it too many times to one and it’ll come down completely. If you want to avoid this happening, consider crafting a flimsy or stone axe for this purpose.

You can craft some cool stuff with bamboo.
You can find bamboo DIY recipes in the usual New Horizons way, by popping balloons and getting them from villagers. You’ll get the young spring bamboo recipes during the spring, when they’re in season.
Weeds
You might think weeds are pointless and look unattractive, but in New Horizons, that’s not necessarily the case. Weeds spring up on your island and negatively impact on your island’s star rating. You can periodically uproot them and cleanse your island (either manually by hand or by paying Leif), but they will always spawn. If left alone, weeds will grow and expand. If left alone too long, they will grow out of control.
TIP: You don’t have to get rid of weeds, if they don’t bother you. However, if you want a high island star rating, you should think about clearing up all weeds.
Weeds are more useful in New Horizons compared to past Animal Crossing games.
Weeds have been in past Animal Crossing games, but New Horizons gives them more of a purpose (plus they look different in this game). Weeds can be used in certain DIY recipes, namely organic recipes such as potted plants. They are also used to create your own medicine, useful against those nasty wasp stings.
Weeds can also be sold for money. If sold to Timmy and Tommy, they’ll sell for 10 Bells a clump. However, if you take them to Leif, he’ll sell them for double at 20 Bells per clump.
TIP #1: If you want to make more money selling weeds, it may be worth waiting to pay Leif a visit, whether he visits your island or you visit him at Harv’s Island after unlocking his garden stall.
TIP #2: It might be a good idea to store some weeds away, in case you need them to make up some medicine if you have a nasty encounter with wasps.
TIP #3: If you’re in need of weeds but can’t wait for your island to spawn them, consider going on a Mystery Island Tour or Kapp’n’s Boat Tour. You’re likely to find that the islands are overgrown with weeds.
Weeds Throughout the Seasons
Throughout the year, you may notice that weeds look slightly different. This doesn’t affect how weeds function or how they’re used in recipes; this is just for aesthetic, a realistic reflection on the changing seasons.
| Season | Appearance Description |
| Spring | Green leaves with pink and white flowers |
| Summer | Green leaves with yellow and white flowers |
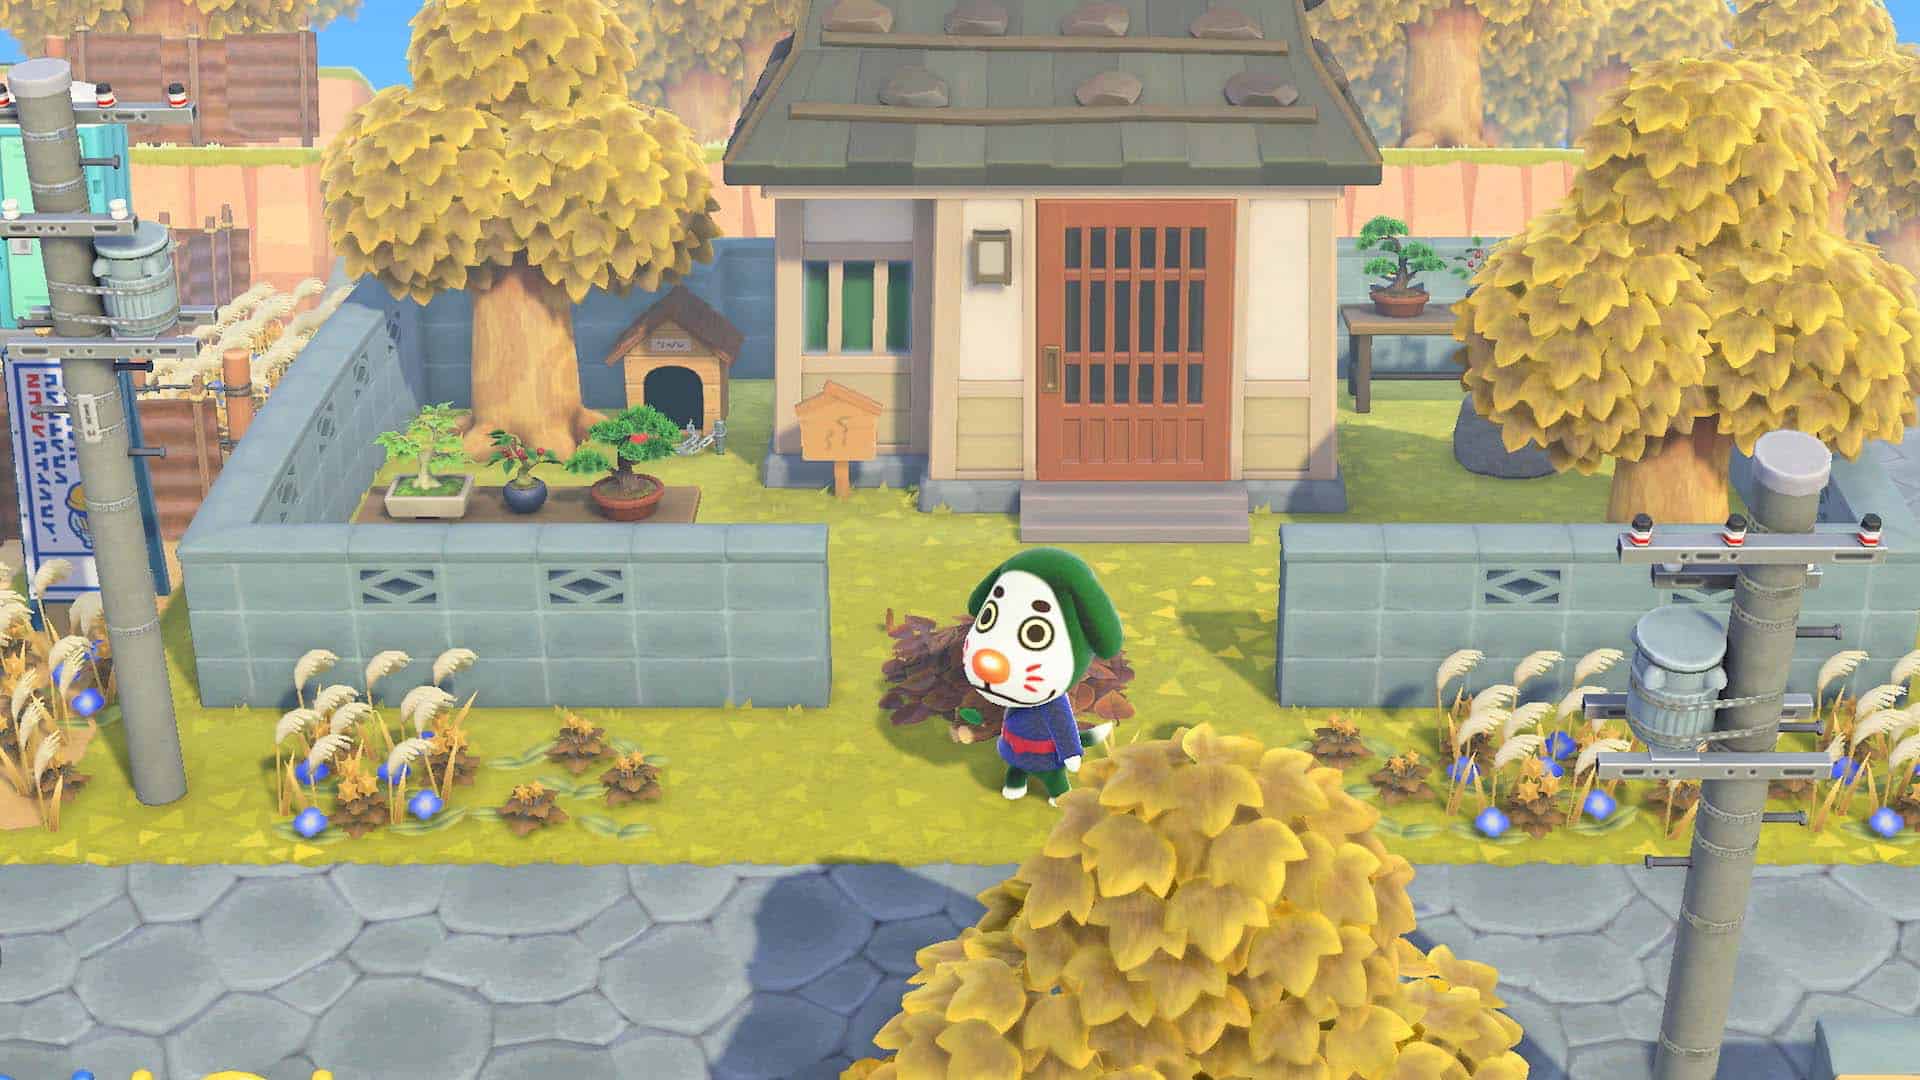
| Early Autumn | Green leaves with blue flowers and yellow tufts |
| Autumn – Late Autumn | Brown-green leaves with indigo flowers and yellow tufts |
| Winter (with Snow) | White and greyish-green leaves and grass tufts |
| Winter (no Snow) | Bluish-green leaves with yellow and purple flowers |
-
- Weeds in the spring.

-
- Weeds in the summer.
-
- Weeds in the fall.

-
- Weeds in the snowy winter.

Other Plants
Animal Crossing: New Horizons features some plant life that is new and exclusive to this game. These serve purpose, usually for DIY recipes.
Produce
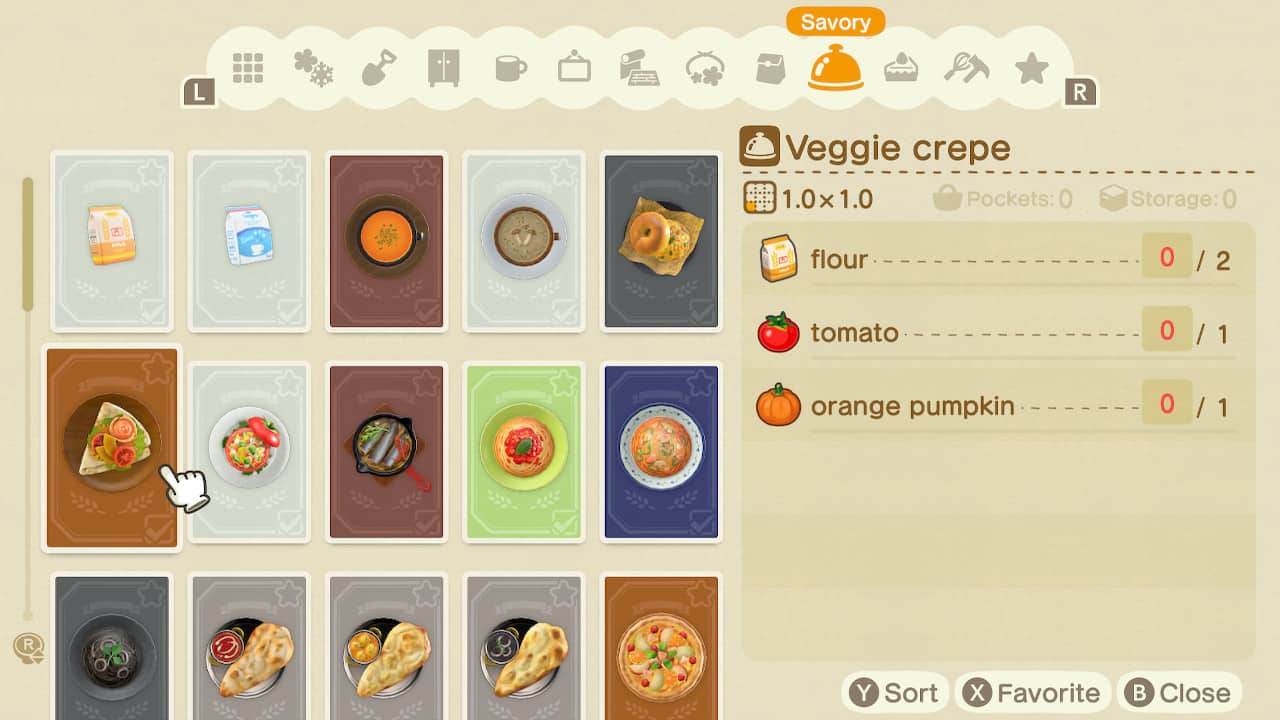
This was introduced in the 2.0 Free Update, which also added the ability to cook recipes. Produce are food items that you can grow. You could think of them as functioning similarly to fruit trees.
You can buy produce at Leif’s garden stall (individually or in bulks of 5). Every week, 2 produce starts will be available. You get the following produce in New Horizons:
- Carrots
- Potatoes
- Pumpkins
- Sugarcane
- Tomatoes
- Wheat
This may not seem like an extensive list, but it’s surprising the amount of stuff you can cook up with these ingredients.

The 6 different produce you can grow in New Horizons.
Growing produce is very easy. It’s just like planting trees and shrubs. You just plant the start in the ground, and in a few days, it’ll be ready for harvesting.
TIP: If you plan to do a lot of cooking, you should plant at least 5 of each of the 6 produce you can buy, so you have plenty of ingredients stocked up for your recipes.
During Halloween in October, you can get pumpkin starts from Nook’s Cranny.
There’s also a tour courtesy of Kapp’n that has an island with one type of produce growing there.
Villagers will also trade you their produce during the Turkey Day event.
Grow produce so you can cook some delicious recipes.
Glowing Moss
Glowing Moss is a special type of flora that grows on a specific tour that you can go on through Kapp’n. It is specifically used as a crafting resource in some unique DIY recipes. If you get to the island with this moss, it’s worth gathering them up. Alternatively, moss sells for 25 Bells each, a little more than weeds (even at Leif’s prices).
Vines
Like glowing moss, vines are a special flora that can be used for certain DIY recipes. If you’re lucky enough to be taken to the island populated with this plant via Kapp’n, be sure to pick some up. They sell for a bit more than glowing moss at 50 Bells each.
Vines aren’t just for DIY recipes though. You can use them to climb up cliffs, as you do with the Ladder Set-Up Kit. If you find some on the island tour, you could take some home with you and place them against your cliffs so you can scale them, plus they add some extra flora to your island.

You should gather some vines and glowing moss to make unique DIY items.
Turnips
Turnips are a staple of the Animal Crossing series. Joan and Daisy Mae are famous for selling them every Sunday. You can buy these and then sell them at varying prices throughout the week at Nook’s Cranny.
For further information on the turnip exchange, see this guide.
TIP #1: If you want to buy some turnips from Daisy Mae in New Horizons, be sure to catch her before noon, or you’ll miss your chance.
TIP #2: Make sure you sell your turnips before 5am on Sunday, or else the turnips will spoil and will greatly lose their value.

Check in with Timmy and Tommy to find out how much turnips are currently worth.
That rounds up this Animal Crossing: New Horizons plants guide. If there’s anything we’ve missed or you’ve got some tips to share, let us know in the comments.


