
Villagers are one of the most important mobs in Minecraft to take advantage of. This Minecraft Villager Trading Guide will serve as an introduction to everything you need to know in order to take advantage of villager trading to obtain resources and powerful loot!
Obtaining Villagers
While you can trade with the villagers you find in a village, it is more convenient to have villagers near your base. Villagers can not be put on a lead, so luring them back to your base can be a little tricky and a little tedious. One method of luring villagers is by using Job Blocks (Fletcher Table, Lectern, Etc.). Unemployed villagers will walk towards a nearby unclaimed Job Block. By repeatedly placing and mining the Job Block you can get Villagers to follow you, albeit quite slowly.
Alternatively, while you can not put villagers on leads, you can put them in boats. By placing a boat next to a villager you are able to make it enter the boat. Once inside the boat you can also enter the boat and drive the villager wherever you want. When in a boat you can’t move up blocks, stairs or slabs so you have to make sure that your destination is on the same y-level coordinate. If you need to transport villagers long distances, it might be worth making a path through the nether as every block travelled in the nether is equivalent to 8 blocks in the overworld. However, once you’ve obtained 2 villagers you will be able to breed them to get more.
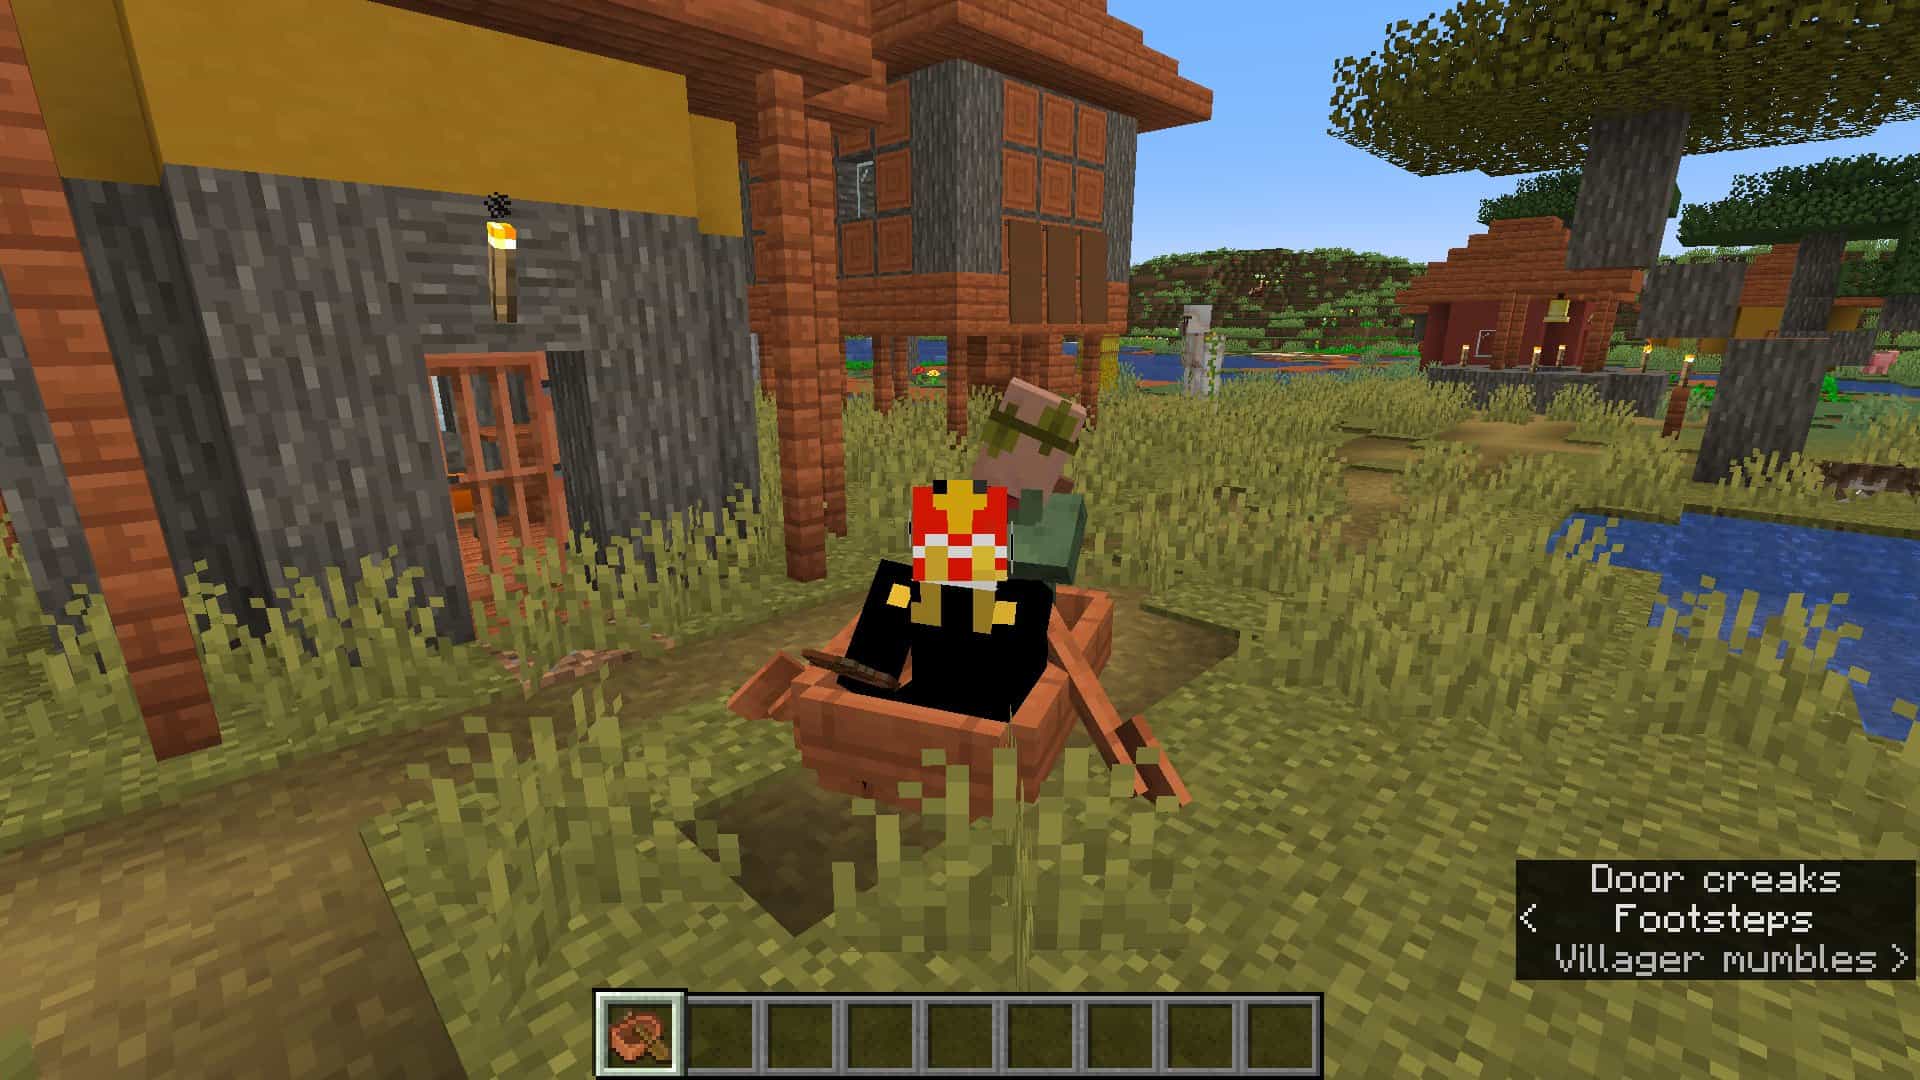
The player in a boat with a Villager
Villager Breeding
In order to breed villagers you need to meet a few conditions:
Villagers must be given a sufficient amount of food, in order for villagers to be willing to breed they need to have 12 units of food in their inventory. Beetroots, Carrots and Potatoes each count as 1 unit, while Bread counts as 4 units. Once they have enough food the villagers must be able to get close to each other. Finally, there must be enough beds nearby to accommodate another villager for the baby to spawn. For example if you have 2 villagers nearby you will need 3 beds for a baby to spawn.
With these conditions met you can begin spawning as many villagers as you want. Areas with high concentrations of villagers will begin to naturally spawn iron golems and cats. If you don’t want these mobs clogging up your base it’s recommended that you spawn proof around your villager breeding location. However, you can use these spawns to your advantage if you wanted to build an iron farm.

Minecraft Villager Trading Guide and Other Tips
Trading is a great way to get resources, but you need lots of emeralds to take advantage of them. You could obtain emeralds through mining, but they are incredibly rare. It is much easier to obtain them through trading. As a general guide for trading in Minecraft, here are some of the easiest trades to complete to rack up tons of emeralds quick:
Best Trades for Obtaining Emeralds
- Fletcher: 32 sticks for one emerald. This trade effectively turns 4 logs into 1 emerald.
- Cleric: 32 rotten flesh for one emerald. Everyone has a lot of rotten flesh stashed away in random chests that they don’t know what to do with, this is a good way to take advantage of that.
- Cartographer: 24 paper for one emerald and 10 glass panes for one emerald. If you have a sugarcane farm 24 paper is easy to come by. Every 6 pieces of glass is equivalent to 16 glass panes.
- Farmer: Any crop for one emerald. The farmer has trades for 20 wheat, 15 beetroots, 22 carrots, or 26 potatoes, if you have surplus crops this is an easy way to obtain more emeralds.
Once you have a sufficient amount of emeralds you are going to want to trade for some high value items, here are some of the most valuable trades in the game:
Trades for Important Resources
- Librarian
- Any enchanted book in the game (mending, fortune, feather falling, etc.)
- Nametags: you cannot craft this item (otherwise obtained through chests).
- Cleric
- Ender Pearls: can be used to make Eyes of Ender. These are required to beat the game and craft ender chests. You can also use them to teleport large distances.
- Bottle O’ Enchanting: This item will give the user experience upon breaking.
- Farmer
- Golden Carrots: one of the best food items in the game because it has extremely high saturation.
- Apples: useful for crafting golden apples and saves you from having to punch leaves for random drops.
- Weapon Smith, Armorer, and Tool Smith
- Enchanted diamond weapons, armor and tools. You can reset bad enchantments using a Grindstone. This is a much more efficient way to get diamond gear, if you don’t have a fortune pickaxe.

Here is a chart that shows every villager job and their possible trades.
General Tips
If a villager does not have the trade you want you can reset their trade by mining and replacing their job block. If you find the trade you want, you can lock in their trades by completing one trade. This means this only works for low level trades, but it is the best way to ensure low level trades like specific enchanted books.
On top of all of the valuable items you can obtain from trading, every time you trade with villagers you get experience, which also makes trading with villagers a good way to grind for enchantments. Grinding experience can often be tedious in Minecraft so trading with Villagers is a great way to kill two birds with one stone and guide you towards the best enchantments.
Lowering Prices
Some of these better trades can become pretty expensive, so it is important to try to lower villager prices if possible. There are two ways to lower villager prices:
Completing Raids
You can start a raid by entering a village with the bad omen effect active. Raids consist of multiple waves of pillagers, witches, evokers, vindicators and ravagers. However, completing a raid can be incredibly difficult without the right equipment.
After completing a raid you gain the Hero of the Village status which lowers trade prices with every villager for 40 minutes. You can stack this status by completing multiple raids or completing higher level raids. However, discounts will be capped and trade prices can not go lower than 55% using this method.
Zombie Villagers
When you cure a Zombie Villager they will give the player a discount. You can stack this discount by curing the same villager again, which will eventually reduce the trade to 1. This means you can eventually get to the point where you can trade 1 stick for 1 emerald.

Discounted Trades
In order to cure a Zombie Villager you must first hit it with a splash potion of weakening, then give it a golden apple. When a zombie attacks a villager on hard mode it will always turn into a zombie villager. On easier difficulties there is a chance the villager will just die. This means if you want to cure the same villager multiple times for the best deals, it is advised that you play the game on Hard or Hardcore mode. These discounts will eventually begin to go away, but you can reinstate them by curing the villager again.

A Zombie Villager being cured for discounted Trades
Completing a raid will take much more effort and time, while curing villagers will require a lot of resources. It is highly recommended to cure zombie villagers as the ability to stack discounts makes it more worthwhile in the long run.
With tons of villagers, the right trades, and discounted prices, you are now ready to take advantage of everything villagers have to offer! If you enjoyed our Minecraft Trading Guide and want to learn more about Minecraft then you can check out our review!


