
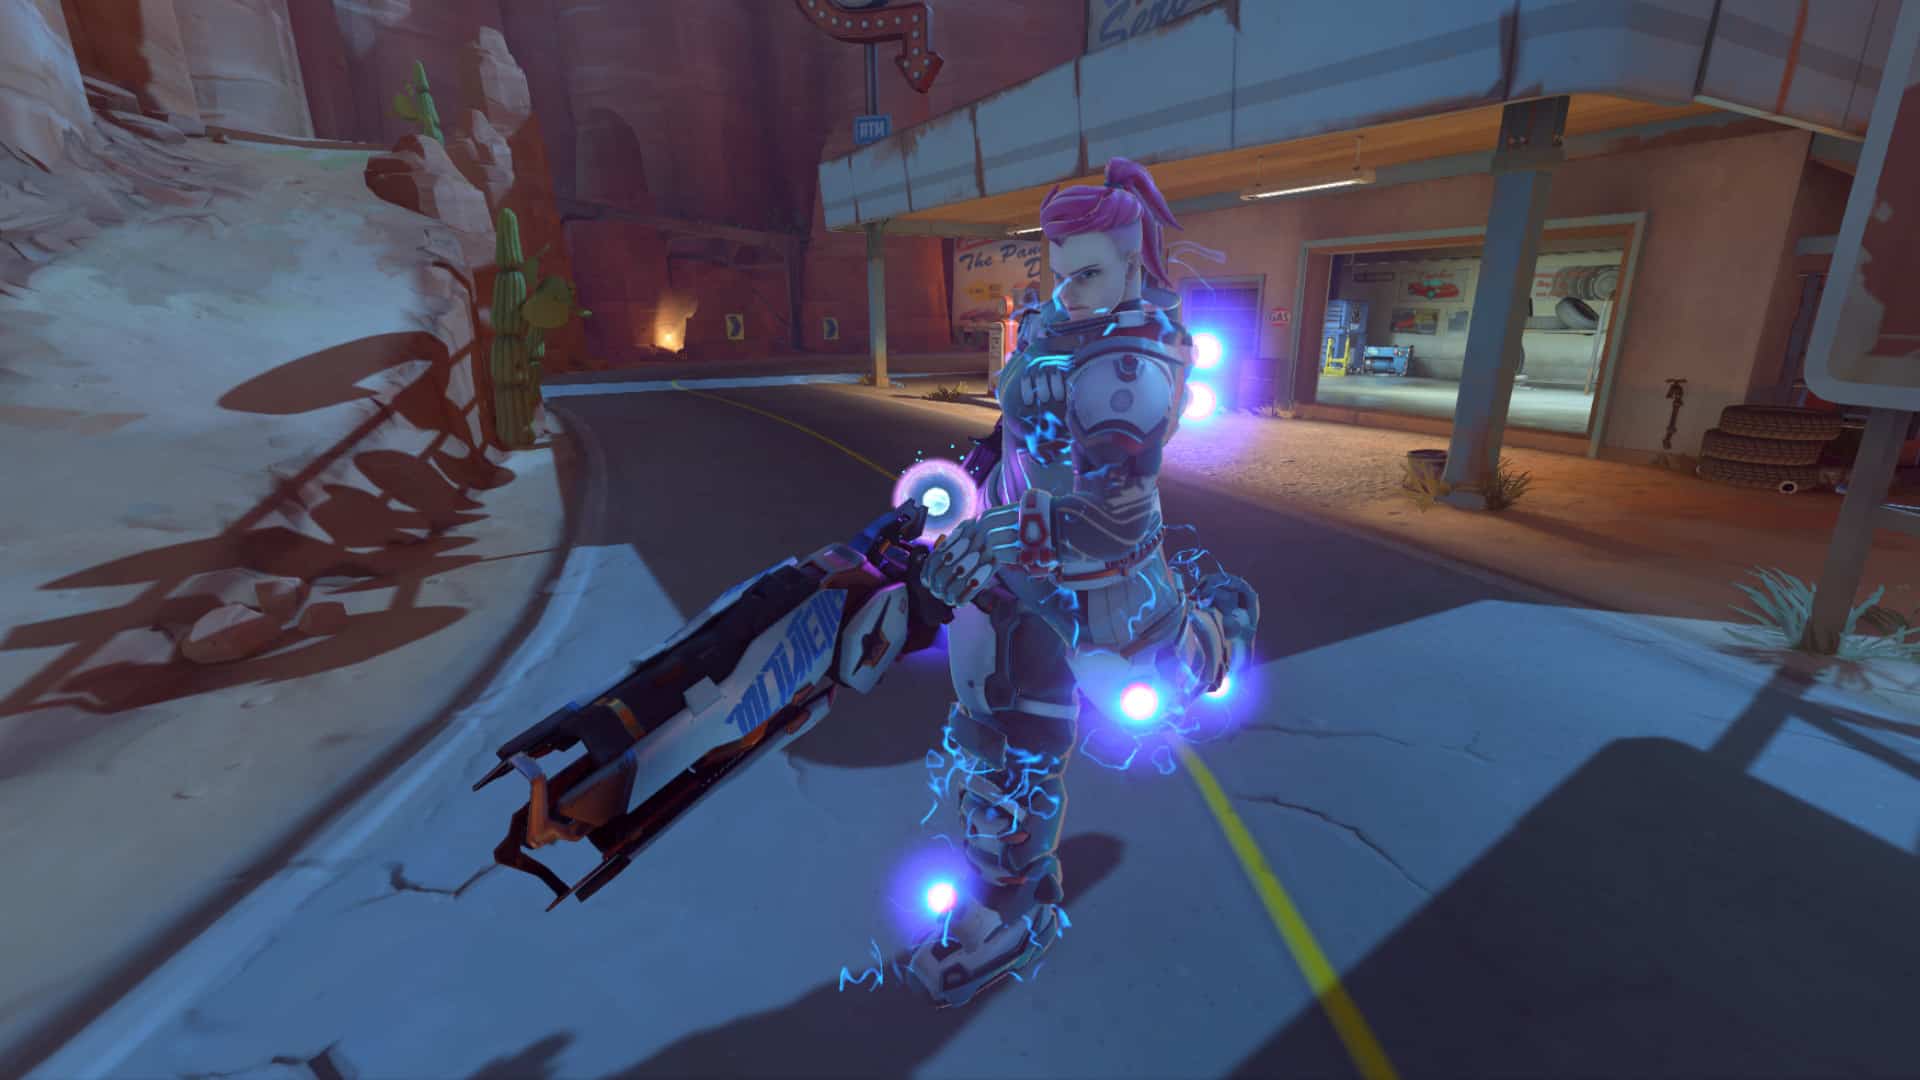
 Team Kill! If you love that little announcement, Zarya is an excellent pick for you. Although she’s a tank in nearly every aspect, her damage output is on par with a regular damage hero. What’s more, her arsenal gives any player a significant advantage in normal combat, almost like a support hero. Her ultimate ability famously enables players to make huge plays, as it can turn a game around completely. Zarya can win you a game, but she can never do it alone. It’s in her catchphrase too – together, we’re strong! Her mechanics are a little peculiar and rely heavily on other players, so a guide to unlocking the full potential of Zarya is not overdue.
So that’s exactly what you’re going to read all about! In this Zarya guide, you’ll be reading about her weapons and abilities, the right strategy and tactics, which heroes to look out for and which are easy pickings, and which heroes are perfect to cooperate with! By the end of this guide, you’ll have all the knowledge you need to be an incredible Zarya – by being in synch with your team, and chastising any reckless attack from the enemy!
Of course, don’t forget to check out our review of Overwatch 2!
Weapon: Particle Cannon
Zarya has only one weapon, but don’t let that deceive you! It’s not like she can only use it in one way, or that there’s a one-size-fits-all approach to every combat situation. Her Particle Cannon is either a beam or an arching projectile, depending on which button you click. The most clear-cut difference is that the arching projectile serves you better as a long-range option, while the laser beam is short-range. However, that’d be a massive oversimplification. Both ways to use the weapon contribute to Zarya as a high damage-dealing tank, but which one you use differs on how the enemy tries to resist you.
- Default Keybind: Left Mouse Button
- Damage: 85 per second (0% charge) 170 per second (100% charge)
- Ammo: 100
- Max. Range: 15 meters
- Reload Time: 1.5 seconds

With a beam like this, you’re sure to carve through the enemy!
With her beam, Zarya can mow down any target that’s either too distracted or too big and slow to get away from it. Especially at 100% charge, the Particle Cannon beam can be devastating in a general push. At 170 damage per second, it deals with low-health heroes like Mercy in a second. It takes only slightly over 7 seconds to destroy a Reinhardt shield. Maybe if you’ve read my Symmetra guide, this story sounds familiar. Although Symmetra has an ever higher maximum damage output than Zarya, she lacks the bulk to sustain an extended attack. A few blows and Symmetra is a goner. Zarya, however, is a different story. With her massive total health pool of 475 (of which 225 are shields, which regenerate over time), Zarya can take a few hits. In close combat, a maximally charged particle cannon beam in combination with her bulk turns Zarya into a one-woman army.
- Default Keybind: Right Mouse Button
- Damage: Maximum 95 (100% charge)
- Ammo: 100
- Ammo Usage; 25 rounds per shot
- Area of Effect: 2.5-meter radius
- Reload Time: 1.5 seconds per shot
- No crit on a headshot

Its splash damage is perfect to finish off evasive targets.
With the amount of power the beam possesses, it’s easy to forget about the alternative use of the Particle Cannon. With your right mouse button, you can launch a projectile that explodes on impact. This projectile is arching, so it’s affected by gravity. When you’re at 0% charge, this is a great way to deal some initial damage – but it’s particularly useful against groups and evasive heroes. What do you think is going to be better at getting rid of an annoying Tracer – a single beam, or an explosive projectile? The projectile is way more difficult to dodge, making it a great option to deal with squishy heroes that slowly wear you down. What’s more, the explosive radius makes the projectile a perfect pick when it comes to dealing with groups of enemies.
Abilities: Teamwork Makes the Dream Work
Zarya can be a tricky hero to get right. Sure, she’s got massive potential, but what’s the use of that when you don’t even get the fundamentals of how to unlock it? As strange as it may sound, Zarya relies on taking as much damage as you reasonably can. It’s the third law of motion – for every action, there’s an opposite reaction. The harder you hit Zarya, the harder she hits back. The core mechanic of this is her passive ability: energy.
Passive Ability: Energy
Did you ever hear a teammate or a friend angrily say “who charged the Zarya?” The reason they’re upset is due to Zarya’s passive ability. Energy is what turns the damage Zarya blocked into damage she can deal herself. This encourages Zarya players to take as much damage as possible – as you saw with the particle cannon, a fully charged Zarya deals 170 damage with her beam, while a Zarya with no charge deals only half of that. In that sense, teams who face a powerful Zarya are their own greatest foe. She’s as strong as you make her.
When she has high energy, Zarya starts lighting up.
After all, it’s not like she blocks damage once and keeps the energy boost forever. Energy decays, and it decays fast. At a rate of 2.2% per second, it takes less than a minute for Zarya to from 100 to 0. What’s worse, when she dies, her energy resets to 0. So it may be clever to make a tactical retreat here and there rather than fighting to the last bone. After all, when you die with over 90 energy but respawn with only 0, you’ll respawn a far weaker Zarya.
So, I hear you ask, how do I turn damage into energy? Just walk in front of it? I’ll get to that, dear reader – but let me tell you in advance that Overwatch 2 made Zarya a lot more versatile to get her energy gauge from 0 to 100.
Particle Barrier
- Health: 200
- Area of Effect: 1.5-meter radius
- Duration: 2.5 seconds
- Cooldown: 10 seconds per charge
The Particle Barrier is Zarya’s primary way to obtain energy. When you unleash it, it shows up as a barrier all around her that absorbs incoming damage. In total, she gains 1% damage for every 5% blocked, and she’s immune from all damage. However, the damage isn’t infinite. It’s around her for only 2.5 seconds, and it has only 200 health. However, even when it breaks, it will still shield Zarya from the attack that breaks it.

Time it right, and you’re golden!
It’s crucial to take damage during the few moments you can use your barriers, but you need to make sure you don’t get killed while trying to take damage. You may walk right into an onslaught of enemy bullets, misposition yourself while doing that so no healers can get to you, and die when you finally have damage. The solution? Use isolated but predictable bursts of damage to your advantage. D.Va’s Exploding MEKA, Reinhardt’s charge, Sigma’s Gravitic Flux, or even Symmetra’s Sentry Turrets are great examples where you can rack up some damage for free. Or you can use one of your teammates to do it for you!
Projected Barrier
- Health: 200
- Area of Effect: 1.5-meter radius
- Max. Range: 30 meters
- Duration: 2.5 seconds
- Cooldown: 10 seconds per charge
Taking damage herself is not the only way for Zarya to get energy. With a Projected Barrier, she can apply the same effects as above to any other teammate that you choose. If that teammate is in the middle of taking damage, you’ll get energy from it. The Projected Barrier has the advantage that you can get energy without risking your safety by walking headfirst into enemy bullets. It also has the disadvantage that the ally you project your barrier on may move unpredictably. Unless you’re playing with people you can communicate with, the unpredictable nature of your teammates is a curse that every Overwatch 2 player has in common and sadly hits Zarya players particularly hard.

It’s perfect for shielding your teammates and helping yourself at the same time.
Before the changes in Overwatch 2, Zarya used to have a single barrier for herself, and a single barrier she could project. They were completely separate, so you couldn’t just mix it up if the situation ever required it. Fortunately, now she can mix it up if she wants to. Want to project two barriers onto yourself in a row? Sure thing! Or onto others? Not a problem! After all, if one of your teammates is vulnerable while ulting (like Pharah) and another one is vulnerable during her ability (like a Mercy doing a resurrect), why use a barrier on yourself? This versatility makes Zarya even better as a teammate, and it’s something you should use wisely when selecting her.
Ultimate Ability: Graviton Surge
- Damage: 5 on impact, up to 17.5 over time
- Duration: 3.5 seconds
- Area of effect: 6-meter radius (gravity)
Prft, that’s it? A little black hole that sucks people in for 3.5 seconds, does minimal damage, and then lets them go? If you thought that, you’d be wrong. Graviton Surge is consistently listed as one of the best, if not outright the best, ultimate abilities in the game. The ability to concentrate people in a small spot and turn them into target practice for any other hero is without a doubt the best supportive ult Overwatch 2 has to offer.

From threatening push to sitting ducks in just a second.
Combine it with D.Va, Genji, Doomfist, Soldier:76, Cassidy… the list goes on. When Zarya has a large part, if not the entirety of the enemy team trapped in her Graviton Surge, it’s easier than ever for damage ults to get a team kill. What’s more, she can also use it to keep enemies away from the point. Is the enemy team contesting the point at the very last second? Not if you trap them in spawn with a Graviton Surge it’s not! Graviton Surge is a phenomenal ult, so good perhaps that I may need to encourage you to use it. It suffers from the same weakness as the ults of Pharah and Cassidy: Don’t always wait for the perfect time. But do check with your other team members if you can present them with a golden opportunity for a team kill.
Playstyle
When you play Zarya, it’s important to be aware of the behavior of your team. You depend on them for doing a good job. Aside from projecting barriers on them, you will need them in the heat of battle. Zarya is at her most effective in a team fight when there are lots of enemies to damage you and lots of enemies to return that damage to. But she can never survive by herself. Although she is a powerhouse that can sustain an assault for a long time when enemies come from all directions and she stands alone she will be overpowered. Zarya doesn’t have the highest mobility, so mispositioning can be fatal.
Your position is with your team, the vanguard of the charge or the backbone of the defense. It may be tempting to be in the center of the action, with your massive damage output and ability to easily take a few hits. But the damage heroes are better at finishing people off. Don’t pursue a Tracer who’s running for her life if you already secured the point. Regroup, and lead the next push in one powerful charge. With her supportive abilities, Zarya is perfect to lead such charges. In the end, you’re not a complete damage sponge, like Reinhardt or even Sigma, but your ability to turn a powerful attack into one of your own makes you perfect to go all out. Zarya is fundamentally a reactive hero. She’s like a rubber band, it’s all about bouncing back. From an impregnable defense to an overwhelming offense!
Tips and Tricks
Free Damage? Don’t Mind If I Do!
There are a bunch of situations in the game where you just know the enemy is going to do damage. Zarya suffers from a fatal theoretical flaw – if the enemy manages to always one-hit-ko you, there’s nothing you can do. So when you find a point where the enemy is definitely going to do damage, have your shield ready and you can be at 50, 60% charge before the enemy even has the chance to think twice.

When a soldier:76 is aiming right at you, that’s a great moment to shield, too.
These situations include:
- When Reinhardt charges and you have at least one shield ready, don’t be afraid to jump right in front of that charge. As long as you shield at the right moment, that’s free charge right there – nothing Reinhardt can do about it! With that charge, you can easily finish him off. Of course, this also applies when you see an enemy being stuck in a Reinhardt charge.
- Roadhog’s hook is usually something to look out for. But when you play Zarya and you have at least one shield, it’s something to eagerly await. When Roadhog grabs you with a hook, most of the time he follows up with a shot and a melee attack to finish you off. Perfect time to shield, and get some free energy charge.
- Found a Symmetra sentry trap? Great! Symmetra’s turrets can be a menace, but when you have a shield you can literally just walk into a sentry nest and stand there. The sentries aren’t smart enough to stop firing, so you can just stand in the middle of it and get a free energy charge. Symmetra’s presence in the enemy team will almost always be an advantage to you.
- There are a bunch of ultimates that do enormous damage, but few do it reliably enough to time your shields on. But there are some you can just let yourself get hit by since the hero who fired the ult can’t halt fire when you’re abusing the free damage. These ultimates are Ashe’s B.O.B., Bastion’s Configuration: Artillery, Cassidy’s Deadeye (as long as you’re in direct sight), D.Va’s Self-Destruct, Hanzo’s Dragonstrike, Orisa’s Terra Surge, Reaper’s Death Blossom, Sigma’s Gravitic Flux, and Tracer’s Pulse Bomb.
Ultimate Guarantee
There are plenty of ults that Zarya can completely negate and turn into her energy for her own weapon. But she’s also perfectly suited to guarantee team members a successful ult. Some heroes (cough – Pharah – cough) tend to commit suicide when they do their ult. They’re either completely stationary, standing still just waiting to be picked off by an enemy, or they’re on the squishy side, and they can get killed mid-ult. Heroes like Pharah, Reaper, Cassidy, Soldier:76, and Moira can benefit greatly from a Zarya shield while they do their ults. It allows them to be more aggressive, and more effective, with their ultimates.

Zarya can make an ult truly unstoppable.
Of course, Zarya’s status as the ultimate guarantor of moves doesn’t just apply to ultimates. For other risky moves as well, a Zarya shield may be exactly what they need to pull it off. And with other moves, I mean almost exclusively Mercy’s Resurrect. While she does her resurrect, she’s nearly motionless for almost 2 seconds. She’s easy pickings for any enemy that may be nearby. However, if she has a shield, you can guarantee her a successful resurrection.
Don’t Be Selfish!
Zarya is possibly the most social hero in Overwatch. Her ability to shield heroes who are very close to dying is on par with a full healing beam. Her assistance to other’s ultimates is enormous, letting heroes like Reaper and Soldier:76 enjoy far better ultimates. With her Graviton Surge, she can easily pull an entire team together – leaving a well-positioned D.Va, Genji, or Tracer the time of their life. But it’s easy to be selfish with Zarya’s abilities.

Project a barrier when your teammates are exposing themselves!
After all, Zarya’s maximum damage potential is so high, you’d be crazy not to try anything in your power to get to that sweet 170 damage per second. If you’re trying to get some damage, you may find yourself taking both shields just to make sure, while your Mercy dies behind you. Yes, you may have a high percentage of energy right now, but that won’t get you very far if you’re alone. So share your shields even if it doesn’t benefit you directly!
Keep Your Friends Close…
I’ve never spammed the group-up command as often as I did when I play Zarya. It makes sense, too. Since Zarya relies so heavily on her team to get energy and to help her out in the team fights she’s most effective in. If Zarya stands alone, she doesn’t have the mobility or speed to 1v5 an entire team – unless she uses a Graviton Surge. When your team is holding back, so should you.

Try to avoid facing any situation alone!
Of course, that’s also because of the reach of the Projected Barrier. It’s only 30 meters, so if you have nobody in that range, you’re locking yourself out of an entire ability and a core mechanic to Zarya’s gameplay. Even if your team moves chaotically, try to get them to stick together and move as one! In that situation, Zarya is at her very best.
Don’t Be Afraid to Move Aggressively
I said earlier that Zarya is fundamentally a reactive hero. While that’s true, it’s no reason for Zarya to only move defensively, and strike when the enemy is done striking her. Already when she’s at a decent level of charge, say 40 to 50%, Zarya’s power in combination with her durability makes her perfectly able to force a team back. Apply the pressure!

Moving aggressively isn’t a sin – especially if you have plenty of energy, and they’re easy pickings!
After all, the worst thing an enemy team can do to a Zarya-led charge is to attack it without focus. That’s exactly what you’d want! Have an enemy team attack you and your teammates, slap a few barriers on it, and boom – even more charge in the middle of a team fight. When she’s in such a situation, she can go on a complete rampage. All she had to do was poke the bear ever so slightly, and she’s become the enemy team’s worst nightmare. All thanks to them!
When Should I Swap
Zarya is quite possibly one of the most well-rounded and versatile heroes in all of Overwatch 2. She has high damage, can support her team very well, and can tank a fair amount while her damage dealers finish the targets off. Swapping, in most cases, tends not to be necessary. However, there can be situations where you just can’t meet the odds. Sometimes you need more bulk, sometimes your team just doesn’t play together enough for Zarya to be effective. In those cases, it can be rewarding to switch to a different tank. One that has more bulk, like Reinhardt, or one that is better able to do things on his own, like Roadhog.

If your team is all over the place all the time, this may not be the perfect time for Zarya.
And then there’s the matter of Zarya’s only major problem – snipers. As I mentioned before, Zarya doesn’t have an answer if she gets one-hit-ko’d. Snipers tend to be able to do that – as long as you’re not in full health, that is. If a Widowmaker or Hanzo, or even someone with the ultimate ability to pull off an instant kill consistently harasses you, you may want to consider switching. A lack of energy in general may be a cause for switching. If you consistently fail to get energy, for example, due to the enemy team not damaging you when your shields are up, you lose a lot of your power, so a switch may be needed.
Hero Interactions
With her very specific set of skills and her ability to turn defense into offense, Zarya naturally has advantages and disadvantages over the other heroes of Overwatch 2. For the next part of this guide, here’s a quick shortlist of who Zarya should be excited about facing, who you should look out for, and who you may want to ask your friends to pick to support your Zarya game.
Positive Matchups for Zarya
- D.Va doesn’t come equipped to fight Zarya. Her damage output pales compared to Zarya, while their bulk is pretty similar. Although D.Va can fly away and outmaneuver a Zarya, in a 1 v 1 situation Zarya usually pulls through. Especially since her main defensive ability, the Defense Matrix, doesn’t block Zarya’s laser beam. However, do be aware that it can absorb Graviton Surges.
- Genji has the same problem. His Deflect doesn’t stop Zarya’s laser beam, thus depriving him of his main defensive ability. Sure, he can still jump around you and avoid you, but with high energy, you only need to hit him a few seconds before he calls it quits. Once again, deflect does work on Graviton Surge, so be aware of that.
- Roadhog is always a powerful threat, but Zarya comes well-equipped to fight him. With her ability to apply shields to hooked targets, she completely trivializes one of Roadhog’s most powerful attacks. A Roadhog who can’t use his hooks is a much easier Roadhog to take down.
- Sigma lacks the defense and the speed to fight Zarya. In a one-on-one match, it’s unlikely that any hero can overpower Zarya unless you can do a lot of damage at once, or Zarya has particularly low energy. Sigma can’t take Zarya by himself. His attacks are slow and predictable, making them perfect fuel for her shields. What’s more, his Kinetic Grasp doesn’t work against Zarya’s laser.
- Sojourn is a very aggressive hero, whose main defense tends to be her offense. That plays right into Zarya, who just has to remain composed, shield when damage is incoming, and make quick work of this squishy hero.
- Symmetra is almost perfect for Zarya – and not just if she’s a teammate. An enemy Symmetra can fuel your damage at record speed if she’s careless, as her attacks, as well as her turret’s, easily fuel you. Aside from her movement speed, there’s little Symmetra can do against Zarya.

Poor Genji. Never had a chance.
Negative Matchups for Zarya
- Bastion‘s damage output lets him tear through Zarya’s shields easily. Even if you walk up to a Bastion with both your shields ready, a competent player who’s backed by a healer can take you out. It’s best to hold back when you encounter one until you’re sure you can have enough support to take it out.
- Hanzo’s ability to headshot means you’ll sustain loads of damage at once. For Zarya, that tends to be a bad thing. She needs to survive getting killed when she’s absorbing damage, and suddenly losing almost half of your HP isn’t a great thing. His mobility also makes him a difficult target for Zarya to hit.
- Moira can just jump around you infinitely, while you try to hit her, and she just uses her Biotic Grasp to slowly drain you over time. She can dodge you nearly infinitely, has the means to quickly get away, and can halt her fire when you shield. She’s a troublesome foe, so take her out early when you get the chance.
- Sombra is an obvious threat. Who would have thought that a hero who relies so much on abilities as Zarya gets countered by an ability-canceling hero? She can disable your abilities for 1.75 seconds and hack through your shield, leaving you very vulnerable, especially in a team fight. Watch out when you see one!
- Widowmaker can deal a lot of sudden damage to Zarya while staying out of range. It’s difficult to anticipate a Widowmaker since they tend to stay out of sight to avoid getting damaged and get the element of surprise. Try and keep your eye out for one, and move as unpredictably as possible to prevent her from getting the drop on you.
- Winston is the closest hero to a counter-pick against Zarya. His constant mobility lets him target teammates and avoid you at will, while his multi-targeting Tesla Cannon can do great damage against you and your allies if you’re close to one another. What’s worse, since his damage output is quite low, he generates barely any energy for you to fight back.
Heroes to Pair with Zarya
- Lucío‘s speed boost is incredible for Zarya. Allowing her to be on the front lines before her enemy is a huge boost since it lets her play defense first, a role in which she shines. A constant heal or speed boost is very nice as well. During the chaos Zarya generally finds herself in, it can easily make a difference.
- Doomfist is a close combat fighter. What more can I say? Close combat is risky, it positions you right in front of an enemy who tends to fight back. So, shield him! Doomfist tends to take a lot of damage, which means he’s perfect for a Projected Barrier.
- Mercy may not be the most efficient healer for Zarya, but her consistent damage boost makes Zarya able to apply formidable pressure onto an enemy push. At maximum charge, she does 170 damage per second. Damage boosted, that’s 30% extra, so 221 damage per second. Not too shabby!
- Pharah‘s mobility makes her the perfect hero to secure Zarya’s flanks. Zarya is great at the front lines, but when she gets attacked from multiple directions she doesn’t have an answer. Pharah can protect her flanks with her ability to strike from everywhere, while Zarya can shield Pharah when she’s at her most vulnerable.
- Symmetra can exercise the same playstyle as Zarya – frontal assault charge. With her maximum of 180 damage per second damage output, joining forces with one can let you tear through any enemy defense. And you can make up for her squishiness by shielding her! Zarya is the hero that tends to make offensive Symmetra viable.

With Mercy by her side, Zarya can go on a one-person killing spree.
Fire at Will!
Congratulations on reaching the end of this Zarya guide! Zarya is a very powerful pick if you know how to get her energy up and how and where to strike. Don’t pursue squishy heroes for the kill. You’re the battering ram – dealing the high damage that forces the enemy back to their health packs. Let heroes like Reaper, Tracer, or Moira finish up the low-health targets. You are at the helm of phenomenal push, while you face the damage head-on and mow down anyone foolish enough to face you. Play Zarya right, with the right mix of defense and offense, and you’re looking at an unstoppable killing machine who will surely be appreciated by her team.

Stay together, and the game is yours!
Check out Zarya’s origin story, Searching, which tells the tale of one of the strongest women on earth. I hope you enjoyed this Overwatch 2 Zarya guide. I hope even more that it helps you on your journey to being strong together! Don’t forget to check the other guides we’ve got for the game! If you haven’t played the free-to-play game, go ahead and try it out now, available on all major platforms including PC, Xbox, PS5, and Nintendo Switch.

Curious about how powerful a good Zarya can be? Then check out this great video by GURU.


