

Volume 3 of the Xenoblade Chronicles 3 Expansion Pass has launched, bringing a bunch of new things for fans to get their hands on. From a New Healer Hero to a bunch of new outfits and a tricky new addition to Challenge Battles, Volume 3 has a lot to offer.
One of the most important additions to the game in this update is Enigmatter. This new resource is extremely useful in making sure your party is ready for the toughest encounters Aionios has to throw at you, allowing you to have a deterministic way to obtain some great accessories. However, finding out how to get it (and especially how to get a lot of it) can be kind of confusing.
Here’s where to find Enigmatter in Xenoblade Chronicles 3, and an easy method for farming a lot of it.
Want more Xenoblade Chronicles 3 articles and content? You can find more here on KeenGamer:
- Xenoblade Chronicles 3 Masha Guide | How to Unlock, Ascension Quest, Accessory Crafting
- The Importance of Accents in Xenoblade Chronicles
- The Brilliance of Accents in Xenoblade Chronicles 3
- Xenoblade Chronicles 3: How To Unlock All Heroes
- Xenoblade Chronicles 3: How To Unlock All Hero Ascension Quests

What is Enigmatter?
Enigmatter is a new resource bought into Xenoblade Chronicles 3 in Volume 3 of the Expansion Pass. This special resource can be used by the new Hero, Masha, to craft powerful accessories that you can use in battle once you have recruited her.
Crafting requires a certain amount of Enigmatter, with 3 pieces needed to make one random accessory. Enigmatter is also used to upgrade these accessories, enhancing their main ability and unlocking some additional stat bonuses along the way. These new accessories have the potential to be extremely strong, especially for the endgame, and you can find out more about them in our Masha Guide here.
You need a bunch of Enigmatter in order to make a full set of strong accessories. So now that you know what Enigmatter is, how do you get your hands on it?

Lapidarist Masha
How to Get It
While Enigmatter could be likened to High Ether thanks to its association with a DLC Hero, acquiring it isn’t that simple. You won’t find Enigmatter out in the world of Aionios: instead, you need to front some cold hard cash if you want some.
To purchase Enigmatter you need to head to the Land of Challenges. This is where the Nopon Archsage resides, waiting to invite you to participate in Challenge Battles. Within this location (which can be accessed from the Llyn Nyddwr Camp in Fornis) are four Nopon shopkeepers. These Pages only accept Noponstones as currency which can be acquired from completing Challenge Battles. Time Trial Battles give Red Noponstones whereas the new Gauntlet mode gives Blue Noponstones.
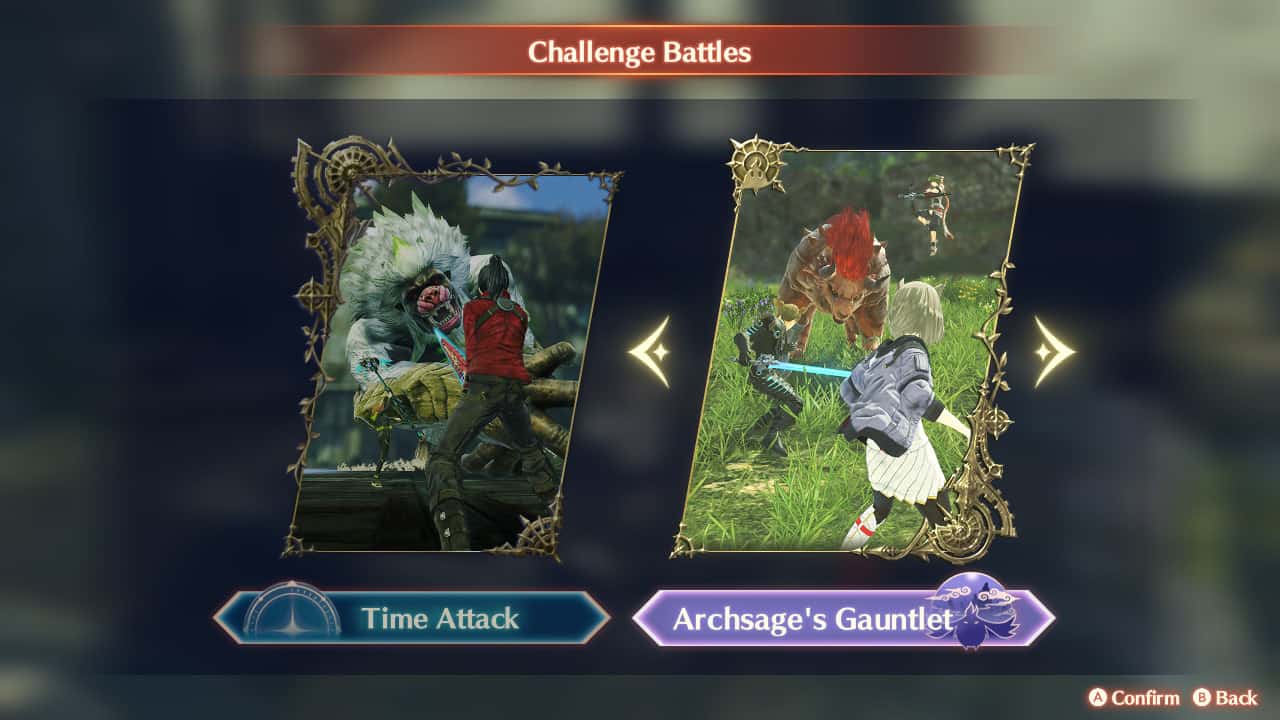
The Archsage’s Gauntlet
Archsage’s Page, Red and Archsage’s Page, Blue both accept the Noponstone that matches their name in the trade for a variety of goods. It’s at either of these vendors where you can purchase Enigmatter from the Key Items section. On the Red Page, one Enigmatter costs 1500 Noponstones, whereas the Blue Page sells them for significantly cheaper at 300 Noponstones.
There is no purchase limit on Enigmatter, meaning that you can buy as much as you want (so long as you keep getting Noponstones, of course). This is the only way to get Enigmatter, so get ready to grind for those beloved accessories.
However, it may interest you to know that there is an easy way of obtaining lots of Noponstones for very little work.
-

- Archsage’s Page

-
- Purchasing Enigmatter

Farming Enigmatter
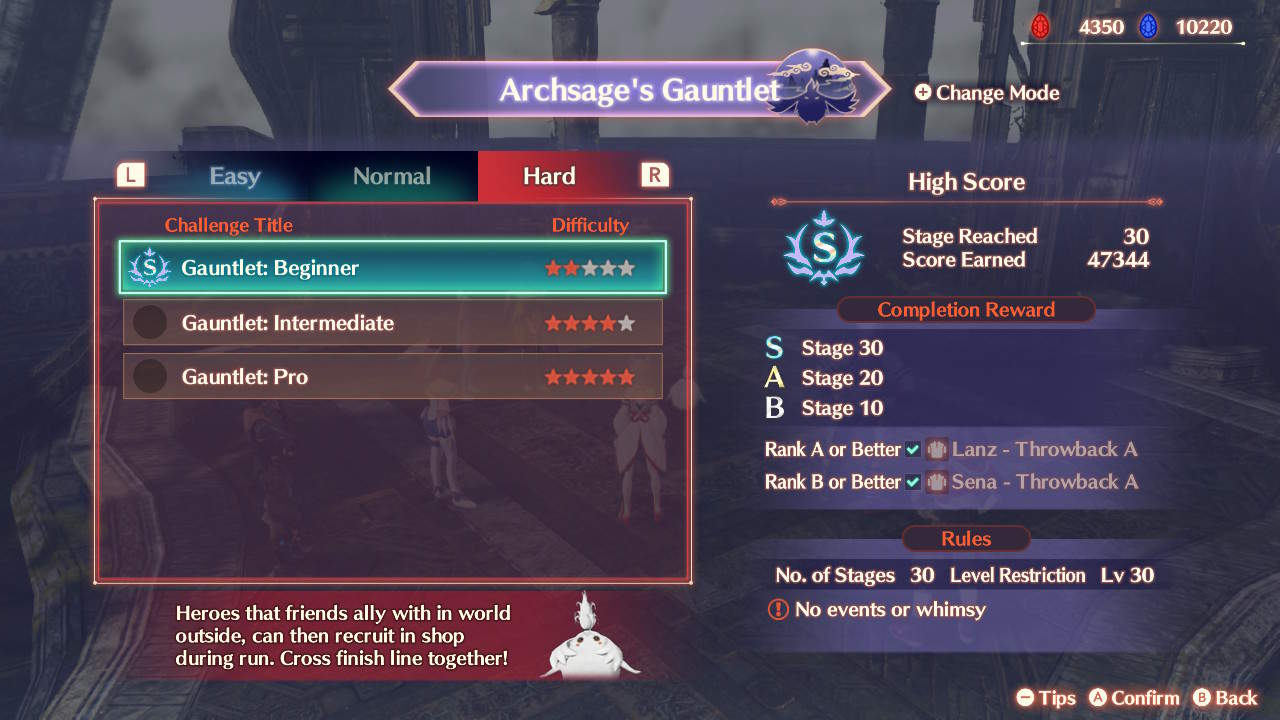
The best way to farm Enigmatter is to grind out the Hard version of the Gauntlet: Beginner stage.
Gauntlet: Beginner is the shortest and easiest version of the Gauntlet. With only 30 total stages and lower-difficulty enemies than either Intermediate or Pro, it can easily be completed in 10 minutes. Additionally, it still gives enough Blue Noponstones from a complete run to buy upwards of 12 pieces of Enigmatter. Together, this means that Beginner on Hard is not only lucrative enough but quick enough, too.
Optimally, you can complete one run of the Gauntlet in only 10 minutes, earning you over 15,000 Noponstones every hour. This is a great way to fund your accessory-making habits and one you should take advantage of, whether you’re making a bunch of new accessories or enhancing already created ones.
The Best Stage to Farm
Starting Character
To make farming go as smoothly as possible, you need to know what characters to use and what Emblems to seek out.
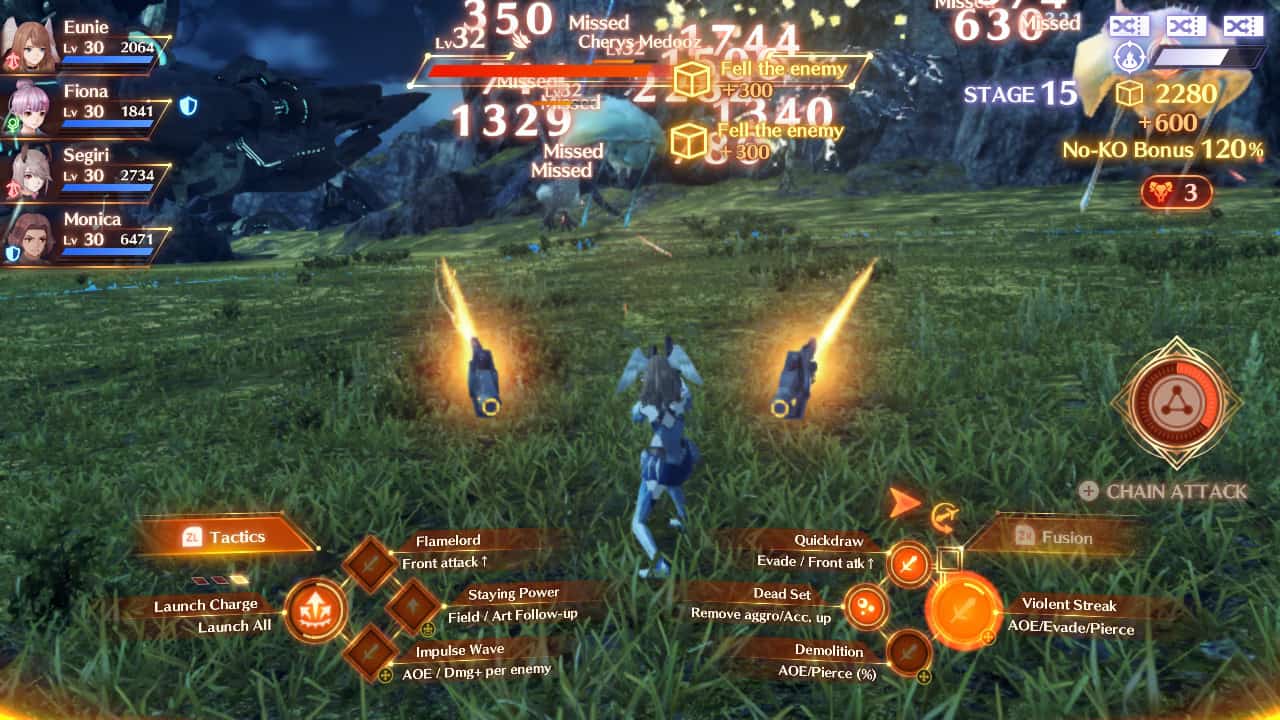
First, start the Gauntlet with Eunie equipped with the Full Metal Jaguar Class. Not only is FMJ Eunie’s best Attacker Class thanks to its high damage output and ability to evade attacks, but it also works great in the Gauntlet thanks to AoE skills like Demolition. Every time you start a new stage, simply pop off a Demolition right away to cause chaos: in most stages, even some of the later ones, you’ll either straight-up kill or deal tons of damage to multiple targets. It’s a massive boon that will help you sweep right through these Challenge Battles.

Starting Character
Do be careful to watch your aggro, tough. Full Metal Jaguar’s skills all deal great damage but draw a ton of attention as a result. If you don’t kill your target, there’s a high likelihood that Eunie will go down to only one or two attacks. As such, pace out your skills in the latter half of the Gauntlet to allow your Defenders time to draw enemy aggro.
Play Eunie well, though, and she’ll have you coasting through the Gauntlet in no time.
Beams of Destruction
Recommended Heroes
In the Gauntlet, you cannot determine which Heroes will join your team: it’s always randomised. As such, giving a concrete breakdown of recommended team compositions isn’t going to be very useful. Instead, here is a list of useful Heroes that pair well with Eunie to get you through the Gauntlet as quickly as possible. Any Hero can work well, but the following are all superb to pair with FMJ Eunie in particular.
Before that, though, you should aim to have roughly 3 Attackers (including Eunie), 2 Healers and 2 Defenders. Honestly, only having 1 Healer or Defender is also extremely viable (depending on your Emblem set-up). This setup gives you maximum damage potential while still having enough survivability to push through the later stages.
With that said, here’s a short list of recommended Heroes for optimal Gauntlet runs:
- Cammuravi (Attacker): Extremely high DPS, high Critical Rate and a great Boss burner to pair with Eunie’s add-clear potential.
- Monica (Defender): Good at drawing Aggro and has a Smash attack to combo with the Launch Combo ability.
- Ashera (Defender): High evasion Lone Exile is extremely strong in keeping enemy attention, who also happens to have a Launch Art for easy combos.
- Fiona (Healer): More buffs mean more damage, more survivability, more recharge, and more everything so, as usual, Fiona is a great pick.
- Miyabi (Healer): Some nice heals paired with the ability to buff allies with bonus attack, allowing you to shred through the Gauntlet.
-
- City’s Bulwark Monica

-
- Smoldering Cammuravi

Recommended Emblems
While not as make-or-break as your Heroes, Emblems are still an extremely vital part of your Gauntlet experience. Knowing which to choose and which to ignore can save you a bunch of time.
To optimally get through Beginner, there are a fair few to keep out for. In general, try to choose any Emblems which buff your Attack: Attack Up and Dexterity Up are both excellent no matter what, as is Debuffing Attack. Some Cursed Emblems, such as Fast Attack, Area Attack and Auto-Attack Up can also be useful, but they mean longer cooldowns on skills like Quickdraw and Demolition (which can lead to some fights dragging on in later stages).
Aside from Attacker Emblems, Focus: Attacker is another good way to get some bonus damage out of your team compositions, while Focus: Defender and Focus: Healer can both increase the survivability of your allied units. Small Unit Tactics and Last-Ditch Effort are interesting additions that you may wish to consider. For the former, you may find that you only need 5 characters to get the job done, in which case this is just free recharge speed. Then, for the latter, you’ll likely find yourself eating into the Nopwatch in later stages, turning what was once a negative into a positive.
On the flip-side Chain Attack Emblems are pretty safe to ignore, as you will likely only use your Chain Attack on Stage 30 to burn down the boss. Similarly, Emblems which boost statuses are nice, but not a priority, as you will likely be killing most enemies (outside of bosses) in one or two hits.

Best Emblems
Optimal Flow
The only thing that is static in the Gauntlet is the enemies you encounter. Every time you face the Gauntlet, the same enemies and bosses will spawn at each stage. As such, we can give you a brief play-by-play on what you should be doing to get the best results.
- Begin every stage with Demolition to quickly wipe out low-tier enemies.
- On meatier targets, use Demolition followed up by Quickdraw. This deals good damage in quick succession and, in the earlier stages, will kill practically everything.
- Stage 10 is a massive Blant boss. Repeat the above strategy by pacing your combos and letting the Defenders grab aggro and it should go down quickly. From here on, a lot of enemies will get tough enough to survive your initial combo, so stay on your toes.
- Sage 20’s boss is an Antol Queen, alongside several smaller Antols. Demolition and Quickdraw can take the lesser adds to low health, but this will be one of the longer fights thanks to the Queen. If you start to lose a lot of health or want a brief moment of respite, don’t be afraid to use the Automatic Launch feature that replaces your Interlink for a few seconds of levity.
- Finally, the 30th Stage’s boss is a gigantic Darbus, accompanied by two squishy Medooz. The Medooz aren’t really a threat, but the Darbus has a lot of wide-sweeping attacks that can easily knock you down to size: use your standard combo, then use Automatic Launch to take it out of the fight. From there simply Chain Attack it and, hopefully, it’ll go down nice and easy. If not, keep close to your Defenders and hit it with everything you have.

Lots of Noponstones
Play well, and you should have bagged a bunch of Noponstones in no time at all. That was how to find (and farm) Enigmatter in Xenoblade Chronicles 3.


