 The Legend of Zelda: Tears of the Kingdom has greatly expanded the world of Hyrule compared to how it once was in Breath of the Wild. The Sky Islands and Skyview Towers make roaming high in the air an important aspect of the game. Link can even perform dives when falling from great heights. This change resulted in the developers adding a new armor set to the franchise. As its name implies, the Glide set allows Link to move rapidly through the air while diving.
This can be very useful for traversing from Sky Island to Sky Island or to simply get across large canyons with minimal effort. Air mobility can make a drastic difference in a world full of verticality, such as TotK‘s version of Hyrule. Obtaining every piece of this armor set will require reaching three of the most vertical structures in Hyrule’s sky.
Here’s everything you’ll need to obtain the Glider armor set in Tears of the Kingdom.
Here are some other helpful Tears of the Kingdom guides:
- Tears of the Kingdom | How to Get Midna’s Helmet
- Tears of the Kingdom | Ishokin Shrine Guide (How to Find the Giant White Horse)
- A Monstrous Collection Side Quest Complete Guide | Tears of the Kingdom
- Tears of the Kingdom | How to Get the Yiga Clan Armor
- Tears of the Kingdom | Battery Upgrade Guide (How to Get Max Energy Wells)
Preparation: Skyview Towers and Zonai Charges
You will need to activate a few Skyview Towers to reach most of the Sky Islands. You can use this guide to help you unlock all the Skyview Towers in the game. The three you’ll need for the Glide armor set are the Mount Lanayru Skyview Tower, the Lindor’s Brow Skyview Tower, and the Thyphlo Ruins Skyview Tower. It is technically possible to use Zonai devices to reach a few of the required islands, but that’ll take a lot more time and resources.

The location of three important islands.
You will need at least 3 Zonai Charges for this armor set, but you may wish to bring more as back up. Having 5 or more before attempting these challenges will allow you to make a few errors. This guide covers how to find a Forge Construct that sells Zonai Charges. Some Construct enemies also drop Zonai Charges when defeated, such as the Flux Construct mini boss.
Where to Find the Glide Mask
The Glide Mask can be found in the South Lanayru Sky Archipelago. The easiest way to get up here is by taking the Mount Lanayru Skyview Tower which sits at the pinnacle of Mount Lanayru. It’ll launch you high into the air, which by extension allows you to paraglide over to the nearby Sky Islands. You want to head east to the large circle shaped structure called Valor Island on the map. You may need to use a few Zonai Wings and other devices to get from island to island.

Mount Lanayru Skyview Tower location.
The elevation of some of the islands varies vastly, but fear not, you simply need to reach the lowest Sky Island in elevation. There is a Steward Construct there who can teleport you to the top for the price of a single Zonai Charge. Paying this Construct is necessary for participating in the Dive Ceremony. Completing the Dive Ceremony successfully will grant you a chest that contains the Glide Mask.

Offering the Construct a Zonai Charge.
Dive Ceremony Tips
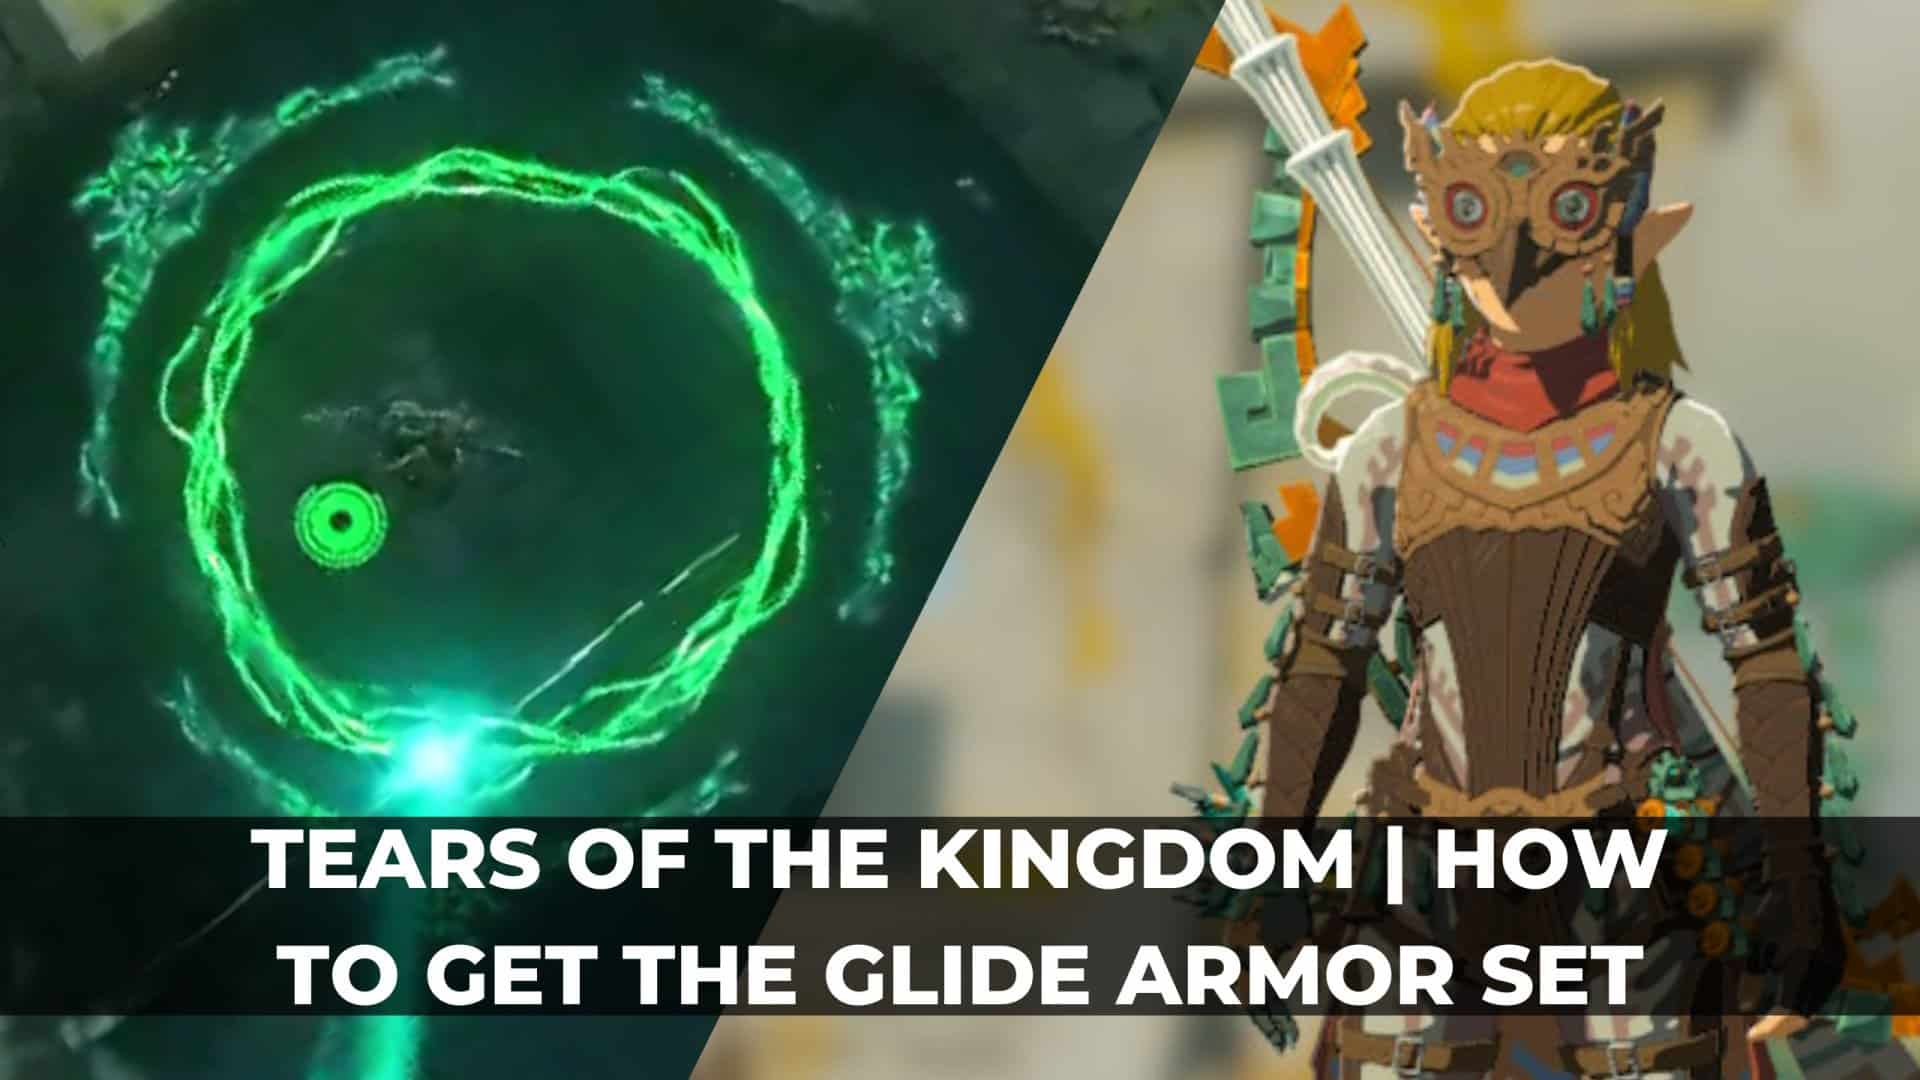
- You must fall through all green rings within 35 seconds to claim your reward.
- Don’t rush too fast since you could potentially miss a ring. It’s ok to go slightly slow since there’s roughly 10 seconds of leeway.
- Vow of Tulin the Sage of Wind comes with an ability that helps you move horizontally through the air faster. Use his ability if you are too far away from a ring, but be cautious of its cooldown length.

Dive Ceremony islands overhead.

Shrines in the South Lanayru Sky Archipelago
You will also unlock the Sihajog Shrine in the process. This Shrine is a Rauru’s Blessing Shrine, which means only a chest and Light of Blessing are inside. While not necessary, you should also activate the nearby Mayanas Shrine while you’re up here since it’s merely one Sky Island further east. These two Shrines are the only ones in the South Lanayru Sky Archipelago, and they are both near Device Dispensers.

Mayanas Shrine to the right of valor island.
Where to Find the Glide Shirt
The second piece of equipment you seek can be found on Courage Island. You can get here via flying south of the Lindor’s Brow Skyview Tower near the Thundra Plains. Courage Island is the only Sky Island in close proximity to this tower. Talk to the Steward Construct near the bottom island again to participate in the Skydiving Ceremony. The rules are exactly the same as before, but the layout of what you’ll be diving through is a little different this time.

Lindor’s Brow Skyview Tower location.
Taunhiy Shrine
Completing the second Dive Ceremony will grant you another shrine, but this one is not a Rauru’s Blessing like the previous was. Instead, it is a Combat Training type of shrine. This shrine does an excellent job of explaining what you need to do, which is to defeat enemies with a bow and arrow. It even provides you with the required weapon, so overcoming this trial should be simple enough. There are a few other shrines in the Tabantha Sky Archipelago, but they are on islands that are easier to access from other Skyview Towers.
Where to Find the Glide Tights
The final piece of gear you need is on Bravery Island in the North Hyrule Sky Archipelago. Take the Thyphlo Ruins Skyview Tower into the air, and then glide south. This time there are actually quite a few noteworthy islands along the way, but the goal remains the same. Travel to Bravery Island at the opposite side of the archipelago, talk to the Stewart Construct, and complete the Dive Ceremony to contain the Glide Tights.

Thyphlo Ruins Skyview tower location.
North Hyrule Sky Archipelago Shrines and Bosses
The first island you’re likely to come across on your journey to Bravery Island contains a Rauru’s Blessing shrine known as the Mayam Shrine. There’s also a Device Dispenser which can give you Shock Emitters, Lights, Steering Sticks, and Homing Carts. Unlocking this shrine will require stealing a Zonai gem from a Flux Construct on the following island, and then transporting that gem back to the first island.
Completing the third Dive Ceremony unlocks the Simosiwak Shrine. This shrine’s subtitle is Proving Grounds: Lights Out. The entire shrine is pitch black, but a light is provided near the start. Use this light to guide you through the darkness.

Link and a friendly Construct.
This archipelago sits above the Great Hyrule Forest where the Lost Woods and Great Deku tree reside. It was once possible to explore the south side of the Korok Forest in BotW, but it is now blocked off by fog. The way to access the Lake Saria and Ninjis Shrine locations is by diving off the Bravery Island in the sky. Aim for the southernmost shrine in the forest below. This is another Rauru’s Blessing shrine.
Upgrading The Glide Armor Set
Each part of the Glide set can be enhanced four times at a Great Fairy Fountain. You can use this guide to help you unlock all Great Fairies. All parts of the set start out with merely 2 defense, but can reach 16 through enhancements. This set can also gain a set bonus ability when each part has been upgraded twice. This set bonus is called Impact Proof, and it makes Link completely invulnerable to fall damage. It’s an incredible ability that can save you in tight situations. The lack of stamina is a non-issue with this costume equipped.
Glide Armor 1-Star Upgrade Info
- Stats: 4 defense each (12 in total).
- Required Materials:
- 30 Rupees.
- 6 Keese Wings. These bat enemies usually only appear at night or in cave systems.
A Gold Rupee.

Glide Armor 2-Star Upgrade Info
- Stats 6 defense each (18 in total).
- New Ability: Impact Proof. You’ll become invulnerable to fall damage.
- Required Material:
- 150 Rupees.
- 18 Aerocuda Eyeballs. These drop from flying enemies that often die in one hit.
- 15 Keese Wings.
Glide Armor 3-Star Upgrade Info
- Stats: 9 defense each (27 in total).
- Required Materials:
- 600 Rupees.
- 23 Aerocuda Eyeballs.
- 18 Aerocuda Wings.
Glide Armor 4-Star Upgrade info
- Stats: 16 defense each (48 in total).
- Required Materials:
- 1,500 Rupees.
- 30 Aerocuda Wings.
- 24 Gibdo Wings. Gibdos usually spawn in the Gerudo region. Check in caves and the Lightning temple.
- 36 Gleeok Wings. These are powerful overworld bosses. Some can be found at the Bridge of Hylia, Akkala Citadel Ruins. and Ancient Columns.


