 In Splatoon 3, players fight each other in Inktastic fast paced battles of 4v4 Turf War. Where the winning team is whoever inks the most of the map! While Turf War is fun, when you’re ready to get a little more serious (and reach Level 10) Anarchy Battles are the next step. This mode is where you put your skills on the line to raise your rank. There’s 4 modes that regularly rotate in and out and each requires different strategies.
This guide was written by me, Sacha, otherwise known as “yellow.ggp”. I play Splatoon 3 at a professional level, and I play in a team called the “ggp”. We compete in monthly tournaments together. My intention was to create my ultimate guide of tricks & tips for new players so that you can climb the Anarchy Ranks. This guide can also be a good starting point for anyone interested in entering the competitive side of the game. I will go into what terms and words are most commonly used in the competitive scene as well.
Here at KeenGamer we also have some interviews and guides to help you become the ultimate splatting master!
- Splatoon 3: An Interview with Legendary Pro Player Brian
- Splatoon 3: An Interview with IPL Head Tournament Organiser Popgun
- Splatoon 3: Table Turf Battle Guide
Basics
I just wanted to quickly cover some basics about roles we use in the Competitive Splatoon scene. There are 3 main roles, Slayer, Midline/Support and Backline/Anchor. Depending on which you play you will fit into one of these three. Slayers are all about pushing enemies and flanking to get kills. Midline/Support are mainly focused on painting and using their specials to support the defense or pushes. Backliners are all about holding a defensive line behind the team and giving their team Super-Jumps. They are able to keep the enemies at a distance with their long range.
Your weapon doesn’t always define which role you play as it’s all relative to how you play the weapon. While not necessary it’s good to have a mix of roles. For example, a full aggressive team of Slayers can easily out-kill a more balanced team. You don’t just have to be a One-Trick either, you can play as many weapons as you like. I would however suggest sticking to 2 roles as trying to play all 3 may cause issues.
Now that we have covered the roles, I want to cover the 4 modes of Anarchy Battles!

Making It Rain In Undertow Spillway
Rainmaker
The main goal of Rainmaker is to carry the Rainmaker, A golden ultra-powerful weapon, across the map. In previous Splatoon games, this mode is known for not being designed well. Splatoon 1‘s version of Rainmaker had the weapon be over the top overpowered. For Splatoon 2 the mode was very easy to stall a win out of the opponent by just taking the Rainmaker back to your base. Here in Splatoon 3 the same target applies, pop the Rainmaker’s shield and then carry it to the goal pedestal. To make things fairer there are now new checkpoints which maps can have a range of 1 to 2 of.
The important thing with the checkpoints is to make sure to plan and communicate which checkpoint you are going for. If you don’t, your team may end up getting separated leaving you at a disadvantage. You also need to focus on popping the shield wherever you can because not only can the explosion kill but it also paints a huge area so it’s always crucial. Now with these new checkpoints an important thing is that your team gets the checkpoint first. As this will put you 1 point in the lead. Despite how small it seems; this could cost you the entire game. Note that when defending against a push, the checkpoints give you a great opportunity to pick off some of the opponent’s team as they will have to pop the shield again.
Another important small detail with Rainmaker is that you can see at the top of the screen who currently is holding it. This is very useful as this means that the player cannot use their main weapon or special. Backliners or Supports usually pick up the Rainmaker; use this chance to your advantage. Without a Backliner it’s easier to flank and without a Support it’s easier to push enemies and take turf. So always try to make plans based off who picks it up.
Weapons that I recommended for Rainmaker:
- Splattershot – Bombs are good to pop the shield and the mobility and paint is good to support the Rainmaker as well as Tri-zooka being good to splat the Rainmaker carrier
- Sloshing Machine – The Fizzy Bombs are great for poking and spamming the enemy’s defenses and the Booyah Bomb is great at popping the shield while also giving you a ton of special charge back if it does pop
- N-ZAP ’85 – Good for being the Rainmaker carrier as can pop with its Suction Bomb and then Tacticooler to make pushing with the Rainmaker easier as the effects stay when holding it
Abilities that I recommended for Rainmaker:
- Object Shredder – Helps weapons with bombs pop the shield faster
- Swim Speed Up – Increases mobility and help Rainmaker carriers move faster
Sturgeon Shipyard Tower Riding
Tower Control
In Tower Control the players must ride a tower to the goal, this mode is very similar to the Payload type mode from other shooters. Along the way you must clear checkpoints to allow the tower to keep moving. The tower will move closer and closer to the enemy spawn so make sure to always have someone pushing up to stop advances on the tower.
Often the Backliner will stay on tower as they can assist those pushing from the tower’s distance. They will need to be heavily protected as moving makes them an easy target. Supportive specials are also very good for tower as the checkpoints can often be quite hard to pass without any resources. I recommend saving any specials you have for clearing checkpoints. As they can keep enemies at bay and give you time to pass it. Just please don’t put the Tacticooler on tower… Unless you need a free Splash Wall replacement.
There’s one key piece of info you need to know to win. That is, use the pole. Yes, use the pole. While riding the tower you will get people shooting at you from afar, so use the pole in the center of the tower as cover and protection and “dance” around it to get those few extra points. It’s also worth considering as a tower rider where you feel your weapon is good on the tower path. For some maps you may feel uncomfortable with the path, in which case it is better to plan this ahead and communicate a switch in for who rides tower. I would also suggest splitting the team into two duos: one that focuses on pushing up into the enemy turf and another two, one which rides tower and another which protects tower from any pressure.
Weapons that I recommended for Tower Control:
- Anything with Big Bubbler – While the special’s duration is lowered when it is on tower, it’s very good at getting past hard points in the maps as well as securing knockouts
- Blasters – Able to poke the tower and clear it easily, so they are very good at stopping pushes
- Splat Charger – Backliner for riding tower and can use its Ink Vac to pass the checkpoints
Abilities that I recommended for Tower Control:
- Stealth Jump – Perfect for Slayers jumping right back into the frontline undetected
- Special Charge – Specials are important for checkpoints, so if you can have more specials, then checkpoints should be much easier to clear

Mahi-Mahi Resort Zone Splatting
Splat Zones
In Splat Zones, teams fight over a central area of turf, to capture a zone in their ink. The longer you keep the zone captured the further down your count goes. Until it hits 0 or time runs out. The count stops if half the zone is painted in opposing ink. Each time the zone is recaptured by the opposing team the ones who had it before will have a penalty count of varying amount added to their counter.
The main thing to consider in Splat Zones is the paint potential. Both teams will have different weapons. You need to be able to identify which team has the weapons that can paint better and faster. This is important as if they have more paint than you, they can easily out paint you on the zone. If this is the case, then you should be going a bit more aggressive to reduce their paint, by knocking them down a player or two. If both teams are in a stalemate, the number of teammates focusing zone is important. Two players can easily capture most zones.
Specials that can paint are hugely vital in Splat Zones, they can clear the zone and even sometimes instantly capture it. If these specials pose a big threat, then make sure they can’t spam them by keeping them splatted. If the zone is being contested, do not just push alone and feed the enemies. Focus on trying to help with paint. By capturing or you getting your special, you can then coordinate with your team to hinder the enemies’ offensives.
Weapons that I recommended for Splat Zones:
- Splattershot Jr. – Great for painting the Zone and keeping enemies busy with Splat Bombs, the Big Bubbler is also a good stalling tool to stop opponents from pushing the zone or even painting it
- Splash-o-matic – A great painting Slayer that has a good special to get enemies from across the zone
- Hydra Splatling – The Booyah Bomb special is very good at capturing the zone or even just clear it, and the range of the Hydra allows you to sit safely on most maps and just contest the zone
Abilities that I recommended for Splat Zones:
- Last-Ditch Effort – Extremely important as it helps to have more bombs to paint the zone and keep enemies at bay in the last half of the match or when they have a low count
- Ninja Squid – Good for Slayers to sneak around near the zone and allows them to get Backliners by surprise

Hammerhead Bridge Blitzing For The Clams
Clam Blitz
In Clam Blitz players collect clams that spawn periodically around the map. In order to score them into the enemy basket. These clams spawn in set locations so make sure to have a understanding of where these are on each map. Once you have gathered 8 clams you will form a Power Clam. These Power Clams are your only way to start a push and get points.
You can only carry a single Power Clam or 7 regular clams. Holding a Power Clam will reveal your location. I advise that until you start pushing you should stay at 7 clams. You can also give the Power Clam to the Backliner as their position will most likely already be known by the opponents. Holding a Power Clam does give you the benefit of passive special charge. Supports may benefit holding onto one to charge their special faster.
It’s very important to keep good turf control in Clam Blitz, this is due to how either team can pick up clams. Hence, if you have good control, the enemies cannot collect many clams and may have to force you out with their limited space. If there are any clams near your basket, take them as these could be easy points for the opponents, since they are close to the basket allowing them to score more before it closes.
After opponents have scored, a Pity Power Clam will drop for your team. Many assume that you should immediately pick this up, however do not do this. You should leave the Pity Clam unless the enemy has opened your basket. In which case, once your basket closes a second one will drop. The reason for this is you can use this Pity to Super Jump in or continue a push that is already going. It also guarantees overtime if you are losing.
This mode is all about organization and putting all your effort into big pushes. Don’t just dunk the Power Clam without any other clams or support from your team. This will give the enemy team a free Pity clam. It’s also a good idea to use specials when pushing. While getting two random splats with your special may give you a chance to push. Leaving your team unprepared. Causing the push to end up disorganized. So, getting the picks during the push is a better use of your special.
Being a “team heavy” mode, players often hate Clam Blitz. In lower ranks, this mode is painful because of how players cannot synergize well due to being a group of random people. Personally, I would suggest getting at least one friend to play with you or wait till you get to at least A or S rank. Once you get there, one or two players on your team will provide better teamwork. The mode is very fun if your team can work together!
Weapons that I recommended for Clam Blitz:
- Dualie Squelchers – The range of the Squelchers and their dodge rolls allow for very good defense and offense when in enemy turf, the Wave Breaker also is a great special to clear either team’s baskets or locate any sharking clam carriers that may give surprise Super Jumps
- Brushes – The ultimate Clam Blitz weapon due to their movement potential allowing them to sneak around and collect clams easily while also being able to get to basket with their inking trail
- Ink Vac – Able to protect teammates while they dunk clams into the basket
Abilities that I recommended for Clam Blitz:
- Comeback – Clam Blitz is a very back and forth mode so expect to get splatted a lot and since the basket is always so close to your base, Comeback is great for giving you that extra edge when you respawn
- Quick Respawn – Allows for you to respawn faster to better assemble a counter after they have a push that you have been splatted in

Rolling On Up
General Advice
Now you know tips for each mode lets cover some general advice! Having the tips in mind, you need to try playing each mode on each map as different maps have different layouts and changes. Recon mode is great for this. Knowing the paths and routes you can take to push the objective is very important. Understanding where you feel comfortable to play is key too. Take for example Scorch Gorge, where the pillar in the middle is lowered. Meaning you may want to either be more or less aggressive as Backliners may have more freedom, but those near the pillar have less cover and can be more easily pushed:

Scorch Gorge Middle Platform Comparison
If you dislike a certain mode or don’t feel confident with it, you can always play Anarchy Open. I quite often use Anarchy Open to test out how I feel about weapons in certain maps and modes. Open never feels as punishing as Series can be and it even allows you to play with friends. There’s no need to worry about having a losing streak here! As painful as losing can be, always remember that you can never rank down! Your hard work will never fade.
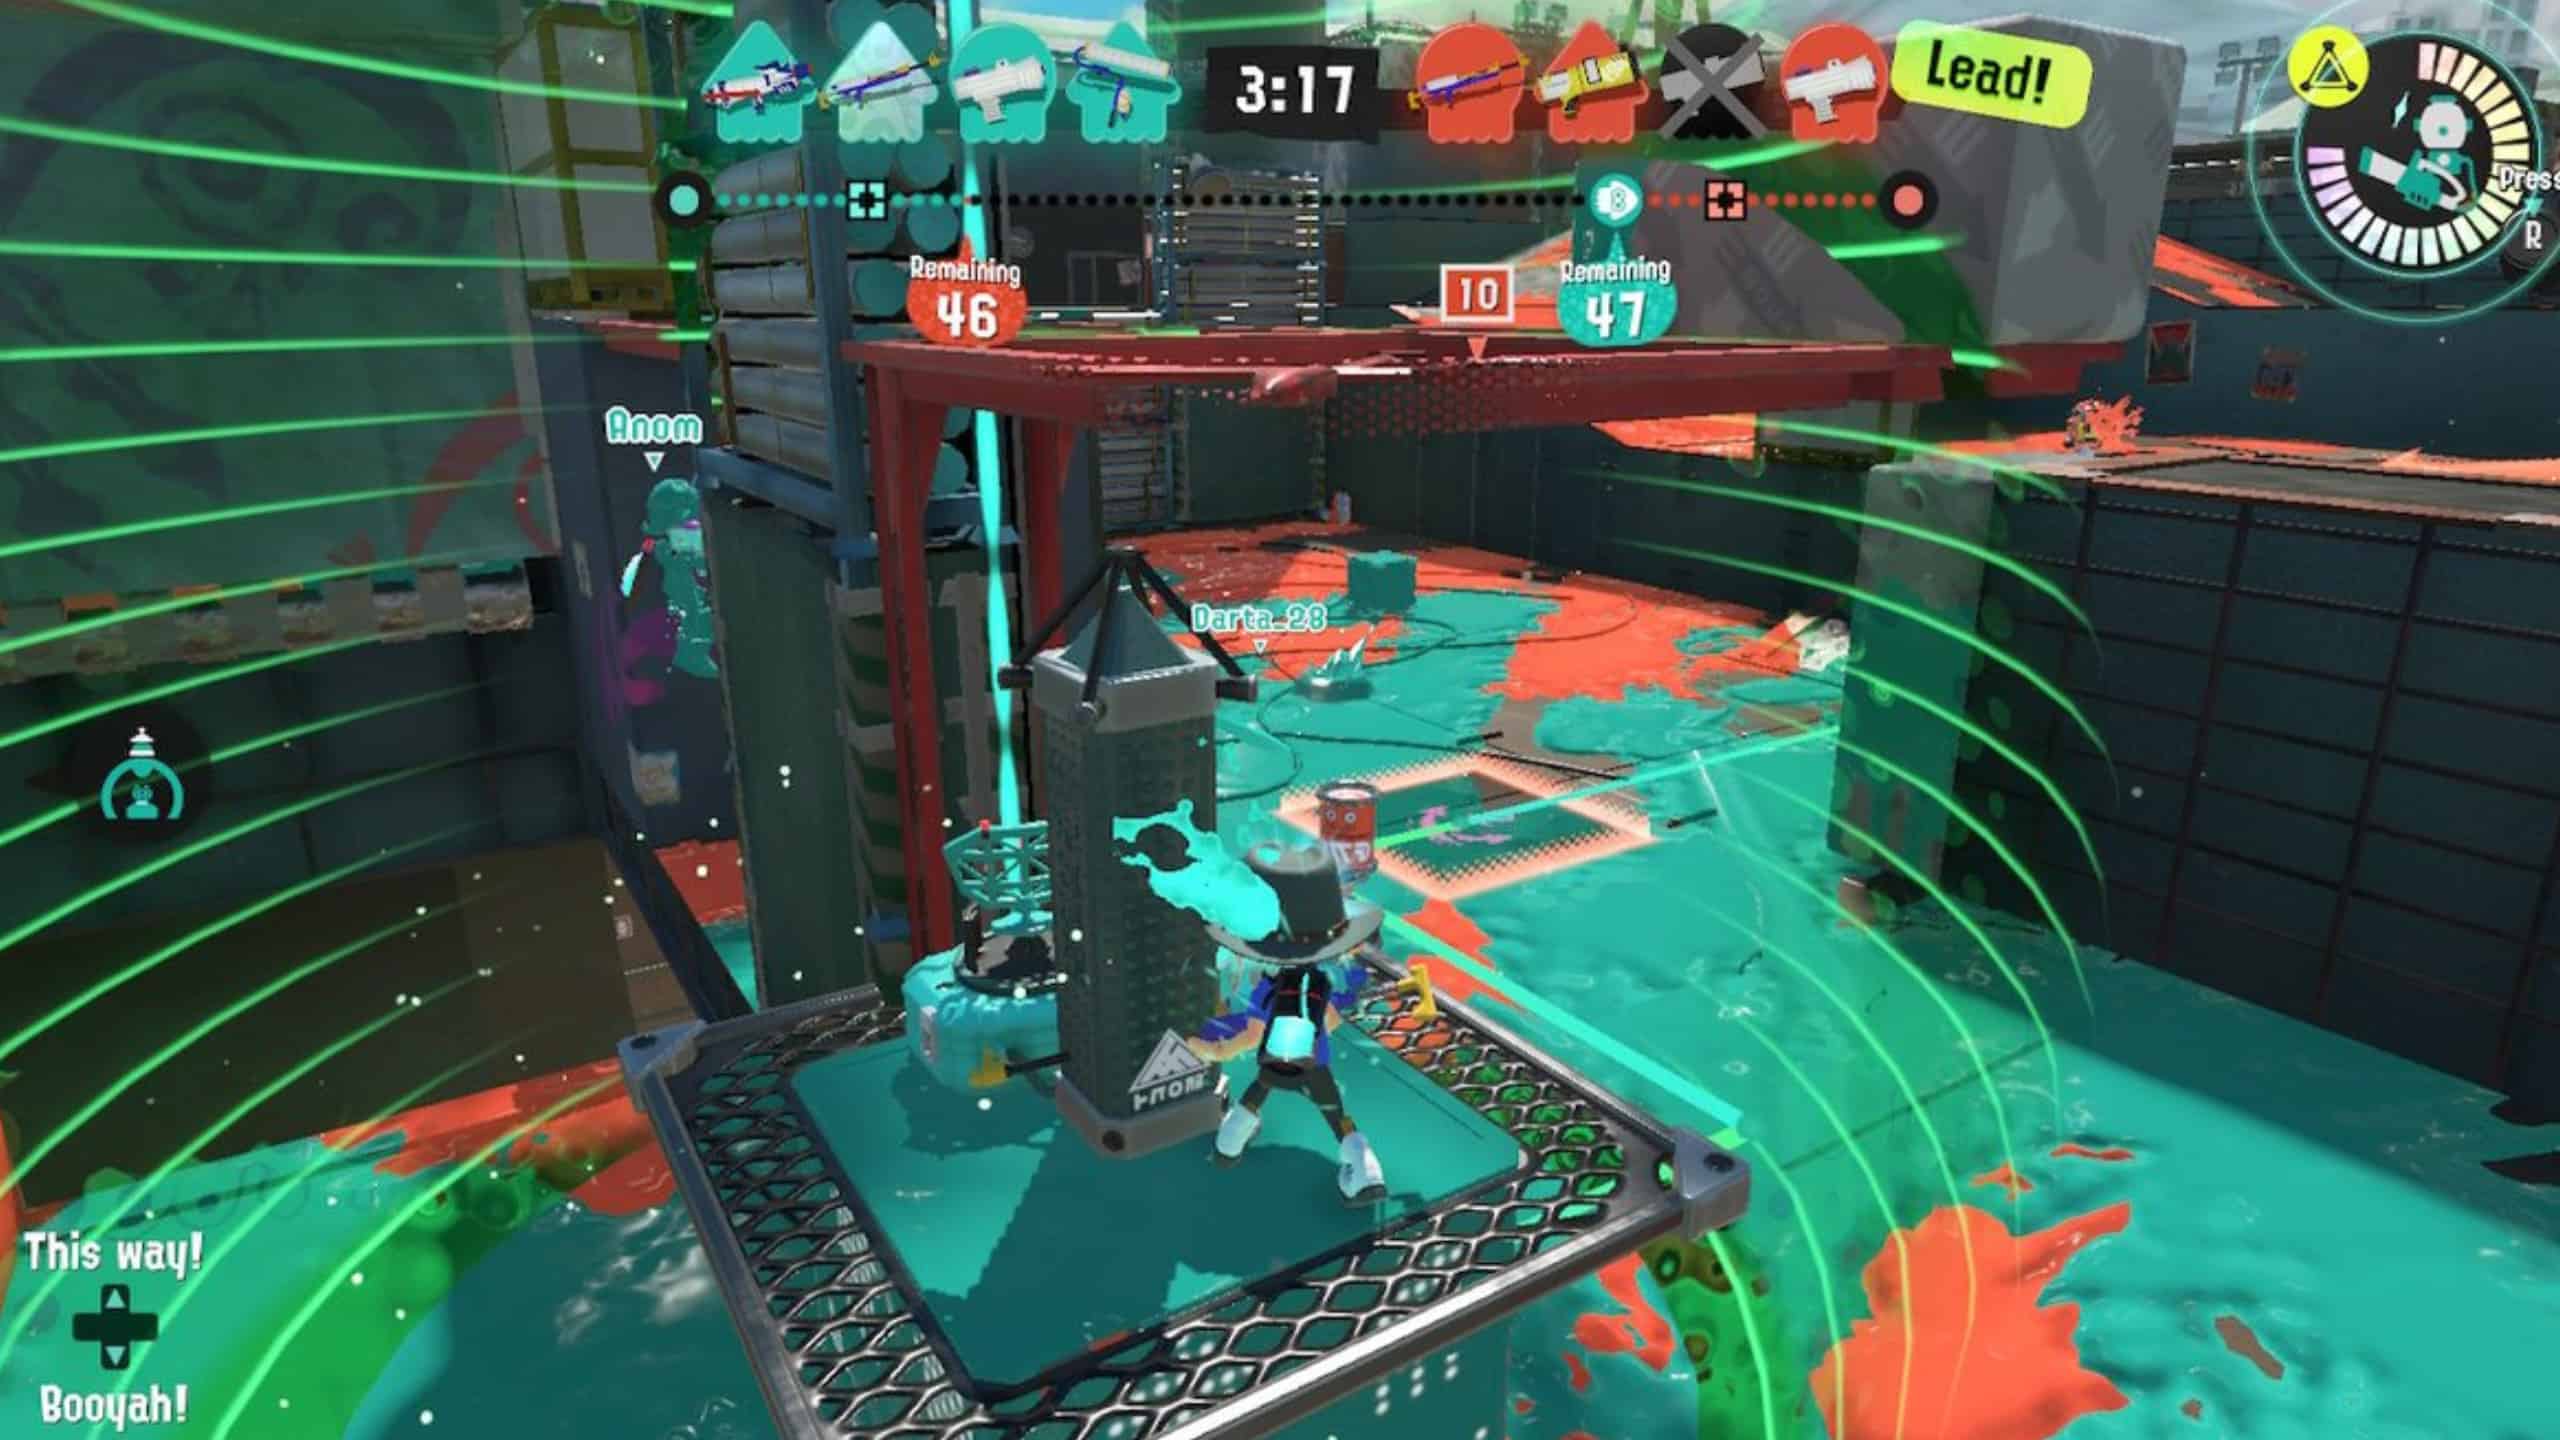
I would also like to recommend that any Slayers that like pushing and flanking, use the Ninja Squid ability to give them potential to sneak up on opponents easier. Just take caution that it will make you slower in Swim Form. Consider having a few subs or a single main of Swim Speed Up. Keeping an eye on the player statuses at the top is key to knowing when to push. If they have a colorful icon, this means their special is ready. If the enemies have more than two specials ready, it’s better to let them waste these. Then start a push when they are low on resources.

Crab Party!
Calling out and keeping a distance when a special is active is always best. For example, don’t stay in the open when someone is using a Crab Tank or Tri-zooka. If they use a Tacticooler, then coordinate with your team to stop them pushing with their buffs. A note with Tacticooler is that it often encourages rushed solo pushes causing a lot of feeding to opponents. Players often don’t see dying with it active as a punishment, however, try to not just go in without your team. Remember enemies can easily track you due to the particle effect.
If you are not a Slayer, make sure to keep an eye on any possible flanks. If you have Point Senor, Ink Mine or Angle Shooter as your sub weapon, keep these flanks marked as to stop any unseen foes. Backliners should always stay back unless they are well protected, or your team has cleared space for you. A lot of maps also have these drops which cannot be easily retreated back from, such as the middle of Museum d’Alfonsino. Never drop down to any of these areas without making sure it is clear and painted below you as you need to have the space to move.
One big thing we do in competitive is always open the map at the start of battle. This is to make a mental note of any important abilities the opponents have, such as Ninja Squid (paint around you to stop them sneaking), Respawn Punisher (be careful with dying to them and try grouping up on them to keep them down) and Object Shredder (can be dangerous in Rainmaker and can allow shields such as Booyah Bomb’s armor to be destroyed easily).

Opening The Map Is Very Important
I’d also recommend watching some competitive players. Those who excel at the game are great to pick things up from. Here’s some Twitch channels you should check out: BrianTheDrummer, ThatSrb2DUDE, Wadsm, ProChara, and Kiver .
There’s also always a bunch of tournaments that you can either take part in or watch, such as with the IPL, DappleProductions and Little Squid League! It may be intimidating to compete in a tournament, but if you just go into it wanting to have fun, there’s no bad that will come out of it! You can join teams that may even have coaches that can help you improve!
At the end of the day, all that matters is that you have fun! You should be relaxing and enjoying your time. So don’t get heated if you see a lagging player or lose that series! Your rank means nothing to others as they can’t even see your level and rank anymore! It can be frustrating, so just know when to back away from the game too. Your own health should always come first!
Thank you for reading this guide. I hope you can now Super Jump your way to the top of the ranks! Don’t let this guide define how you must play, experiment with what works. Just always try your best to synergize with teammates as you can never win alone. Comment down below any tips you have to help everyone stay fresh!


