

Final Fantasy XIV‘s Season 3 of PvP is underway, with Job balance seeing only minor adjustments. Thus, the Monk maintains its position as a complex yet versatile melee DPS, capable of fulfilling multiple archetypes.
It has mobility, stuns, guard breaks, minor shields and of course, damage. However, its downsides are its lacking defenses, non-existent ranged options and its overwhelming amount of options that can confuse newcomers.
Through practice and patience however, you will find that this Job is more than worth the trouble. Swift as the raptor, fierce as a couerl and cunning as the opo-po, the Monk can adapt to any situation.
This is an in-depth guide, so use the table of contents to help navigate to the sections most useful to you.
Special thanks to Revival PvP (@ffxivpvprevival) and its Monk mentors, Zeltra Embres and Jay Vermillion for their expert knowledge. The second gameplay video under Preparation vs Reaction is also courtesy of Jay Vermillion.
Basic Knowledge and Techniques
The Monk Kit; Pugilist 101
Rising Phoenix

Bootshine gains a total of 1500 extra damage
Phantom Rush Combo
A string of 7 Weaponskills (GCDs) with the final 7th attack being the strongest, dealing 10,000 base damage. This will be your main source of damage, so you should familiarize yourself with its flow. Generally speaking, you will want to use this weaponskill as much as possible (known as “rolling the GCD”) so that you maximise your uses of Phantom Rush in a match.

Monk Phantom Rush Combo
You will want to use Rising Phoenix to empower the final weaponskill, Phantom Rush, whenever possible as it adds an additional 5000 damage to it. The damage is capable of securing kills and is more than enough to force opponents to retreat. Monk is all about setting yourself up to deal massive damage. Use this weaponskill often, so that Rising Phoenix and Phantom Rush are available around the same time.
Thunderclap
This ability is the reason behind the Monk’s excellent mobility. Thunderclap is an ability that allows you to dash near an opponent or ally. Upon use, you gain a buff called Wind Resonance which decreases your recast times by 10% and a 6000 potency shield the either your teammate or if you dash to an enemy, yourself. You have a maximum of 3 charges that recharge every 10 seconds.
Monk Thunderclap ability
Usage of this skill is flexible. You can use it to refresh your Wind Resonance buff to speed up the process of getting to Phantom Rush, you can also chase down an enemy or use it to escape their assault. Feel free to use this ability however you see fit, but remember to have at least one charge of it before using Enlightenment.
Six-Sided Star
The ‘bread and butter’ skill of the Monk, Six Sided Star is an ability that delivers 4,000 damage and a 2 second stun on your target, whilst also increasing your movement speed for 5 seconds.
This tool may be used either offensively or defensively. When attacking, you can stun enemies just before landing Phantom Rush or Enlightenment to ensure you are not interrupted, making it harder for enemies to recover from your attacks.

Monk Six Sided Star
When playing defensively, you can use this to halt your opponent’s attempts to burst down you or your teammates, potentially desynchronizing their abilities in the process. As the cooldown is 15 seconds, you have be careful with its usage since, using it for one strategy makes it unavailable for the other temporarily. Furthermore, be wary of your opponents using Guard, as Six-Sided Star will fail to stun them when it is active.
Enlightenment
Enlightenment is a ranged attack that deals 8,000 damage in 15 yalm (yard) line in front of you, knocking back your target and applying Pressure Point on them. Pressure Point is a debuff that detonates for a ludicrous 12,000 damage if the victim is hit with a weaponskill whilst it is active. Moreover, this detonation is unblockable.
Always empower this attack if you can with Rising Phoenix. The goal here is to use Enlightenment on priority kill targets and then activate the pressure point debuff it gives them when they are successfully knocked back.

Note how Thunderclap is used only when the target has begun moving back, as opposed to straight after using Enlightenment.
Be warned that, its timing is tight since the Pressure Point debuff only lasts for 3 seconds. Therefore, try to run towards the same direction of the fireball and use weaponskills with quick animations to detonate it (for further information, see GCD Ghost Seconds in this guide).
It will also be helpful to have at least one charge of Thunderclap for closing the distance after the knockback. Note that, using the ability too quickly will send you to your target’s previous position; wait till the player has been actually moved on your screen before using it.
Riddle of Earth
This is the Monk’s main form of health recovery and multi-target damage. Upon activation, this ability will begin compiling any received damage for 10 seconds.
Activating the ability again within its duration, casts Earth’s Reply, dealing 2,000 damage plus 25% of the compiled damage in a 5 yalm radius, whilst healing yourself for 4,000 health plus 50% of compiled damage. In addition, the 25% compiled damage component of Earth’s Reply cannot be mitigated by Guard, making this a potent area attack.

The Monk heals the majority of the damage sustained without using Recuperate.
Use this before leading a charge and play aggressively to goad opponents into attacking you. Use Recuperate to stay healthy and prolong your damage intake.
Activate Earth’s Reply if your health gets too low or when Riddle of Earth has 3 seconds left on its duration. When doing so, try to be near a group of enemies to maximise your damage efficiency. That said, be warned that the heal has a short delay before it actually registers on your character so press this button earlier than later.
Meteodrive
This is the Monk’s Limit Break (LB). A single target, unblockable attack that deals 12,000 damage and is able to detonate pressure point. If prepared correctly, this LB will be a confirmed kill on any player you target. Although the tooltip states you deal an additional 12,000 damage on unguarded targets, testing confirms that this is not the case.

Meteodrive detonates Pressure Point and immediately deactivates the target’s Guard.
Whilst its charge time is fast, you want make sure you get maximum value out of each use of your LB. As a general rule, always use Enlightenment before using your LB and if possible, have Phantom Rush ready to finish off opponents who survive.
The Monk Playstyle
The Monk isn’t like most jobs, in that it has a singular archetype. Monks vary their playstyles depending on the situation and the tools that are available, fulfilling a variety of roles.
The advantage of this is that, you can cover any gaps in your team composition. The issue is, once a particular tool is on cooldown, you need to switch to a different playstyle or you will be playing sub-optimally. As a general rule, play passively when Purify and Guard are not available. As the Job’s offense requires significant setup, any interruption will delay your damage severely.
Bruiser
When Riddle of Earth is available, it essentially gives you a second health bar with the amount of healing it does. Use this resilience to support your tank in establishing a frontline.
Earth’s Reply is best used as you enter the fray.
Pressure the enemy whilst using your Phantom Rush Combo to weaken their offense and eventually set yourself up to burst enemies down with the final hit, Phantom Rush. The idea is to offset the lengthy process of doing so via the healing and damage that Earth’s Reply delivers. Ideally, you want to catch at least 3 enemies within Earth’s Reply’s radius to be efficient with your damage.
Duelist
Once Riddle of Earth is on cooldown, you will want to utilize cover and mobility to avoid being hit and reduce incoming sources of damage. Use Thunderclap on teammates to retreat to your backline to distance yourself from melee combatants and hide from ranged attackers.
When Six-Sided Star is available, Thunderclap onto an opponent and use it. Inflict high damage with attacks such as Enlightenment, Phantom Rush or Snap Punch and then disengage.

Six Sided Star can capitalize on on players who are out of position or over-extended.
You want to stay mobile, weaving in and out of engagements. The aim is to minimize the amount of damage you receive as you attack the enemy; this is known as ‘trading’ favourably. As such, position yourself near walls and cover to cut the line of sight when targeted.
The Line of Sight (LOS) is defined as a direct visual connection from a caster to their target. LOS is needed to be able to perform most actions as you cannot hit what you cannot see. This means that, for instance, if you are being shot to death by a Machinist you can simply hide behind a wall.
Diver
After some time in combat, Meteodrive will be ready. This is when you can penetrate through the opposition’s frontline to eliminate a specific player. That said do not mindlessly use your Limit Break.
Continuously attack and wait for an opening. Roll your GCD to have Phantom Rush ready and aid your team in weakening foes . Use Guard to soak up any incoming debilitations and use Riddle of Earth to stay in combat.
Once everything is lined up or if you spot an opponent with 50% health, use Rising Phoenix, Enlightenment and then Meteodrive on your target (more optimal combos are listed further). Ideally, you should be able to kill your target before they can recover.
Use this tactic to remove high-damage targets like Black-Mages or playmakers like Bard and push your momentum.
Preparation vs Reaction
Although Monk’s core gameplay is focused on lining up powerful moves with buffs and effects, you should still remain vigilant of what is happening in the match. Remember, what ultimately gets kills is ‘bursting down‘ your enemies; dealing a large amount damage in a short amount of time, ideally before your target can react.
This means that, you should be ready to improvise with what tools you have if you spot an opponent in a unfavourable position. There are times when it is worth doing a sub-optimal burst to secure a kill and there are times when it is better to continue building up to your standard burst combo.
If you spot an opponent with low health, you may use Six-Sided Star to force your target to use Purify instead of healing themselves with Recuperate. This can be enough time for you or your team to finish them off. That said, check your available abilities and assess your team’s damage up to that point.
Do you only have Dragon Kick ready? Is Enlightenment unavailable? Are your teammates falling back? Then it may be a bad idea to use Six-Sided Star, as it will be wasted and unavailable for your own personal burst combo later.
The Importance of Dueling
As the Monk’s sheer quantity of tools can be overwhelming, it is vital that you familiarize yourself with them via dueling. Practicing against other Jobs will allow you to understand what they can do and how you can best disrupt their offense.

Dueling other Monks can also help you identify your own strengths and shortcomings.
Not only that, but with how fast-paced the job is, you do not have time to figure out what move to use next. Damage windows like Pressure Point are extremely short, and abilities like Earth’s Reply are prone to having their effects mis-timed.
Even a single second of delay can make a massive difference. Therefore, it is recommended that you practice in the Wolves Den to build muscle memory and figure out timings for the Job.
Advanced Knowledge and Techniques
Monk Combos
Rising Phantom Rush Combo
Demolish > Six Sided Star > Rising Phoenix > Phantom Rush
This is a fundamental combo that will serve as good source of pressure. The stun before Phantom Rush will decrease the likelihood that they will guard your attack and also delay their recovery after receiving it.
Phantom Rush Nirvana
Demolish > Six Sided Star > Rising Phoenix > Enlightenment > Rising Phoenix > Thunderclap > Phantom Rush
This is your optimal standard damage combo. Be warned that you need to activate Rising Phoenix immediately after Enlightment, as it needs to land before the enemy is knocked back.
EX Hadouken
[Any Weaponskill] > Six Sided Star > Rising Phoenix >Enlightenment > Rising Phoenix > Thunder Clap > [Any weaponskill]
This is a quick burst combo that can be used to finish off low health opponents in a pinch. The benefit of this combo is that Pressure Point’s effect is unblockable. So as long as you land the initial Enlightenment hit, you will get good value out of this combo.
Deadly Rave
Demolish > Six Sided Star > Rising Phoenix > Enlightenment > Rising Phoenix > Meteodrive > Phantom Rush
Whilst this combo is lengthy, it deals phenomenal damage and is fully capable of killing low health Jobs from 100% health. Be advised that this combo can be easily interrupted by Guard, so keep track of when your target last used it.
GCD Ghost Seconds
Generally speaking, weaponskills are instantaneous and are supposed to deal damage and activate their effects upon pressing their corresponding keybind.
However, what actually happens is that, these effects are only applied on the target at a specific point of an animation; either at the end or near the end of it. This means that attacks with lengthier motions will be slightly slower to actually output the damage.
In practice, this has a more profound effect on PVP than PVE. This is because in PVP, engagements are shorter and damage output is not constant. This delay can give opponents the opportunity to recover, evade and counter-attack your offense. To illustrate, a heal that applies itself just before your killing blow, will deny you. Bear in mind that, the reverse is also true.
This acts as a pseudo-cast time, known as “GCD Ghost Seconds“; a set delay before your weaponskill actually lands. Below is a list of Monk weaponskill GCD ghost seconds.

GCD Ghost Seconds – From top to bottom: Demolish, Dragon Kick, Bootshine, Twin Snakes, True Strike, Snap Punch and Phantom Rush.
This will mean that certain weaponskills are ill-suited to activating the effect of pressure point, since it only activates once the damage has been registered on the afflicted. Specifically, Demolish, Dragon Kick and Bootshine should be avoided as Pressure Point triggers as they all take more than a second to register their damage.
Plan accordingly and ensure you have a suitable weaponskill before going in for your burst.
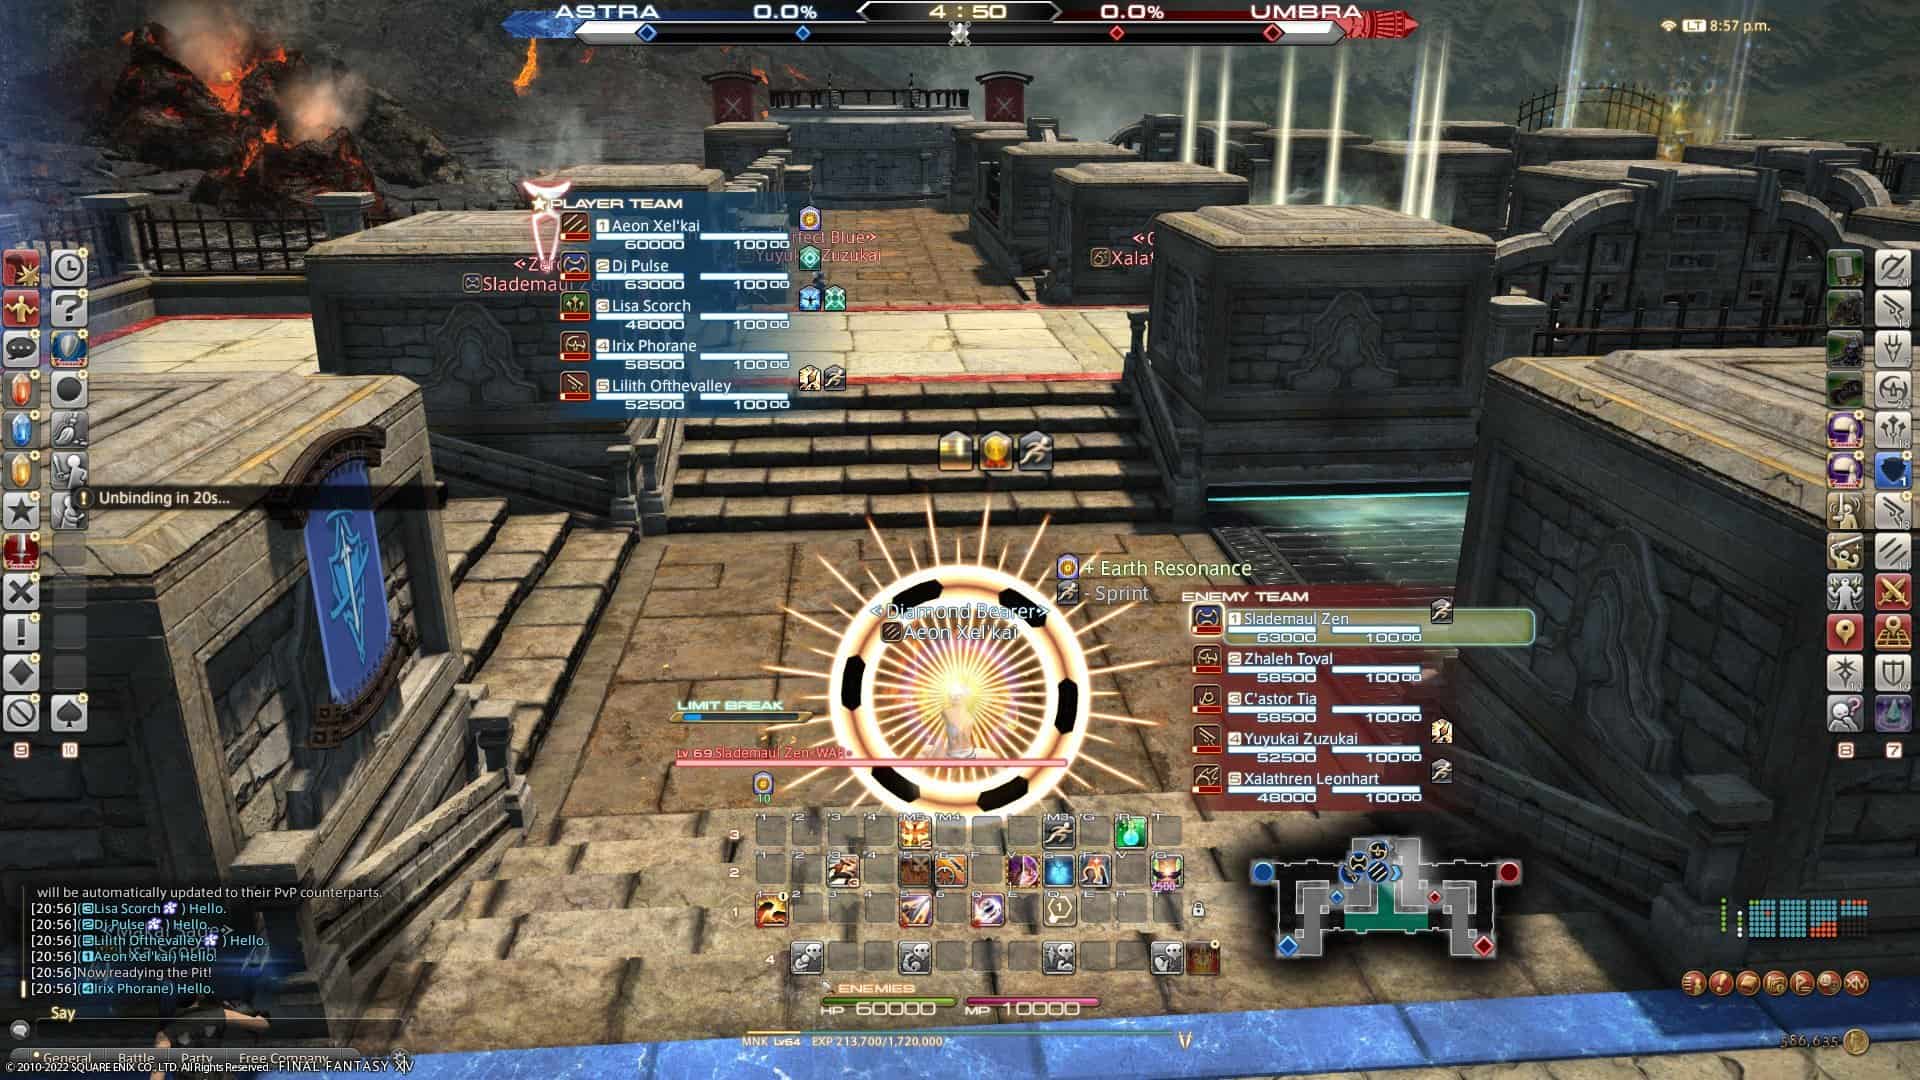
Earth’s Bomb
This technique is unorthodox and somewhat reckless, but could be a devious trick to surprise the enemy with explosive damage.
Riddle of Earth’s effect is to compile damage over time during its duration. Upon closer inspection, there actually isn’t any limit to this received damage nor does it specify that the damage must come from players.
This means that damage from bombs and tornados also count towards the accumulated damage. When these appear, activate Riddle of Earth, intentionally stand in these hazards, then charge into a group of enemies and use Earth’s Reply.
An infographic guide to the Earth’s Bomb tactic
The key to this tactic’s success is timing and positioning. Choose hazards that are near the enemy but are not directly within their view (if possible). Recuperate before going in and then detonate once enough damage has been taken.
When using this against larger groups, have Guard ready so that you are not interrupted and killed before using Earth’s Reply. Lastly, remember that you can dash towards teammates as way to engage and escape.
The downside to this strategy, is that you will also be prematurely using your main health recovery tool and you will also lose damage uptime. Unless you are comfortable with disengaging from fights or the enemy lacks debilitating tools like stuns, I would not recommend making this your standard approach.
The Monk Matchup
With that in mind, here are the main Jobs you have to wary of. These are all high priority targets as they can cause significant issues if left unchecked. Use the Monk’s toolset to disrupt and stifle their offense. A well-timed Meteodrive and Six Sided Star on attackers can neuter potentially deadly combinations and give your team enough time to escape or recover.
Pay attention to these Jobs’ Limit Break bars; your aim is to pressure them into wasting their debiliations and prevent them from using their Limit Breaks.
Versus Paladin
Paladins in this meta are notoriously hard to kill and can share this endurance with their team. Holy Sheltron is capable of saving Paladins from your high burst and they can use Guardian to cover their teammates, taking all the damage they would have received.

The Paladin from FFXIV
Do not commit your full damage resources on them if Holy Sheltron or their Limit Break, Hallowed Ground is active. Otherwise, be sure to target them whenever possible to pressure them into using their defensive abilities early.
As they like to use Guardian and Guard in tandem to soak a teammate’s damage for free, you need to remove the latter ability from the equation to prevent this from occurring.
Bard
If a Bard is on the enemy team, you have to play cautiously and shut them down as soon as possible. Their on-demand bind and silence are major threats to your melee, combo-reliant moveset. They can stop you from detonating Pressure Point or prevent you from engaging and disengaging fights with Thunderclap.

The Bard from FFXIV
However, if you force them to use these tools defensively, they won’t be able to use it to interrupt your offense. Just be wary when engaging without Guard or Purify. In this situation, keep a wall between you and the Bard often so they can’t target you.
Astrologian
This Job is troublesome due to their potent damage reduction, healing and mobility impairment. When it comes to your offense, an aware Astrologian has enough tools to protect their team during all of your burst windows.

The Astrologian from FFXIV
Despite this, they suffer in direct confrontations due to their mediocre damage output and low health pool. The main ability to look out for is Macrocosmos, which when active, will heal players for 4,000 health plus 25% of the damage compiled in its duration. You want this ability to be unavailable when you’re doing your burst damage comb. So, attack the Astrologian to force them into using it prematurely or better yet, remove them from play.
Monk
The great thing about Monk is that, it has every tool to answer every moveset. Unfortunately, this counter also applies to other Monks. What makes this worse is that the opposing Monk will be aware of any signs of your incoming burst and may potentially be synchronised with you.
The main problems are that they can stun you right after you cast Enlightenment, preventing you from detonating Pressure Point and heal through your combos with Earth’s Reply. Furthermore, their identical mobility makes them equally as difficult to pin down.

The Monk from FFXIV
Pay close attention to where the Monk is in their Phantom Rush Combo, to time your Guard. Typically a good time is when you see Twin Snakes, since it is likely that a Six-Sided Star is imminent.
You may also use Six-Sided Star or Riddle of Earth before the Monk’s burst combos to mitigate their damage. The key moves to look out for are, Enlightenment and Twin Snakes. A stun straight after being hit with Enlightenment, can prevent its detonation. Meanwhile, using Riddle of Earth during the Monk’s damage combos can net you a potent Earth’s Reply, undoing the majority of their damage whilst giving you a powerful attack.
The Gameplan
Now that you are familiar with the Monk’s mechanics, you need to apply them in the context of the Crystalline Conflict objective.
Early Game
Melee Team
If you have a Tank and a damage centric team, try to suggest an aggressive push. Follow the Tank closely in their flank and hold until either they engage or if an opponent charges in. Unless you have a Gunbreaker, you should wait until your Tank stuns or slows an enemy and then go for a quick Enlightenment combo (e.g “EX Hadouken”). Face your blast towards a nearby wall when doing this, so as not to push the target too far away.

If no Tanks are on your team, play defensively and punish opponents that push in with Six-Sided Star. Another option is to engage with Guard to bait out debiliations and force a fight. Once Guard ends, activate Riddle of Earth to sustain yourself and deal massive group damage with Earth’s Reply. Since you don’t have a Tank in this case, you need to play near walls and corners so that you can retreat into cover quickly.
Ranged Team (with no Tank)
In this case you want to harass the enemy with damage from the sidelines, adopting a more hit-and-run playstyle. This is because your teammates are unlikely to follow you into the fray, so be careful about over-extending. Position yourself behind a corner in the halfway point and wait for an enemy to come close.

You can then activate Rising Phoenix which will hurt the enemy around the corner via its area of effect (aoe) damage. After that, immediately activate Riddle of Earth, Thunderclap to your target and then use Enlightenment and Six-Sided Star. After that, attempt to detonate Pressure Point. If it is difficult to do so, Guard or activate Earth’s Reply to stabilize yourself and deal damage. Regardless of your approach, you will need to immediately distance yourself from imminent attackers, by using Thunderclap on a teammate or by simply running into cover.
Mid Game
The Monk’s damage has a significant disparity between its burst windows and normal damage. This means that the combat has an ebb and flow that you must follow. If you have your defensive abilities ready, you can play aggressively and mark targets for an Enlightenment or Meteodrive combo. Once you have exhausted your tools, use the walls and pillars to obscure yourself and build back up to Phantom Rush.
Your role here is to punish aggression and bad positioning, prioritizing high-threat players, so be ready to call out your targets once you have your burst combo ready. In addition, Monks thrive in 1v1 situations so look to duel any opponents diving your backline to push them back or score a kill.
End Game
Ideally, if you have managed to constantly eliminate players with your burst damage, the revival timers on the enemy team will be staggered. In this state, you should consistently outnumber the enemy. The momentum from this advantage should lead you to victory, as the enemy will desperately try to stop you from pushing the point by throwing themselves at you.
Although, at higher ranks, be warned that one well placed Limit Break can wipe your entire team and create an opportunity for a reversal. As long as you give yourself adequate space from the team and keep an eye on incoming players, you should be able to shut down any major plays with your kit.
Conclusion
The Monk offers a diverse kit that is able to temporarily fulfill multiple roles. Its tactical flexibility makes it a fantastic team-player in the right hands. Yet, its strict timing, high execution requirement and mediocre defenses make it difficult to master. Nevertheless, those who do, become comparable to demons like the Japanese Oni.
It is not bound to one state, it is formless like water. A river, that can seamlessly weave through opposition or force the earth to move; it can flow or it can crash. If you wish to succeed, be water my friend.


Ben Allen
Really liked this article; super detailed and engaging to read. Also never knew about the Earth Bomb technique but I will definitely be trying it out for myself
James Gay
Thank you so much! I’m glad I managed to give you some useful insight 😀