

If you want to be an elite ghost hunter in Phasmophobia you need to understand how to use the items available to you. The Kinetic Game is still in early access but already features a lot of equipment. It can get overwhelming and may be difficult to know when to use what. That’s why we made this guide — to teach you how to use all the items in Phasmophobia.
If you are completely new to the game it might be smart to check out our beginner’s guide.
Looking for a particular item? Use this table of Contents below.
- EMF Reader
- Ghost Writing Book
- Spirit Box
- Thermometer
- Video Camera
- UV Flashlight
- Photo Camera
- Flashlight & Strong Flashlight
- Candle
- Crucifix
- Glow Stick
- Head Mounted Camera
- Infrared Light Sensor
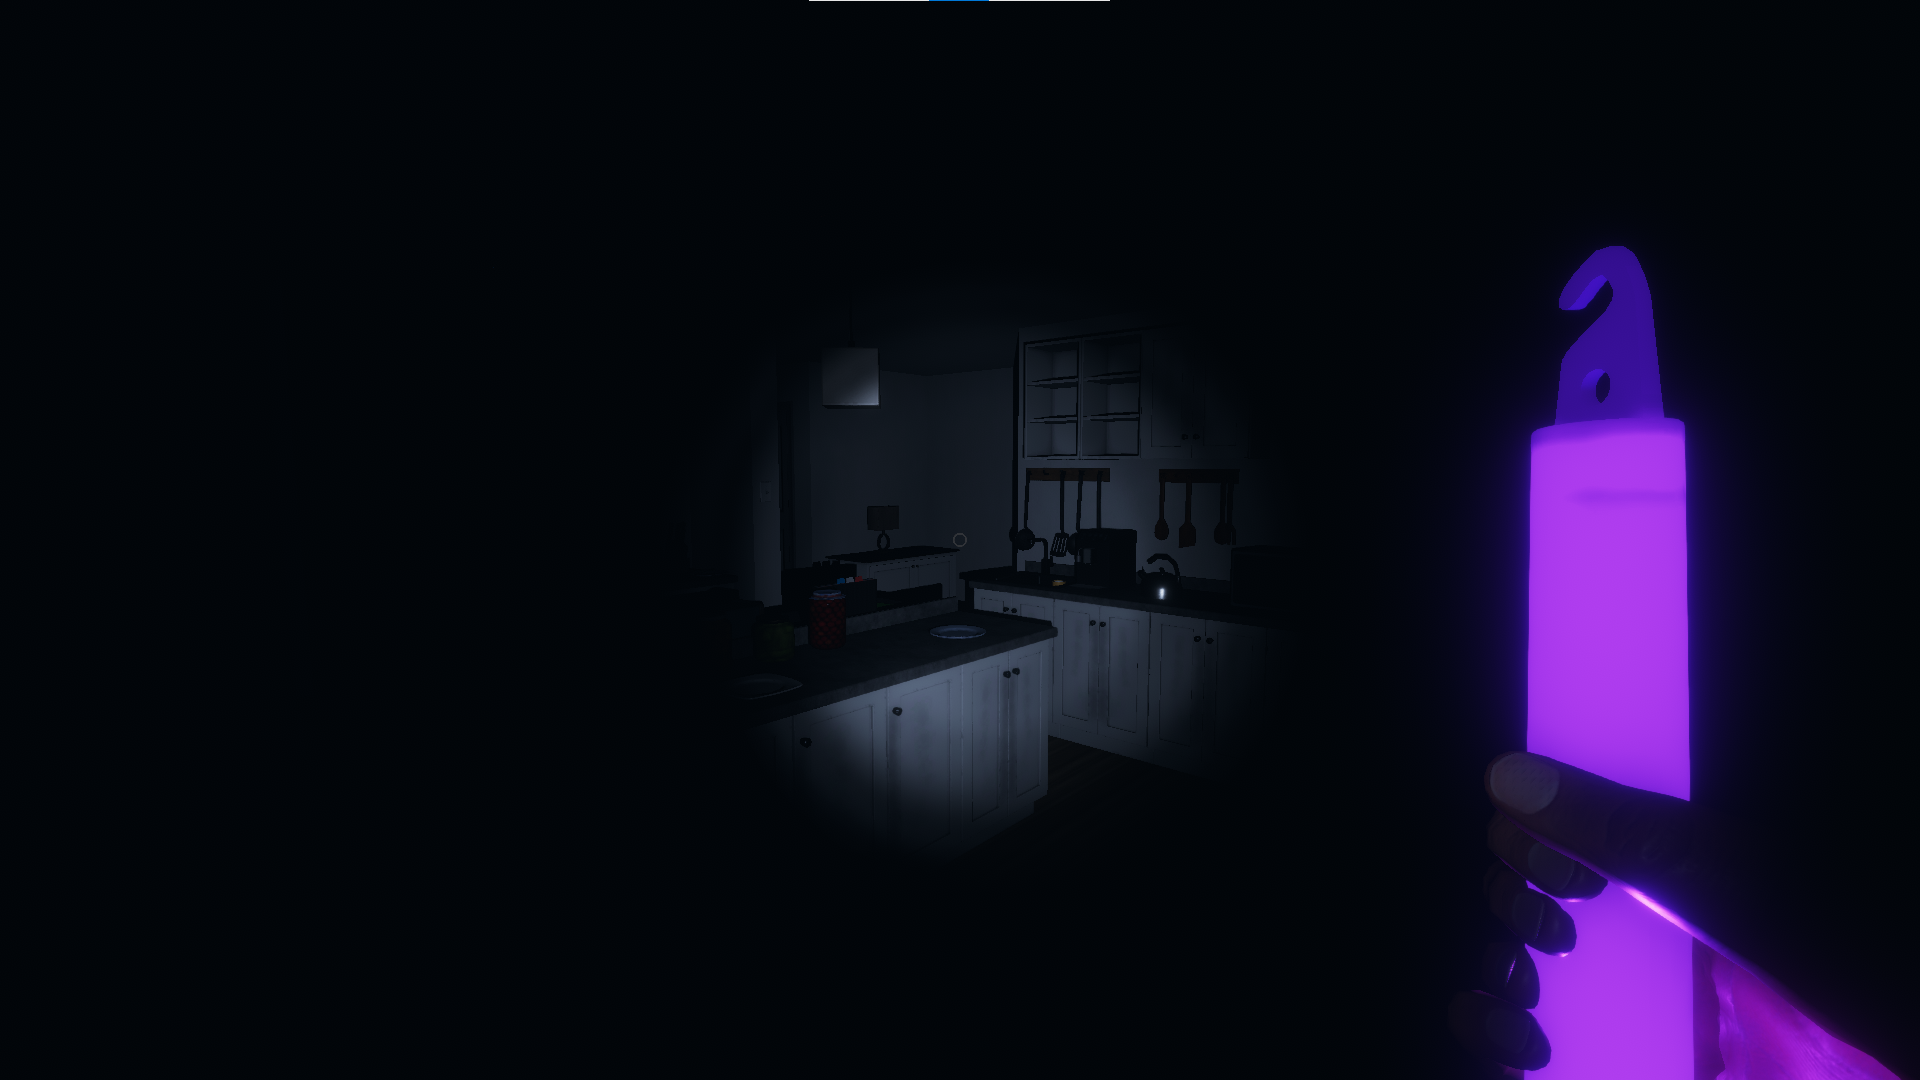
- Lighter
- Motion Sensor
- Parabolic Microphone
- Salt Shaker
- Sanity Pills
- Smudge Sticks
- Sound Sensor
- Tripod
The must-haves
You should bring all the items in this section on every mission.
Fortunately, most of them are starter tools. Meaning you will have one of each automatically before each mission.
EMF Reader
Used For:
- Collecting Evidence “EMF level 5”
- Finding the location of the ghost

The emf reader feels like something the Ghostebusters would use
The EMF Reader is one of the best tools to locate the ghost. Once you turn it on with right-click, navigate the house room by room. If the reader jumps to 2 or higher, it means the ghost is near. If the reader reaches level 5 that means one of the evidence items you need to enter in your journal is EMF 5. After you reach level 5 you can move on to a different piece of equipment.
Ghost Writing Book
Used For:
- Collecting evidence for “Ghost Writing”
This is one of the more fun items in Phasmophobia. Preferably after you have the location of the ghost you can throw down the book on the floor using ‘g’. The ghost will handle the rest if that is one of its evidence traits. Usually, they write encouraging things like “DIE DIE DIE” to let you know you’re welcome in their home. Sometimes the ghost will even write in the book while you’re still holding it. You don’t have to be in the room with the book. If the ghost is being agro you can set up a video camera to watch the book from the van.
Spirit Box
Used For:
- Collecting evidence for “Spirit Box”
- Speaking with the ghost
The spirit box is the spookiest way of collecting evidence. Once you know the location of the ghoul, you can bring the spirit box into the room and shut off the lights. Next, you ask it simple questions. If you want a complete list of what phrases trigger the ghost check out this guide. Saying these things may cause the ghost to interact in physical ways like turning off lights, throwing things, or sometimes murdering you. But sometimes the ghost will speak directly through the spirit box. If you hear that means you can write it down as evidence. For whatever reasons this tool really pisses off ghosts and can often cause them to start hunting — so be on guard and have an exit plan. To make using the spirit box even worse, depending on the ghost you may need to be in the room by yourself for it to work.
Thermometer
Used For:
- Collecting evidence for “Freezing Temps”
- Finding the location of the ghost

Easily one of the best tools for finding the ghost
The thermometer is the other piece of equipment along with the EMF reader that I usually start off an assignment with. In order to use it you need to right-click to turn it on. Then check each room to see if it has a low temperature. Anything below 10 degrees is a sign that the ghost is near. If it dips below zero that means you have freezing temperatures. Which means you’ll need to enter it in your journal. After that, you can dispose of the thermometer and begin to use the other evidence collecting items. The thermometer is the only tool used for collecting evidence that isn’t automatically included when you are setting up a mission. You’ll have to add it each time.
Video Camera
Used For:
- Collecting evidence for “Ghost Orbs”
- Watching room from a safe distance

Check for ghost activity form the safety of the van using the video camera
This is another item that is best used after you know which room the ghost is roaming in. In order to use the camera, you should find something to set it on, a desk, a bed, anything to get it off the ground. It also helps to place it where it will capture as much of the room as possible. Once you find a spot get near the surface area and you should see the outline of the camera. Turn it on using right-click, rotate using left click, and finally place it using ‘f’. If the light on the camera is green, it means it’s on.
After you place the camera, turn off the lights in the room and go back to the van. Now find the camera using the computer. You can toggle between night vision using the space bar, make sure the night vision is on. Click the mouse of the computer in the van to switch between cameras. Once you find the one you just set up look for small floating balls of light. Those are Ghost Orbs. Mark it down as evidence in your journal if you see them. You can also use the camera to see any action that is going on in the room from the safety of the van. Anything from ghost writing to your friend being murdered.
UV Flashlight
Used For:
- Collecting evidence for “Ghost Fingerprints”
The final piece of evidence in Phasmophobia is ghost fingerprints. Certain ghosts will leave a handprint on objects they interact with. The most common places to find them are on windows, doors, and light switches. If you find one take a picture with a photo camera for extra money. Then you can enter the evidence into your journal. After that, you can feel free to drop the UV flashlight for something else.
Photo Camera
Used For:
- Taking photos of paranormal events to earn cash and complete optional objectives

Record any evidence with a camera. That includes your dead friends
The main point of the game is to identify the ghost, but there are always three other optional objectives that can be completed for money. Things like “take a picture of a dirty sink”. No matter what the mission objectives are you can earn cash by photographing the ghost, fingerprints, a bone, or a teammate’s dead body. In order to capture them, you need to use a photo camera.
To prevent you from taking pictures of everything you see in the hopes of getting money Phasmophobia limits the number of camera shots to 5.
Flashlight and Strong Flashlight
Used For:
- Being able to see
The one item you should pretty much always have with you is a flashlight. There are two types of flashlights in Phasmophobia — the regular flashlight, and the strong flashlight. As you probably guessed, the strong one lights up more area. But it’s possible to navigate with either one.
You can use them while holding the flashlight but it’s better to use ‘t’ which will shine the flashlight but let you hold other items.
Nice to Haves
These items can be used to complete optional objectives or can help keep you safe from the ghosts. You can get by without them though.

Candle
Used For:
- Lighting the room
- Not getting lost
Players need to make sure that their sanity doesn’t drop too low otherwise the ghost will become more violent. The best way to prevent it from dropping is to be in the light when inside the house. In order to use candles, you need to bring a lighter with you to the mission. While holding the candle and with the lighter in your inventory, press ‘f’ to light the candle. Candles are useful when playing large maps like the Asylum by using them as markers so you don’t get lost.
Putting the candle off the ground such as on tables will increase the amount of light they emit.
Crucifix
Used For:
- Preventing the ghost from hunting
- Completing optional objective

The power of Christ compels you! The power of Christ compels you
Anyone who has seen a good possession movie knows that ghosts hate the sight of a crucifix. It’s no different in Phasmophobia. If you throw the crucifix on the ground and it’s within 3 meters of where the ghost spawns, it will nullify the hunt. It’s not possible to know where the ghost will spawn, so it’s not 100% foolproof. It can be used to stop 2 hunts before dissolving.
Stopping a ghost hunt with a crucifix is sometimes an optional objective.
Glow Stick
Used For:
- Finding ghost fingerprints
- Not getting lost
Might as well have some fun while fighting for your life
The glow stick like the UV flashlight will show ghost hand-prints. However, you must be closer to the spot while holding the glow stick to see them. Another great use for the glow stick is to use it as a way to keep track of your location in large maps.
Head-Mounted Camera
Used For:
- Collecting evidence for “Ghost Orbs”
- Seeing what’s inside the house from a safe distance
The head-mounted camera lets you stream what you see to the computer in the van. If someone is at the computer they can use it to see ghost orbs. Since the camera is attached to the player’s head it doesn’t count as one of their three inventory items.
It can be a great way of tracking what your team member is seeing. Some ghosts only react when a ghost hunter is alone. If they have a head-mounted camera other members can see what they are experiencing and shout out advice using the radio.
Infrared Light Sensor
Used For:
- Lighting up a room
The infrared light sensor is a wall-mounted light that only turns on when a person or ghost walks by. It’s great to put in the ghost room in case the power is turned off. Although the ghost can trigger it, it won’t count for completing the witness a ghost event objective.
Lighter
Used For:
- Using candles and smudge sticks

It won’t help you see but you need it for candles and smudge sticks
The lighter provides a small amount of light but not enough to be effective. Its real use is being an accessory to candles and smudge sticks. Both require using the lighter to activate them.
Motion Sensor
Used For:
- Tracking Ghosts
Ghosts can travel outside their rooms. One of the best ways to track them is to set up motion sensors around the hallways and doors near the ghost room. If they or a player walk by it will activate. You can see this happening in the van map too. Seeing the light change due to a ghost counts as witnessing a ghost event.
Parabolic Microphone
Used For:
- Locating ghost
There are two large maps in Phasmophobia—the asylum and the highschool. Due to the vast amount of space that needs to be covered, finding the ghost isn’t easy. The parabolic microphone can help you narrow down the location. It detects sounds through walls. You have to coordinate with your team though since it can pick up player noises as well.
Salt Shaker
Used For:
- Tracking ghost movement

Does a ghost live here? Or Pablo Escobar?
Remember that scene in Paranormal Activity when the couple uses powder to see the footprints of the demon? That’s the idea of putting down a pile of salt in Phasmophobia. If a ghost walks through it you will see the fingerprint and know it could be near. The one exception is for the wraith. If a wraith walks through the salt while hunting it will immediately stop. However, it will stay agitated for the rest of the session.
You only get to place 3 mounds of salt per shaker.
Sanity Pills
Used For:
- Increasing Sanity
A lot of items are meant to provide light in order to reserve your sanity levels. But if it still happens to drop a significant amount, what is the best way to increase them? That’s right, sanity pills. They can increase your sanity by 40% per bottle.
Sanity pills are a huge advantage when playing the Brownstone High School or the Asylum.
Smudge Sticks
Used For:
- Preventing the ghost from hunting
- Completing optional objective

When in doubt offer the ghost a smoke
Similar to the crucifix, the smudge stick is meant as a way to prevent a ghost from going into hunting mode. In order to use it, you must also have a lighter. While holding the smudge sticks and with the lighter in your inventory press the ‘f’ key to light it. Once lit if the ghost is within 6 meters it cannot attack for 90 seconds.
A possible optional objective is to use the smudge sticks to stop an attack.
Sound Sensor
Used For:
- Finding the ghost
The sound sensor can be placed on the wall and will light up if any sound resonates. It can track sound through walls and can be monitored from the van’s minimap. To be frank, it’s not a useful item.
Tripod
Used For:
- Mounting a video camera
Some rooms don’t have a great place to set a video camera. You don’t want it to be on the ground because you might miss some ghost orbs. The best thing you can do is to use a tripod. Because of their size, you cannot put them in your inventory, you must carry them into the house. What’s nice is that you can set the video camera on top of the tripod before picking it up so you can have three other items stored in your inventory.


Sketa
This guide seemed so nice. Easy to read and all. But behold. A big fat “please subscribe” ad took over the hole page after around 10-20 seconds.
Now these popups have been a hateful thing on pages for ages and intelligent webdevelopers have known for years to avoid using this.
There is something much much worse than a popup when you visit a site. That’s when the popup wait until you’re frekkin into the text! What moron came up with this idea? Would you prefer that someone greeted you and asked you a question right before you start reading a book or would you love it if someone waited until you started reading and just as you got into the story YOU FREKKIN DISRUPT THEM?
Adding this to my browserplugins “blocklist” and for sure going to share that in the review to let others avoid this crap as well.
It’s not hard to understand is it? Don’t. Have. Popups!
Bye… Forever.