

They Are Billions is a flawed game in many ways: the unit pathfinding is broken, the campaign is a sloppy mess, and the voice acting is one cringefest after another. Despite its shortcomings though, They Are Billions is fantastically satisfying and addictive, and I found myself unable to stop playing it over the past several weeks.
Surviving the harsh environment in They Are Billions is incredibly challenging though, even for RTS veterans, which may deter new players from giving this game a fair chance. One moment things will go swimmingly and the next a wave of zombies arrives and infects your entire colony, leaving you to start all over since the game offers no reload option. Even as an experienced player, I’ve had games where a single zombie wandered in through a hole in my defenses and cost me the entire game, leaving me rocking back and forth in the corner.
This guide is meant to be used in the Survival mode since that is where this game’s heart and soul lies. Please, whatever you do, avoid the campaign like the plague, it is unbalanced to the point of being broken and will not give you any enjoyment whatsoever.
They Are Billions can be purchased on Humble Bundle and Steam.

Humble Beginnings
BASICS
They Are Billions doesn’t offer much in terms of a tutorial, and while lovers of the RTS genre should find their way around easily enough, there are still a few things that aren’t immediately obvious.
Selling structures
Selling structures only returns 50% of the resources you paid for them, even if you cancel it halfway through construction.
Pause
A unique feature They Are Billions offers is the ability to pause the game while still allowing you to issue troop commands and construct buildings. This allows you time to form a coherent thought when things get hectic, a welcome change to the usual lightning-paced RTS style. Also, should you place buildings while the game is paused, you can cancel the construction of that building and receive a full refund.
Resource count
When placing a resource building pay attention to the number displayed on top. This is the number of resources that building will produce periodically. Moving a building just a few blocks could make a massive difference to its efficiency.
Infected buildings
It’s never a good idea to sacrifice a building if it can be saved. When a building is attacked by zombies, they don’t just destroy the structure, they also infect the inhabitants which adds to the zombie horde. This is why just a single zombie wandering into your colony could bring the entire house of cards tumbling down.
Longer games are easier
When setting up the game you might be tempted to pick the shortest survival time, thinking that’s going to be easier. What you need to remember is that a game includes 10 zombie waves regardless of the survival time. Picking a longer game means you’ll have more time to prepare before the next wave hits.
Invasion counter
To the bottom left of the screen, you’ll see when the next zombie invasion will arrive. Keep an eye on this so you’ll never be caught off guard.

Wonders are Great when you can afford them
Keyboard shortcuts
Take some time to familiarize yourself with some of the game’s keyboard shortcuts. Here are some I found particularly useful:
- F4: Hides the terrain to display a grid view. This is very useful when planning your town layout or setting up defenses as it’s not always clear that there is a path through the forest where zombies may slip through.
- F2: Select your entire army.
- ALT: Holding ALT displays the health bars of all units and buildings on screen.
- H: When troops encounter an enemy they have to come to a complete standstill, aim, and only after a moment’s pause do they fire. If you gave a unit a move order it will walk straight past any danger to get to that point even if it’s being attacked. This is where H (Hold) comes in handy. This command stops your unit and lets them ready their weapon so they can defend themselves.
- Space: The Space Bar pauses the game, one of the most useful features this game has to offer.
- CTRL + number: Assigns units or buildings to a control group so they can be summoned just by pressing the number assigned to them.
- TAB: Show/hide the interface. I’m not sure why you would do this but I pressed this by mistake once and didn’t know how to get the HUD back. I don’t want you to have the same struggle.
ECONOMY AND CITY PLANNING
Where to start
Personally, I start each game by placing 3 Tents which is all your starting resources allow. This gives you additional gold income from the start. Next, I usually add a Sawmill followed by a couple Hunter/Fisher Huts which allows me to add more Tents. You’ll also want to build a Quarry to gather some stone soon which you’ll need to build a Soldier Center and train more troops.
You start each game with 5 troops which you’ll want to use to explore immediately. Fall back once you come across zombies as you don’t want to provoke them just yet but collect any resources you find lying around as this will greatly improve your start, and a good start means a better game overall. You also need to survey the land to see where you’ve got open areas for expansion and find small choke points that can be easily walled off.

This area seems well defended
Housing
If at any point you find yourself with some spare resources and nothing to spend it on, build more houses. This increases your gold income and you’ll soon find that gold makes the world go round.
Don’t just place houses in random locations, but instead try and find large open areas where you can build an entire neighborhood. At the center of your neighborhood should be a Market and a Bank. These 2 buildings influence the surrounding dwellings by reducing their food requirements and increasing their gold output respectively. While the space restrictions in some maps may not always allow for big neighborhoods, you’ll find that a properly planned group of homes can make a massive difference to your economy.
Be careful when expanding to a new area if the next zombie invasion is due. If they approach from the direction you’ve expanded to, you will almost certainly lose all the new buildings if you don’t have proper defenses up yet and this will greatly increase the number of zombies you need to take down.
Resources
Monitor your resources very, very closely. If you see your food getting low, add a farm. If your energy is nearly depleted, build a mill. Just try not to have your progress halted too much because you ran out of a single resource. On the flip side, you should also not be oversaturating your resource supply. If you see your storage getting full, do something with your resource whether it be adding housing, researching, recruiting soldiers, or adding resource generating structures.
Once you have a Market, you can trade specific resources for gold but you should never buy resources unless absolutely necessary as the purchase price of resources is exponentially more than the selling price. Try and add as many Quarries and Oil Platforms as you can since excess resources can easily be sold.

The final test for my thriving colony
Research
Early research is done at the Wood Workshop which you should add early. Typically I research the Farm first because a well-placed Farm provides a lot more food than Hunters or Fishers Huts, usually followed by the Market so I can sell excess resources. You can also research Cottages to replace your Tents if you have limited space for expansion.
The Ballista is also useful in the early game and very efficient at protecting your town. Also, they can later be upgraded to Executors.
The Wood Workshop also allows you to research a Stone Workshop which gives you further technologies like the Bank and Power Plant. Don’t try and research all technologies in the Wood Workshop before adding a Stone Workshop. You’ll need those new technologies to progress.
You’ll find Wonders in each of the research facilities which provide fantastic bonuses but cost more than a dictator of a third-world country. Don’t worry about Wonders at first though. While useful, they mostly assist in bumping your end score so you can add them once you’ve mastered the basics.

Industrialists hard at work
UNIT MANAGEMENT AND BATTLE STRATEGY
Unit Management
I’ve already mentioned this but it’s important to use your first troops to explore your surroundings. Once you have some decent vision you can have your units patrol key entry points to your colony until you can afford to wall those sections off. Remember to use control groups for your units and buildings to make micromanagement easier.
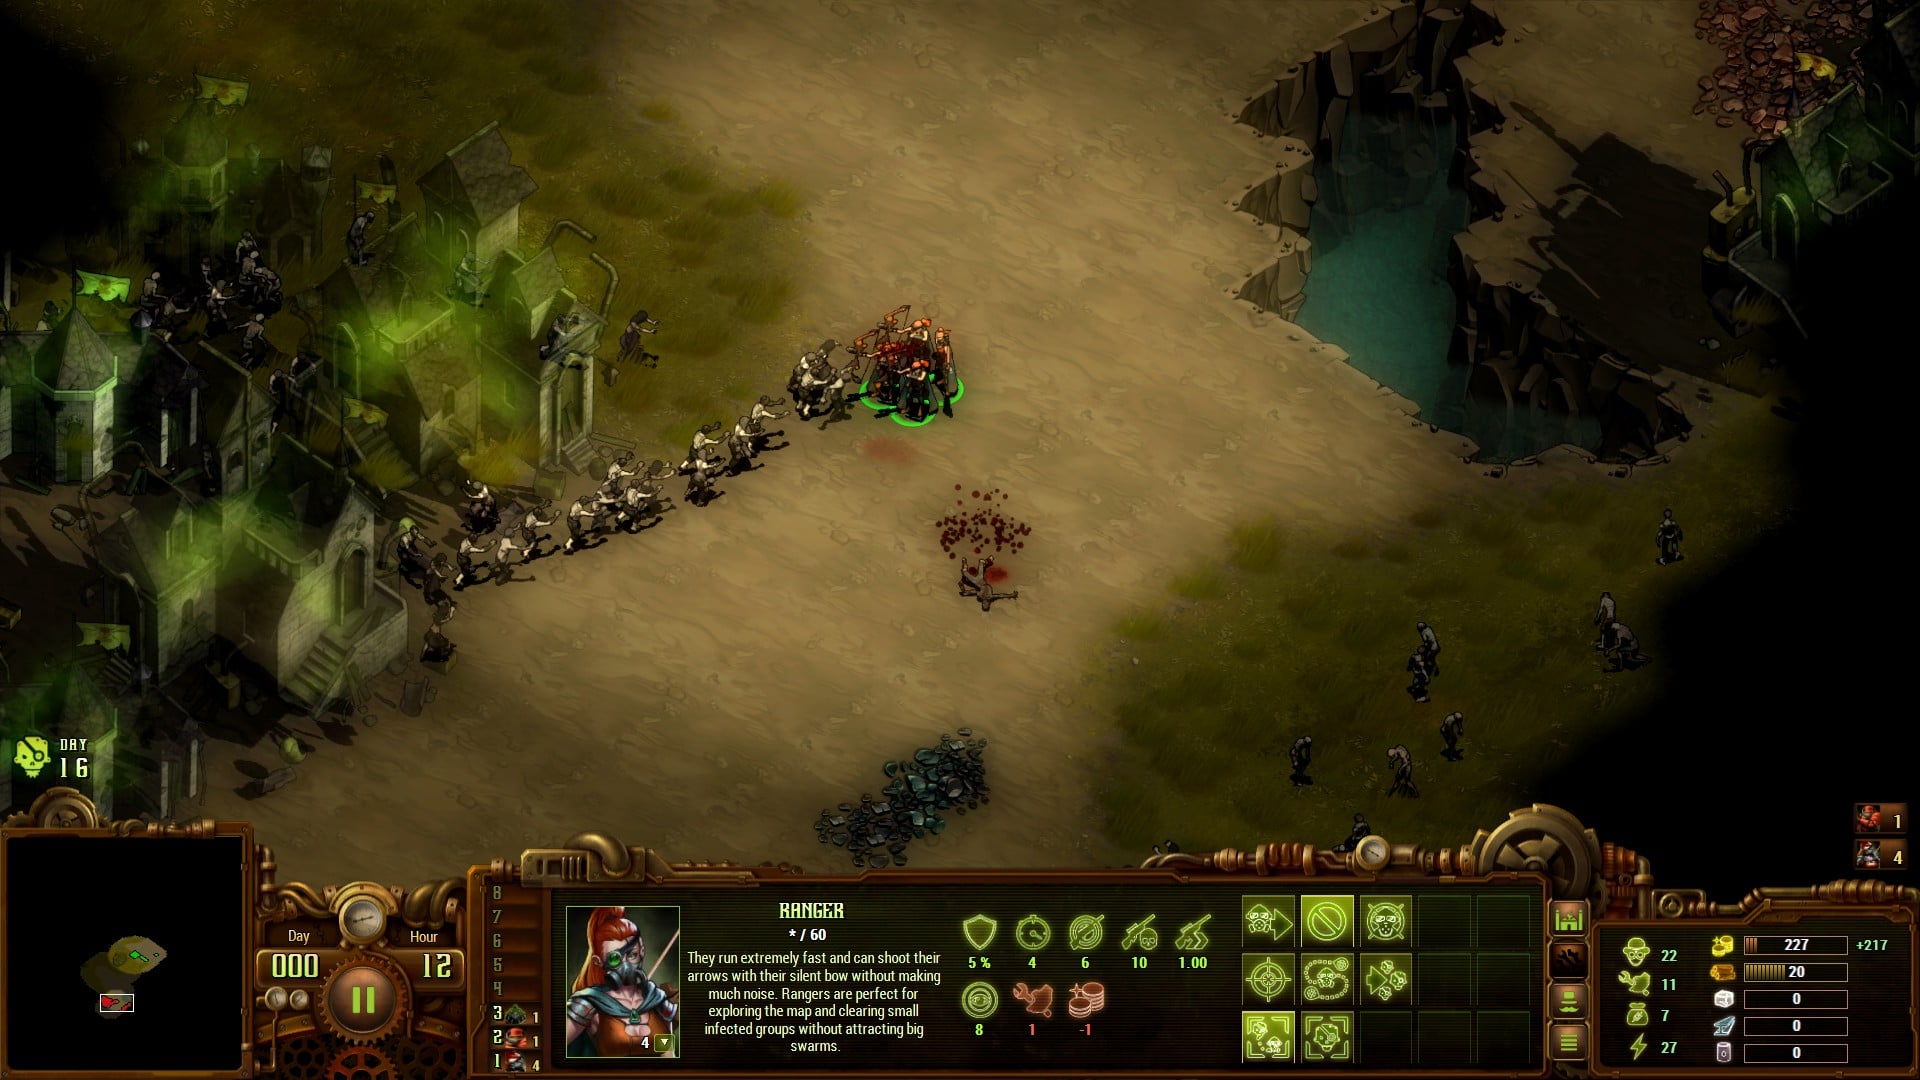
Once you have some defenses in place and you’re not focusing on construction, you should always have an army exploring further and clearing wandering zombies. Remember, the map is full of zombies at the start but these only spawn at the start and don’t replenish so it’s important to kill them to help level up your units and clear space for expansion. In the early game, it might help to use only Rangers for exploring since zombies are attracted to sound and they make the least amount of noise. When you start using units with firearms, you tend to attract all surrounding zombies which might not be what you intend.
Be careful when using Lucifers. These are highly destructive units with flame throwers that can cut through a zombie swarm like a chainsaw through butter, but they’ll kill your own units just as quickly if they get in the way.

A well functioning neighborhood
Defenses
Having a second layer of defenses could be life-saving. You may think you’re good enough and don’t need a fallback, but often the invading swarms will find that one chink in your armor and punish you severely for your hubris.
Once you’ve found your final outer boundaries you should plop down as many static defenses as your economy allows. I tend to have 2 or 3 layers of walls with defensive towers behind and Wire-Fence traps in front. It’s also helpful to add Stone Towers loaded with Snipers who’ll start picking off enemies long before they reach your walls. Finally, add some Titans and Thanatos just in case.
Mines can be useful when used correctly but I would suggest using its delay option so it doesn’t detonate immediately when triggered. Instead, add a couple of seconds delay so it takes out a larger group and not just the frontrunner. Just be careful where you place them though as they’ll destroy your defenses as well.

Here comes the horde
Zombies
There are several types of zombies in They Are Billions. The ones surrounding the immediate area around your base are the slow, stupid zombies we’ve come to know and love, but as you move closer to the edge of the map you’ll come across more nightmarish creatures. Two zombie types I feel are worth highlighting are the Spitters and Harpies.
Spitters, as their name suggests, can spit acid from a distance and are able to spit over your walls to target your towers or units hiding behind.
Harpies run like they have a firecracker up their butt and also pack a mean punch. Oh, and Harpies can jump over walls. The Harpies are the fastest units in the game, none of your fighters can outrun them. If you encounter one of these horrors, just stand your ground and fight.
Zombie Villages can be found scattered around the map and have been the reason for many a failed game on my part. These are infected buildings filled with dozens of zombies. As soon as you attack them, the zombies will flood out and you can quickly find yourself overwhelmed. Sometimes you have the misfortune of having one near your starting base, and while I’m not one to advocate restarting games until you find things to your liking, I’ll admit that I’ve never been able to win a game when a Zombie Village was too close to my headquarters.
Zombie Village
FINAL THOUGHTS
I dislike how some guides, regardless of the game, will tell you that their way is the only way to beat a game and if you do it differently, you are doomed to fail. It’s a similar thing with survival guides for They Are Billions. Some survival guides tell you that Shocking Towers are pointless while I use them quite a lot; it’s a similar story with Watchtowers. One guide will tell you to recruit X amount of Rangers at the start to explore and to avoid soldiers due to the noise they make while another guide will tell you to skip Rangers entirely because they’re too weak.
My point is that there is rarely a game that only has 1 way of beating it and They Are Billions is no different. The tips and strategies I laid out here worked well for me but I’m still exploring different ways of playing and sometimes surprise myself, and that’s exactly what you should do. Take the advice you’re given, try it out and then mix your own blend of strategy and madness in there. Good luck brave survivor, may you kill many an undead!


