

The Suicide of Rachel Foster is full of surprises and plot twists that’ll have you at the edge of your seat. While it is a well-developed game, there are some areas that can be confusing. Our Suicide of Rachel Foster walkthrough will serve as a step-by-step guide detailing every action you need to do and every place you need to go from the beginning to the very end of the game.
The chapters of the game are divided into nine days spent at the Timberline Hotel. This walkthrough will explain each action that needs to be done to complete each day in the game.
Don’t have the game yet? The Suicide of Rachel Foster is available on Steam.
The Suicide of Rachel Foster Walkthrough: Prologue
In the garage, go straight and through the door to the left of the motorcycle. Turn left and go up the stairs. Follow the hallway and go up a 2nd flight of stairs.
You should hear a phone ringing, go straight past the diorama and through the double doors. Keep going straight into the office and turn right. As you walk towards the telephone, it will stop ringing. Click on the answering machine next to the phone and listen.
Find your old apartment
- Go back the way you came and turn right once you exit the office. You should be at the main entrance/front desk of the hotel.

Hotel Main Entrance
- Go up the stairs to your right or left and up the 2nd set of stairs. You will see the main staircase in the middle of the mezzanine. Go up two flights of stairs to get to the first floor. Turn right and then turn left at the end of the hallway. Follow the hallway to the master suite. Go through the door with the poster “My room my rules” and locate the master key on the desk.
Check out the hotel
- Walk out of your room and the cellphone on your desk should start ringing. Answer the phone.
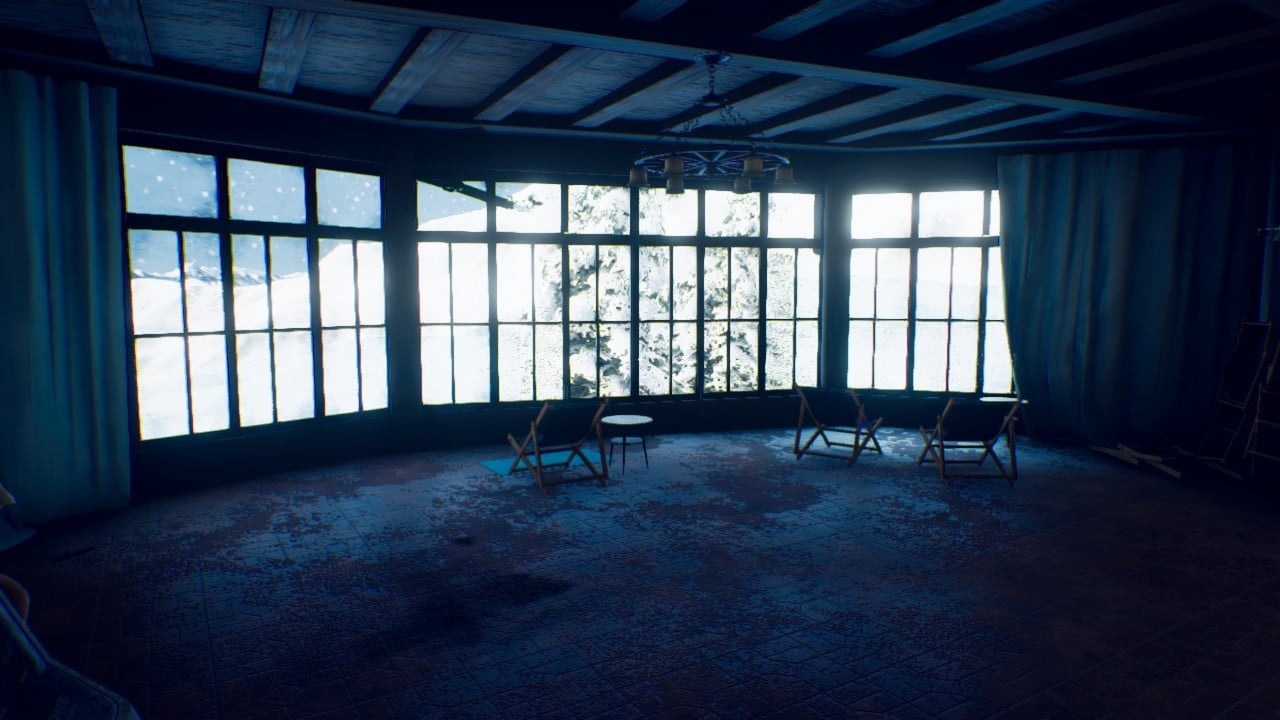
The Overlook
- Exit the apartment and you’ll hear a loud noise. Turn left at the end of the hall and go straight. Then go through the double doors on the left. Look outside the windows and the cellphone icon should appear. Click anywhere around the windows while the icon is active to initiate the phone call.
Get out before it’s too late
- Go downstairs and back to the garage. Open your car door.
- Locate the garage door. You should see a lot of ice near the bottom of it. Click on the button to the right of the garage door. Look at the garage door and the phone icon should appear. Click to call Irving.
- Go back to the apartment and Irving will call again.
Day 1
Turn on the furnace
- Go to the bathroom and Nicole will call Irving. Head back down to the garage. In the hallway to the garage you should see a door on the left that says “Boiler Room”.

The Boiler Room
- Go through the door and go straight. Then, go up the first set of stairs on the right. Look at the green button and call Irving.
- Press the green button.
- Return to your room in the apartment. Play the bass guitar.
Day 2
Get something to eat
- Go downstairs to the main entrance and enter the “ballroom”. On the dance floor, you should see 2 doors. Take the door to the left with arrows saying “restroom and fireplace room”. Turn left at the end of the hall. Go straight through two sets of doors. Once in the kitchen, turn right and go through the pantry door on the right.
- Inspect any food on the shelf to initiate a phone call. Exit the pantry and turn left. Go through the doorway with the broken door on the right side. Turn left and enter the freezer.
- Pick up a can on the shelf to the right. The door will shut. Try to open it. Walk around and wait for the door to open.
- Exit the freezer. Locate the microwave in the kitchen and warm up the can. Wait for it to warm up and take it out of the microwave.
Inspect the 2nd floor
- Head to the second floor and enter through the doors on the right. Look at the cracked ceiling and call Irving. Continue down the hall and click on the sealed door to the right.
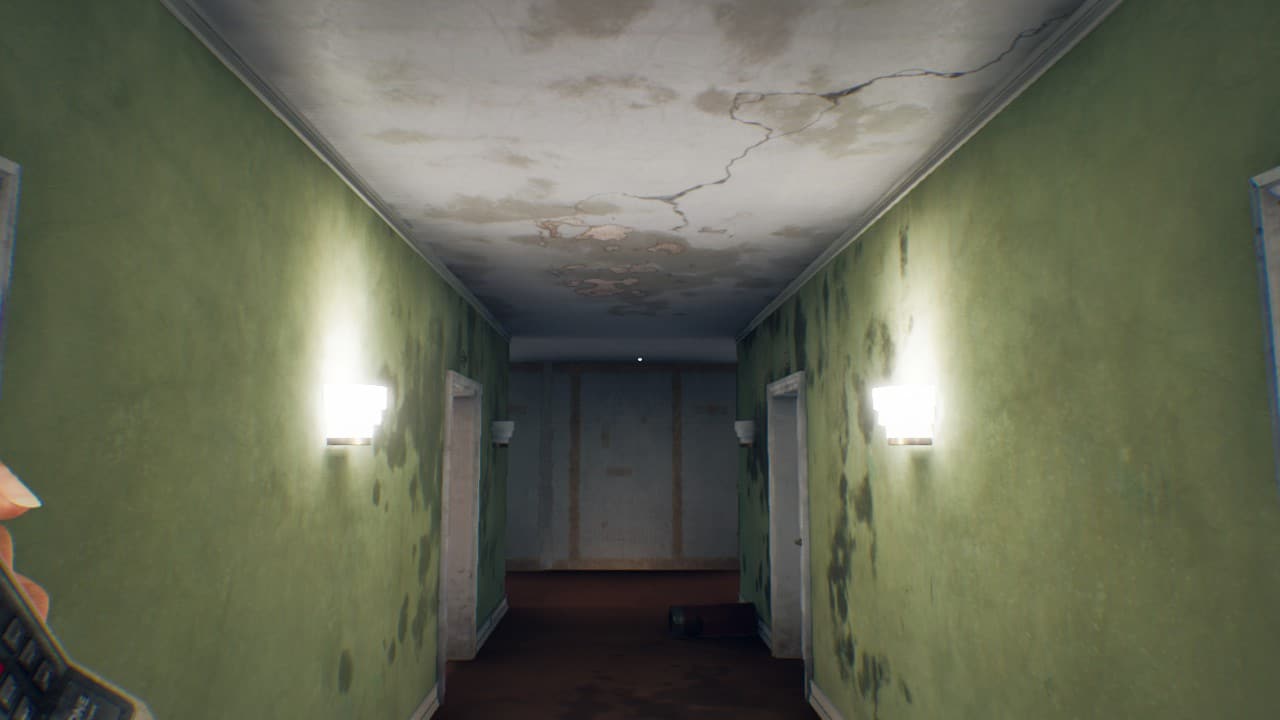
Second Floor of the Timberline Hotel
- Go back to the main staircase. Answer the telephone on the wall next to the doors.
- Go down to the first floor.
Day 3
Get the power back on
- After the phone call, look at the pile of boxes next to Nicole’s room. Take the Polaroid camera. Head to the main staircase and go through the double doors. At the end of the hall, you should see a wolf painting. Turn left and enter the door on the right. It should say “staff room”.
- Keep going straight and enter the second door on the left that says “staff only, storage”. Pick up the flashlight on the shelf.
- To the left of the shelf there is a trap door. Click it to call Irving. Open the door and follow the path. Look up and you’ll see a bundle of red cables. Follow them to the generator room.
- Open the grating and walk through. Directly forward there are three levels. Pull the one on the right. Once the lights come on, pick up the lipstick on the desk.
The Suicide of Rachel Foster Walkthrough: Solving the Mystery
Day 4
Get to the bottom of it

What happened to Rachel?
- Click on the wall clues and desk clues, reporting them to Irving one by one.
- BONUS: Look at the chair and zoom in to the newspaper clippings to read them for a more in-depth experience.
Day 5

A Strange Fire
- Walk forward toward the smoke. Zoom in on the fire on the ground. What do you see?
Day 6
Check out room 117
- Head for the main staircase and enter through the doors into the opposite hall. Continue forward to the wolf picture and turn right. Click on room 117 on the left.
- Head to the generator room by going to the garage (or secret crawlspace). Pick up the screw driver in the shelf above the desk.
- Return to room 117. Click on the door bracket to remove the screws. Enter the room and click on the VHS player on the table.
- Pick up the microphone on the desk next to the door. Exit the room.
Day 7
Find the noise
- Click on the Christmas tree.
- Equip the microphone and activate it. Head to room 117. At the wolf picture turn left.
- Enter the staff rooms on the right and head down the stairs on the left. Go through the door at the bottom of the stairs to the ballroom.
- Turn right and go past the stage. Go through the door and turn right.
- Enter through the door on your right. Click on the picture in the room.
- Head back to the ballroom.
Day 8
Return to the bedroom
- Turn left and go down the stairs. Follow the path and go up the next set of stairs. Enter through the red door and turn right and then go left at the end of the hall.
- Take a left and enter through the door. Turn left and go up the stairs.
- Return to Nicole’s bedroom. Pick up the phone on the chair next to the bed.
Go back to the church

The Church
- Enter through the trap door in the closet of the apartment. Follow the path down and you should end up in a storage room.
- Exit the storage room and you should be at the office. Head towards the garage and enter through the first door on the right.
- Turn right and then right again at the end of the hall.
- Enter through the door on the left. Follow the path back to the church.
Investigate the church
- Click on the lectern.
- Walk behind the lectern and click on the sacred image below the cross.
- Walk to the middle of the church and click on the sleeping bags between the church pews.
- Click on the organ.
Find the secret room
- Exit the church and follow the path. At the end of the path there is a set of stairs going up.
- You should see a butterfly fly toward the left of the stairs. Follow it.
- You should see a sign that matches Leonard’s riddle. To the left of the sign is a trap door. Open it and enter through.
- Follow the path to the secret room.
- Click on the ventilation duct above the bed. Next, click on the retainer box on the bed.
- Pick up the key next to the lamp to the left of the bed.
Return to Leonard’s bedroom
- In Leonard’s bedroom, click on the music box on the dresser.
- Click on the medal inside the box.
The Suicide of Rachel Foster Walkthrough: The Conclusion
Day 9
Discover the truth
- Head down the main staircase to the mezzanine (floor above the front entrance). Take a sharp right at the bottom of the stairs.
- Go through the trap door under the stairs.

A Hidden Message
- Click on the mannequin with the hockey stick.
- Exit the room.
- Head to the top floor and turn right at the top of the stairs. Turn right at the end of the hall.
- Enter through the double doors on the left. Go through the only open door on the right side.
- Click on the radiotelephone transmitter.
- Continue through the halls to a room that says “private”. After the phone call, enter through the door and up to the attic.
- Click on the projector.
- Pick up the key on the chessboard.
- Go to the garage and open the trunk of Claire’s car.
Clean the blanket
- Exit the garage and go through the door on the left before the staircase that leads to the office.
- Turn right and then right again. Keep going straight and to the laundry room on the right side of the hall.
- Clean the blanket in the sink in the corner of the room.

The truth comes to light
- Click on the sink again.
NOTE: There are a couple more scenes, but for a more unique experience, where you choose to listen to the last bit of dialogue and the actions you choose to end the game are up to you.
We hope you found our step-by-step Suicide of Rachel Foster walkthrough helpful and informative. Enjoyed the game? Checkout our reviews of other games by Daedalic Entertainment:
The Pillars of the Earth Review
The Pillars of the Earth Review: Books 2 and 3
State of Mind Review


Chloe
This is good to know I have been stuck on day 3 as I went through the wrong secret hide away I went through the one near the observation room I was wondering why nothing was happening lol 😆
John
Ive been stuck on this game for weeks, there are boxes covering the trap door on the mennazine so cant go any further
Armi
Go all the way back and look to ur right